


- Thread starter
- #51
9!'clipseDOHC
Moderator
- 4,913
- 484
- Aug 24, 2003
-
El Paso,
Texas
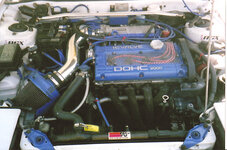
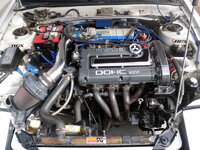
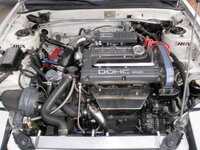
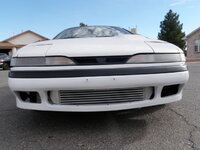
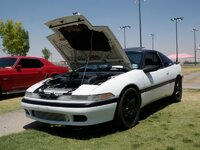
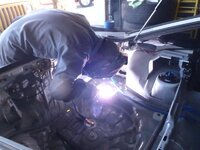
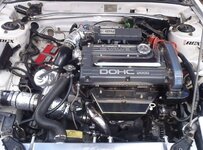
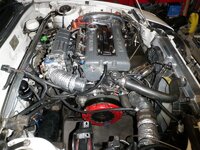
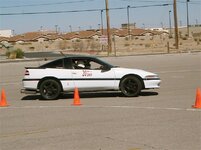
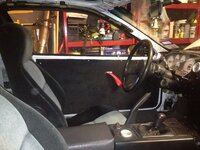
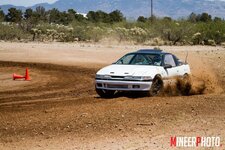
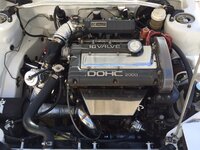
Thanks!Looks awesome, That engine is clean, keep up the good work
I've had the same avatar since 2006. I've got to remember my roots!Can we get an avatar update too, PLEASE!


 !)
!)

