
- Thread starter
- #2,451
CrackedDSM
15+ Year Contributor
- 5,833
- 5,729
- Dec 17, 2009
-
Pensacola,
Florida
Straight to FP Black and call it a day
What’s funny about that is I heavily considered the black.
It’s just a little too laggy for my tastes. If I ever go with a black it’s gonna be a 2.3 spinning it. At that point I’ll need some kind of serious transmission and hopefully the neat gears are a thing by then.
But see how it snowballs? I think I’m gonna turn up the boost to 30-32 or whatever these injectors will allow and see how I like it. Gotta be reasonable and limit myself to a red at absolute max. Lol.
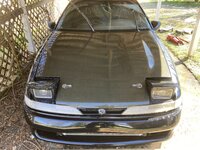
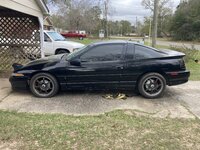
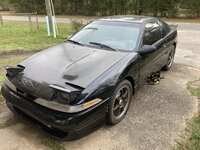
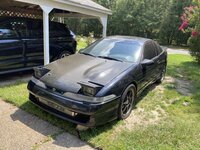
 Street car!
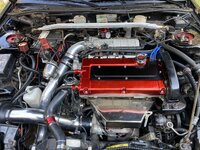
 I regret nothing, and this made it an absolute breeze to not only put the compressor in, but to attach the new o-rings to the lines and bolt them onto the compressor too. I did not replace the gasket for the top of the compressor/compressor manifold, but ordered that and it's on the way.
")


