
![201603-b26e2ac21e17e9fec239ed990086451e[1].jpg](/data/attachments/203/203381-1bc69f553ec6ee2c47148fd3c877e8a6.jpg)
![201604-b77963a22bd8d13f67c8a95b20c4cf7e[1].jpg](/data/attachments/203/203382-b507465fa89fe876538e1bfee5db0b3a.jpg)
![201605-86ce45f1f5d23510d7fe8d4aae18b967[1].jpg](/data/attachments/203/203383-dc26fc4b3492d3227a78f219b484d9f2.jpg)
![201606-47ecc89aff2431d01226f8c7dc9450ea[1].jpg](/data/attachments/203/203384-c87a1e8b840ae15bcb8eac35c59c45b4.jpg)
![201607-19d901a2b46b7dcd1b6fd7091f1223a7[1].jpg](/data/attachments/203/203385-3fc691a0a2a83afdfa1ce3db5157f8cb.jpg)
![201608-bf19229160860cc43eed10405e5d81db[1].jpg](/data/attachments/203/203386-593dcf1baa32159972995dec612d0449.jpg)


1cleangsx
Proven Member
- 1,764
- 2,377
- Sep 28, 2013
-
Cheyenne,
Wyoming
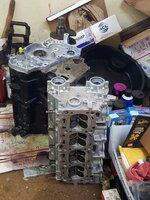
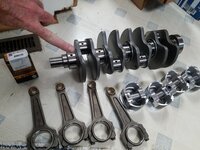
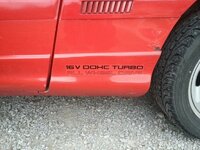
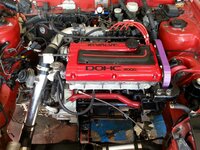
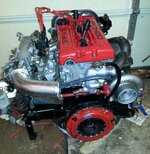
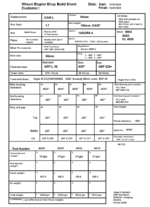
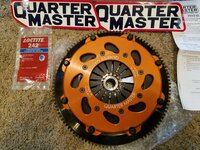
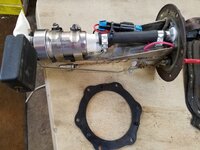
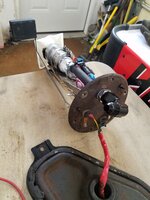
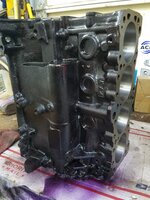
When I was gathering parts for my build such as rods and pistons, the main and rod bearings were the ONLY piece of the puzzle I didn’t supply, as it was the machine shop that would be doing the measuring for clearances, I wouldn’t purchase bearings unless YOU are the one taking measurements and re assembling the bottom end
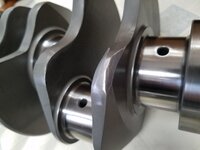
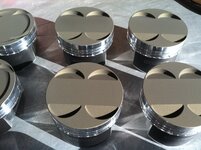
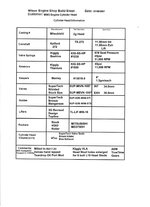
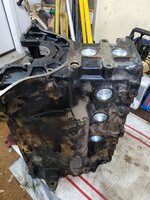
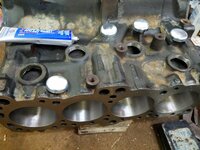
Matter of fact I also wish I had waited on buying pistons, because it’s possible I could’ve bought standard size Manley’s instead of .20 over, as the standard bore leaves maximum meat between cylinders
Matter of fact I also wish I had waited on buying pistons, because it’s possible I could’ve bought standard size Manley’s instead of .20 over, as the standard bore leaves maximum meat between cylinders
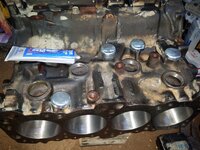
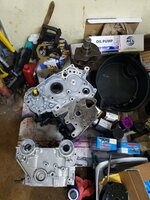
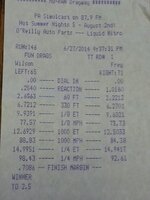
 . I have time while the parts are getting balanced.
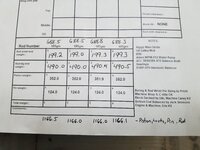
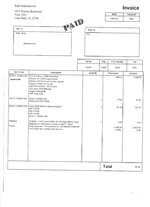
") That's why I'm going to pay them $200.
That's why I'm going to pay them $200. 


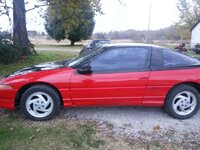
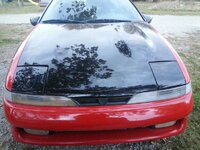
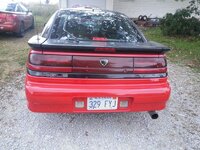
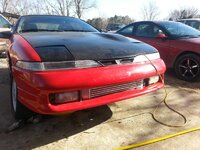
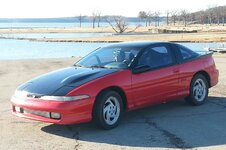
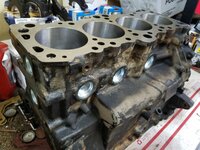
 but it did get me to the car show tonight so I was the only non-domestic powered vehicle there until FINALLY a friend with a Honda showed up.
")