


Fuchsig
15+ Year Contributor
- 49
- 15
- Jun 19, 2009
-
Near of Leipzig,
Europe
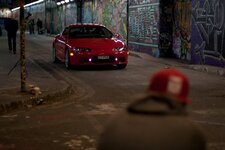
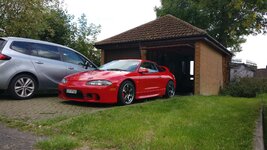
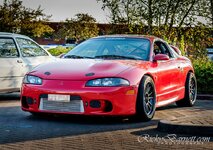
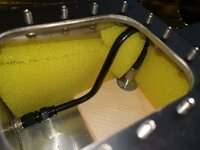
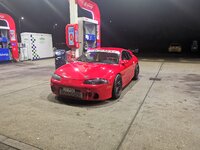
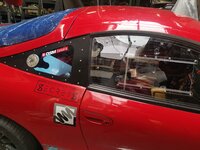
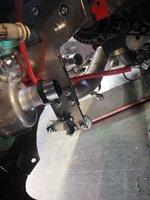
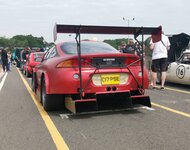
Is there still an original screw on your car? Next road trip must go to London!
Next road trip must go to London!Follow along with the video below to see how to install our site as a web app on your home screen.
Note: This feature may not be available in some browsers.
For 1990-1999 Mitsubishi Eclipse, Eagle Talon, Plymouth Laser, and Galant VR-4 Owners. This is where the DSM platform history is documented and archived. Log in to help us in our mission, and to remove most ads from the browsing experience.

This site may earn a commission from merchant affiliate links, including eBay, Amazon, and others.
Next road trip must go to London!There are a few stillIs there still an original screw on your car?
 but honestly not many left i dont think. Haha
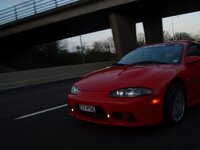
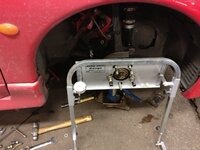
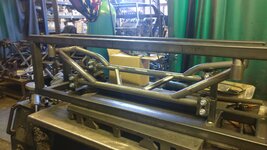
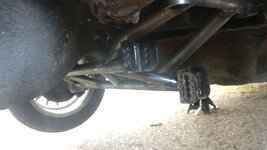
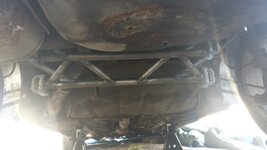
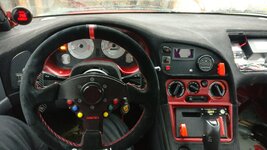
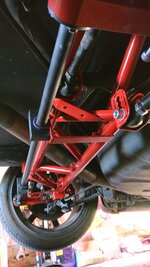
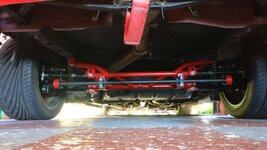
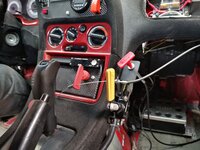
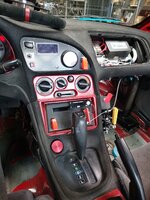
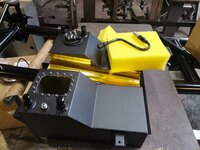
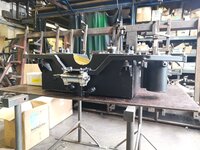
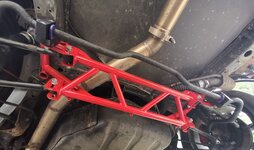
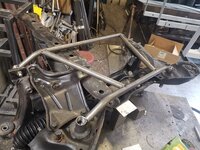
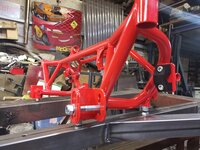
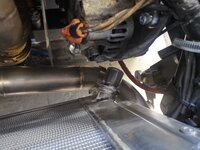
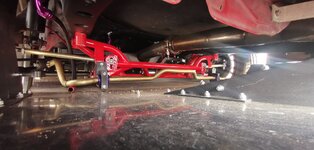
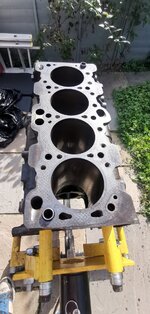
All aluminum, i will be going over it all bit by bit to explain it allWhat material did you use for the fenders?
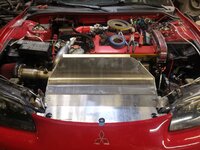
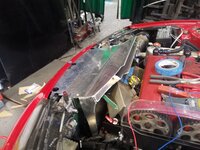
meh. not massively, its a LONG story. I then lost interest because of the long story and then between that and work and DSM development work i lost even more interest. BUT I am progressing with it now.Updates?
I will touch on this a bit in the next post. I wont go into all the depths so will do my best to keep it simple and basic. Shall try for another update this week if possibleUnless you're already planning it for the next post, did they compensate you for their retarded driver?
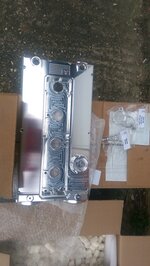
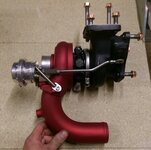
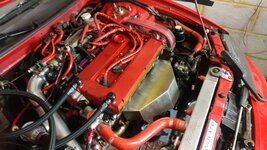
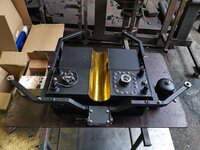
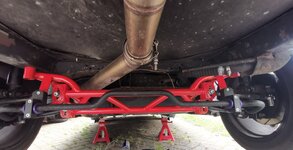
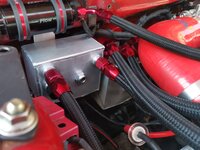
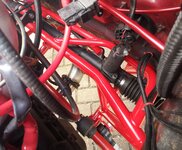
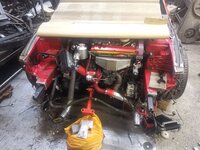
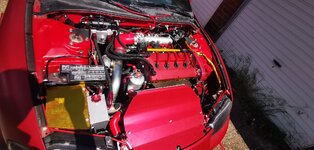
This is a proper 2k engine paint and was in a can. Its higher temps and can withstand heat cycles nicely. I had to check with them before ordering to be sure. Its a very similar coating to the caliper paints i used on my daily and thats showing good results. So hopefully this is the same result (fingers crossed)That gold will match the other goldy bits so nice Bobby! What paint or spray did you use? I highly suggest, if you used a spray can, to go and buy a brush on-paint something like a 3 in 1 Protecta or Eastwood or similar. Those paints end up much better coats over the blocks and look more thick and glossy. I'm sure you can find a paint like that in the same gold color, and it's really easy to paint 1-2 coats with a small brush. I did this on my RB20 and 6A13 and they came out great! The rattle can paints tend to flake and burn off much quicker.
 .
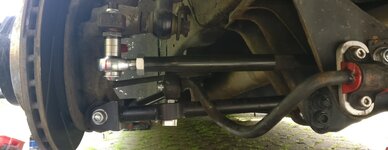
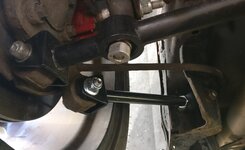
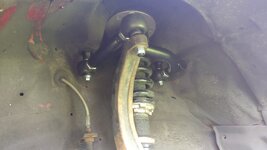
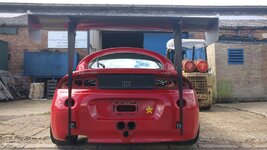
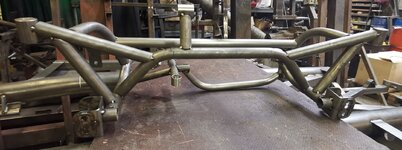
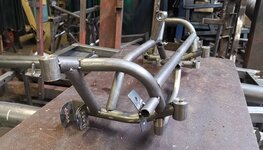
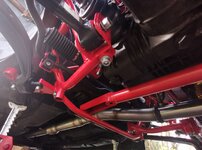
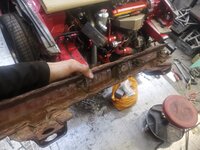
. as you might tell from the gaps. Its been a bit of a not interested project since it happened and i stuck my head into making DSM parts instead. But I am back to being productive on my own car once again finally

