


kmetiuk
15+ Year Contributor
- 521
- 126
- Mar 10, 2010
-
Edmonton,
AB, Canada
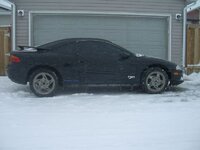
Just in time for the good weather. The curse continues.
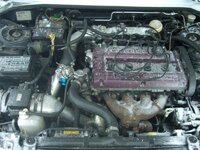
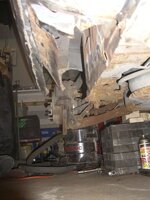
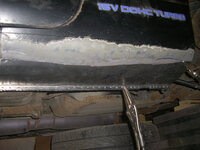
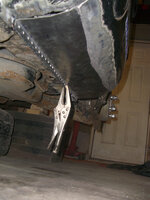
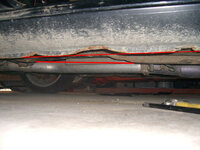
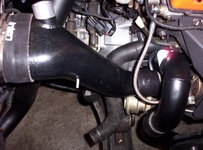
Something broke on engine. I thought it was the turbo, but it seems to spin freely, no additional play, with some oil pre-turbo that isn't recirculated.
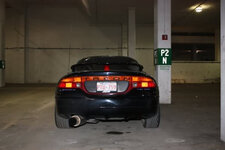
It still revs fairly quick, but makes no boost at all. I pulled into a parking lot when something was clearly wrong, and there was smoke that looked like it was coming from 2 of the breather ports on the transmission.
I babied it home keeping it under 2500rpms.
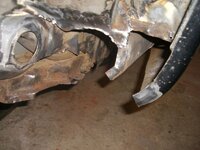
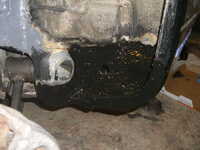
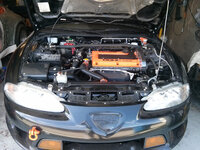
Car starts and runs, but makes a rattling noise. Sounds like valve train. My inspection inside the cylinders with my crappy usb endoscope looked like bits of molten aluminum on the pistons. I'm hoping it's just the crappy camera tho.
Updates will be coming.
OH NO! Thats not good. Hopefully the camera is wrong and had some shmutz on the lens. I hope its alright. You put so much love and work into this thing.

")


")


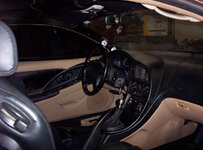
 ) and when I went to remove the center panel for the backup camera, several of the studs broke off. Since these cars are quite rare now, I'll try to fix the plastic stud mounts with jbweld.


