


pksystems
20+ Year Contributor
- 740
- 262
- Nov 9, 2003
-
Calgary,
AB, Canada
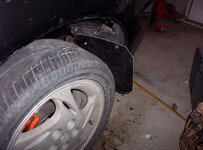
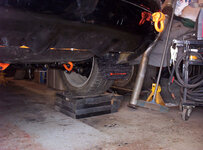
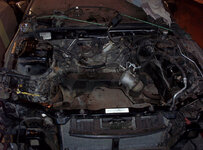
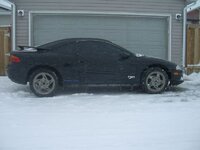
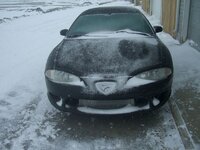
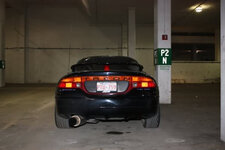
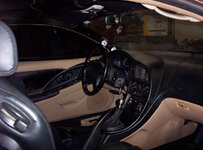
Picked up for fairly cheap. $1400
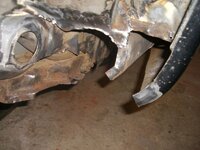
The previous owner, purchased it from its previous previous owner, who spun a bearing, when they did a balance shaft removal incorrectly. (From what I can tell)
I don't think he mentioned what was wrong with it, when he sold it to him, but I was able to tell with work orders/receipts from inside the car, and googling the PPO. The PO did some additional work on it to try to fix the problem. There is more then $2500 worth of work from PPO receipts inside the car. Also contains 1/4 mile timeslips...etc....
I believe the car hasn't run since 2009.
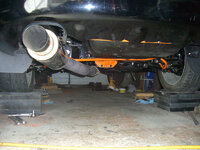
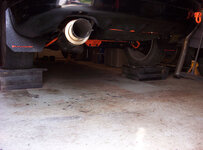
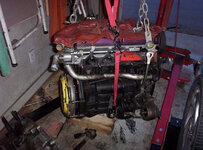
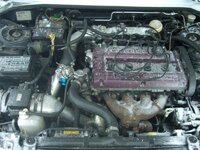
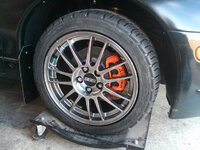
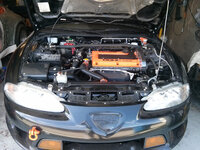
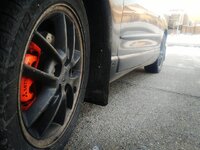
Car had the following when I purchased (or so I was told) :
Copied from the PPO's forsale ad. He was asking $14,000 shortly before he spun the bearing.
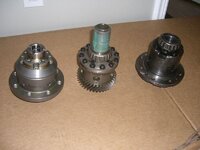
Rebuild tranny 20000 ago
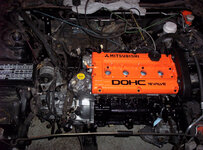
Low mileage RVR bottom end
Built 2G top end
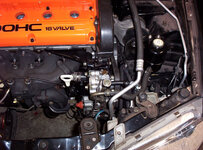
upgraded lifters
new rockers
comp 264 cams
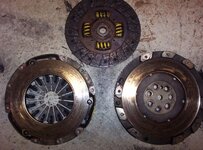
act clutch (<5000kms since installed)
greddy type rs bov
metal head gasket
arp head studs
greddy spec II boost controller
injen air intake
e-managment ultimate
Apexi N1 3" exhaust
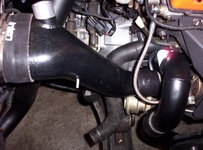
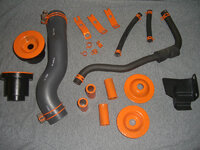
Punishment Racing FMIC
hid lights
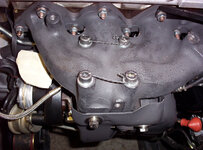
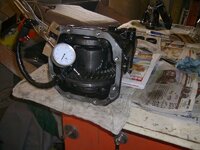
bastard 20g turbo (It's actually a jammed up ebay special --> trash)
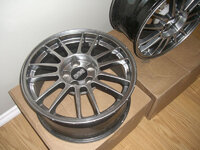
Stock Talon 17's
Walbro 255HP


Backstory.....
I WAS interested in a new EVO X GSR, till I started seeing the ridiculous markup these cars get once they arrive in Canada. MSRP was like $34K USD in the States, when our dollar was on par, or higher. Same car in Canada was $45k+
Which leads us to the TSi AWD. I have a 98 ESi with brake/suspension I've upgraded, so I have some familiarity with these cars. Since global warming seems to be NOT happening, and snow/cold weather is getting worse every year, the goal is to build an AWD DD.
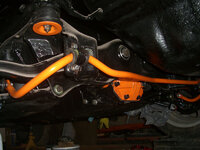
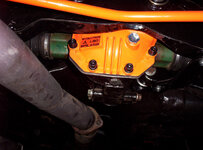
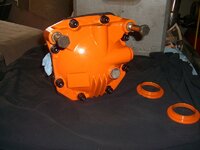
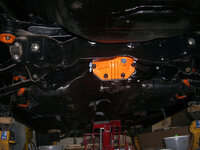
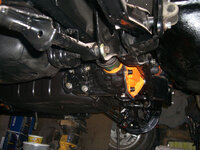
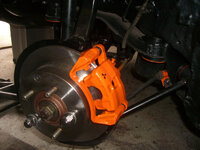
It will of course be getting some optional extras.
And the journey begins............
The previous owner, purchased it from its previous previous owner, who spun a bearing, when they did a balance shaft removal incorrectly. (From what I can tell)
I don't think he mentioned what was wrong with it, when he sold it to him, but I was able to tell with work orders/receipts from inside the car, and googling the PPO. The PO did some additional work on it to try to fix the problem. There is more then $2500 worth of work from PPO receipts inside the car. Also contains 1/4 mile timeslips...etc....
I believe the car hasn't run since 2009.
Car had the following when I purchased (or so I was told) :
Copied from the PPO's forsale ad. He was asking $14,000 shortly before he spun the bearing.
Rebuild tranny 20000 ago
Low mileage RVR bottom end
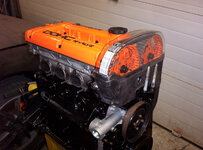
Built 2G top end
upgraded lifters
new rockers
comp 264 cams
act clutch (<5000kms since installed)
greddy type rs bov
metal head gasket
arp head studs
greddy spec II boost controller
injen air intake
e-managment ultimate
Apexi N1 3" exhaust
Punishment Racing FMIC
hid lights
bastard 20g turbo (It's actually a jammed up ebay special --> trash)
Stock Talon 17's
Walbro 255HP
Backstory.....
I WAS interested in a new EVO X GSR, till I started seeing the ridiculous markup these cars get once they arrive in Canada. MSRP was like $34K USD in the States, when our dollar was on par, or higher. Same car in Canada was $45k+
Which leads us to the TSi AWD. I have a 98 ESi with brake/suspension I've upgraded, so I have some familiarity with these cars. Since global warming seems to be NOT happening, and snow/cold weather is getting worse every year, the goal is to build an AWD DD.
It will of course be getting some optional extras.
And the journey begins............
Last edited:

")
 this .......................this is a F#$ing sexy build.