
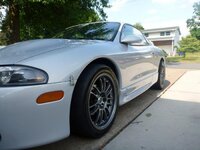
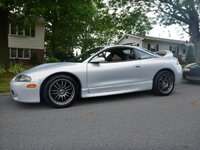

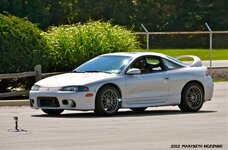
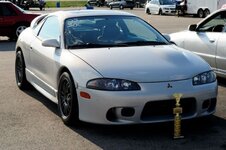
92AWDHX40
Supporting Member
- 14,485
- 2,709
- May 22, 2007
-
Kalamazoo,
Michigan
Love the sand blasting, making me want to get one. Really nice work.
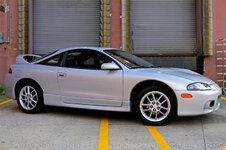
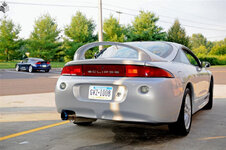
For 1990-1999 Mitsubishi Eclipse, Eagle Talon, Plymouth Laser, and Galant VR-4 Owners. This is where the DSM platform history is documented and archived. Log in to help us in our mission, and to remove most ads from the browsing experience.

This site may earn a commission from merchant affiliate links, including eBay, Amazon, and others.


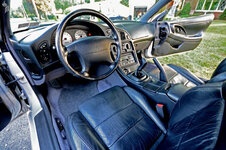
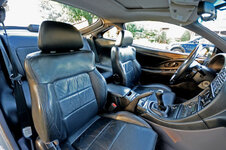
 . At first I only let it sit a few seconds before scrubbing, but I soon learned to let it sit for at least 10 minutes so it can work it's magic. After a few applications most of the tar is gone - only a few little spots remain that I can pick off with my fingernails. I was very pleased to see that the putty knife left very few scratches on the body. I'm going to give in and pick up a few cans of compressed air tomorrow to hopefully make the firewall and wheel wells easier. I also taped up some more unused connectors - all the connectors for the hvac stuff I removed, the little light that lights up the cigarette lighter (the yellowish tint won't mesh with my custom white led interior that I have planned), the light that goes in the cup holder (c'mon, it doesn't even light the cup holder up well and that's one more thing I have to remove to get the center console out), and I taped up the amp connector and stuffed it under a brace running across the floor. I kinda have the urge to remove all the unnecessary wiring in the interior now, but I just don't have time for that at the moment. I go back to school in 2 weeks so after that I'll only be able to work on weekends. Pictures of the interior will be posted after I finish gutting it all and clean the whole thing with a Simple Green solution. I would love to paint the interior now too....
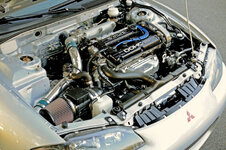
") ) this thing out, what are the power plans?
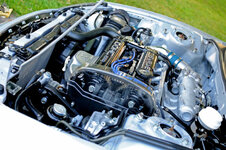
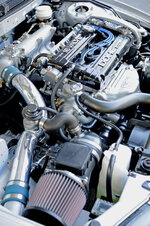
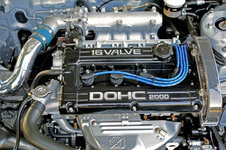
) this thing out, what are the power plans?

")
