
EisHERE
Proven Member
- 188
- 0
- Nov 13, 2012
-
Eau Claire,
Wisconsin
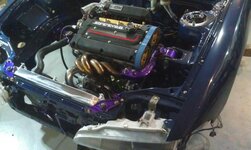
Yea I know haha, after the holidays im going to be in the market for a SMIM and a 4" FP intake pipe. Possibly some other goodies.
don't get a 4" unless it's not too much of a difference from the turbo! or unless you're getting a turbo that's inlet is nearly that size. I've been reading that it makes a difference if it's too big. good luck.


")
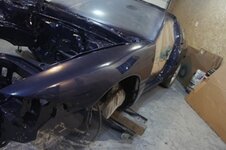
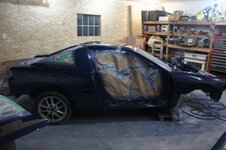
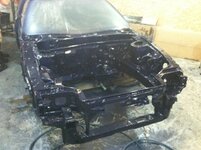
 no seriously I just stareted a rebuild and the cars are exactly the same
