

mjarrell20
15+ Year Contributor
- 183
- 2
- Oct 11, 2005
-
NA,
North Carolina
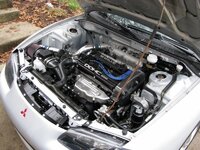
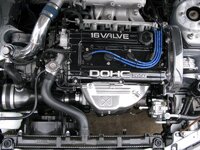
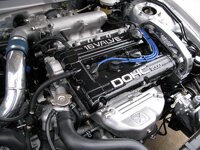
i am doing something similar to what you have done and have been using this thread as a kind-of guide, so thanks a ton. but i found after labeling everything in your list of 33 connections for the ecu harness this one isn't covered and i was wondering what it was? it's near #52 Fuel Pump Check Connector/Engine Speed Detection Connector, single black wire:

also in your ECU Harness.doc and Fuse Box Harness.doc are the delete list complete and up to date?
also in your ECU Harness.doc and Fuse Box Harness.doc are the delete list complete and up to date?
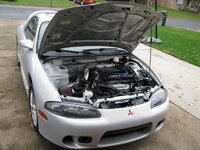
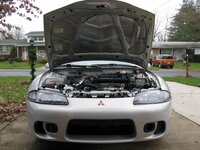
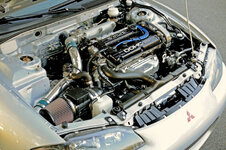
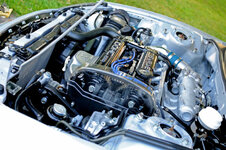
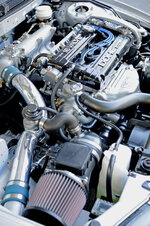
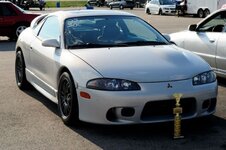
 I couldn't find a smiley for the jaw dropped face I got after reading this one day at work, the transformation of the stock engine bay to what you have done is incredulous... I say there should be a before/after pic just so people can see the difference
 . Great job!!!

