1990TSIAWDTALON
Moderator
- 13,215
- 11,209
- Nov 14, 2013
-
Independence,
Kansas
Jeremy, how far in did you get before you pulled the main shaft out (and whatever may still be on it)? Do you have a picture, maybe?
Thx!
Thx!
For 1990-1999 Mitsubishi Eclipse, Eagle Talon, Plymouth Laser, and Galant VR-4 Owners. This is where the DSM platform history is documented and archived. Log in to help us in our mission, and to remove most ads from the browsing experience.

This site may earn a commission from merchant affiliate links, including eBay, Amazon, and others.


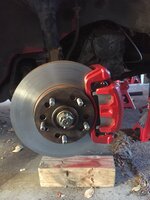
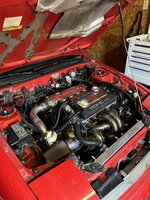
 , I removed the frictions/steals. I also removed a little snap ring on the shaft I thought may have been holding the rear basket on, but it still wouldn’t come off, so as of now I’m just leaving it on, as all I’m doing basically with this trans is replacing frictions, seals o rings etc, all the gears and everything look brand new.


")
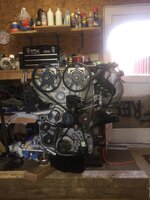
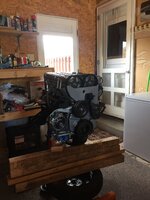
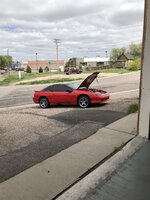
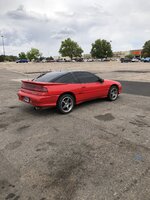
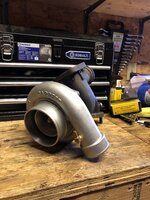
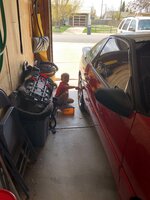
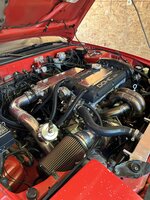
 definitely one of my FAVORITE 1g’s

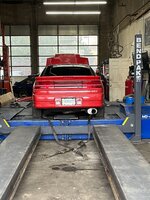
 Happy Holidays