We're on Boost
15+ Year Contributor
- 2,994
- 1,437
- Aug 25, 2007
-
Seattle area,
Washington
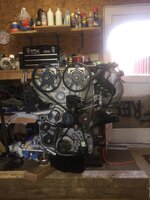
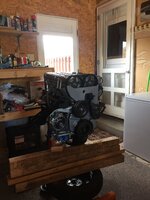
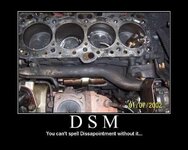
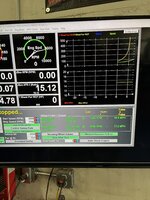
No I'm talking about the push rod that comes with the slave and it pushes on the end of the fork.Sorry our you referring to the MC?
For 1990-1999 Mitsubishi Eclipse, Eagle Talon, Plymouth Laser, and Galant VR-4 Owners. This is where the DSM platform history is documented and archived. Log in to help us in our mission, and to remove most ads from the browsing experience.

This site may earn a commission from merchant affiliate links, including eBay, Amazon, and others.


 , yes I am running the rod that came with it


")

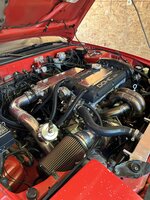
 , only issue with the 200amp Saturn is I believe I’d have to run 0/1awg wire?