


- Thread starter
- #951
Justin DuBois
DSM Wiseman
- 3,326
- 3,297
- Aug 15, 2019
-
Oakland,
California
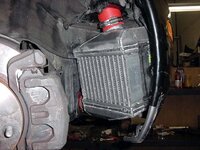
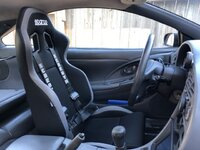
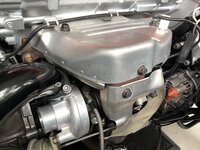
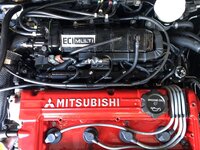
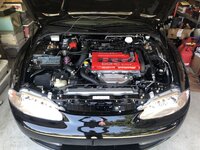
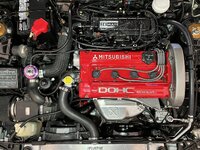
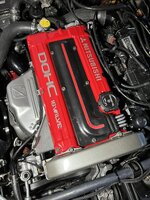
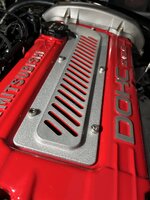
Where does one shop for COP setups?@Justin DuBois FWIW running a sheetmetal intake is the only reason I switched to a COP setup. I haven’t had any problems with mine since I switched. I’m using 300m coils.
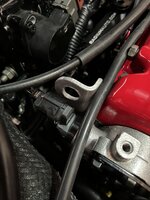
As long as your valve cover has all its mounting points still intact and not missing half the threads.
-Daniel


