


19gsx91
10+ Year Contributor
- 1,199
- 295
- Apr 20, 2011
-
Walworth,
New York
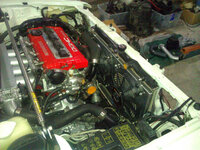
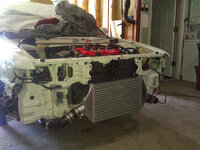
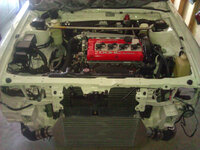
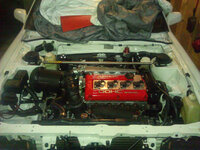
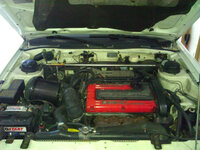
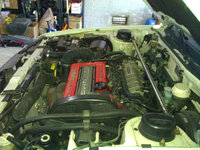
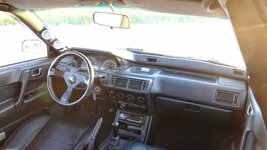
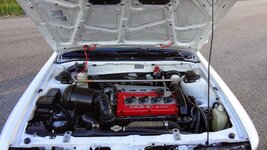
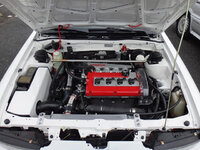
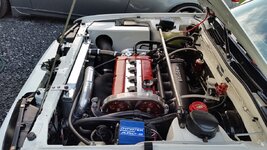
Yeah that looks a bit more like my bay, It's still an incredible transformation. There was a set of 264/272 HKS cams up for sale for a reasonable price on the classifieds section recently if you were willing to try those out.


")

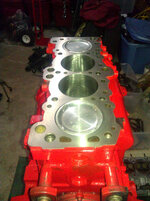
") Really helps you get the to the right spot for the snap ring. It was something just like this can't rem the brand.
Really helps you get the to the right spot for the snap ring. It was something just like this can't rem the brand.
