
Bedicine
Proven Member
- 539
- 187
- Jan 3, 2022
-
Toronto,
ON, Canada
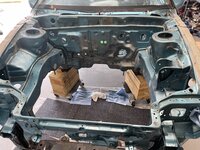
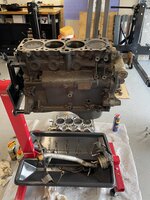
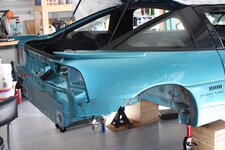
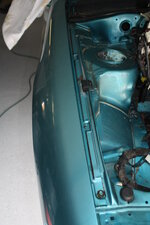
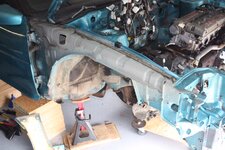
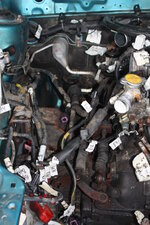
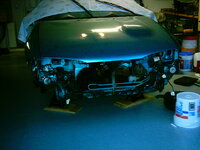
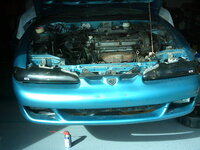
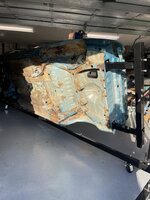
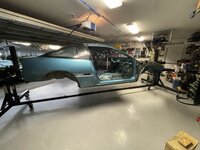
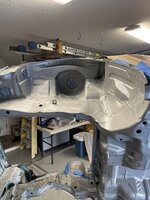
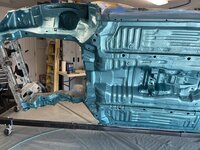
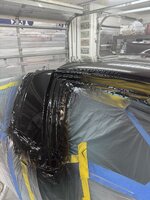
Where did you get your chassis rollers?I wasn't going to bother posting an update yet as there really isn't much to show, but then again I've spent the last year trying to make room in my garage for this point to pull the cover off her for the first time in 12 years! Couldn't believe that when I looked at the info from the old electric pics. Got the engine lift, engine stand and rotisserie assembled. My wife didn't think I could make enough room with all the shit I have but I gave her the National Lampoon's quote when I was done, "Hell, there's plenty of room!". The plan is to be able to keep Eleanor in the garage as much as possible throughout this build. Fingers crossed.
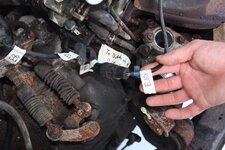
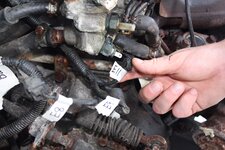
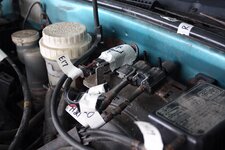
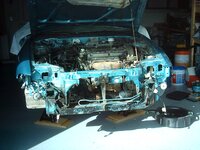
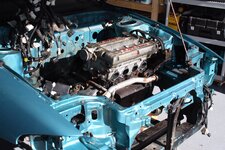
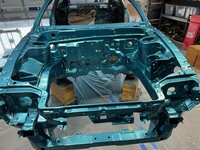
First thing that needed to be done was re-label the electric, at least in the engine bay, as the masking tape was disintegrating or illegible. (Glad I made good notes the first time through). Plan on re-wiring the car even though it is completely intimidating me and the more I read to try and quell that aspect the more my head hurts. From there just continued ripping out more of the interior before I ran out of day.
View attachment 658713
View attachment 658714
View attachment 658715
View attachment 658716
View attachment 658717
View attachment 658718
View attachment 658719
View attachment 658720
")
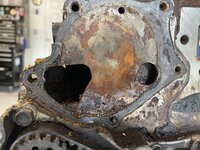
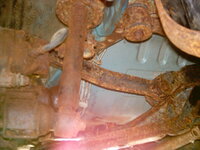
 Ugh.
Ugh.