

- Thread starter
- #51
DreamChaser7
Supporting VIP
- 1,267
- 1,652
- Jul 18, 2019
-
Valrico,
Florida
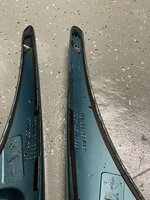
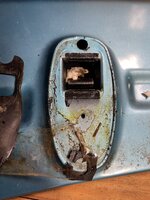
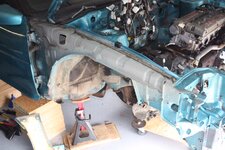
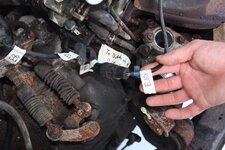
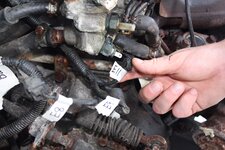
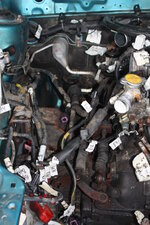
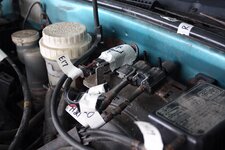
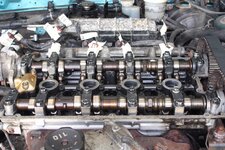
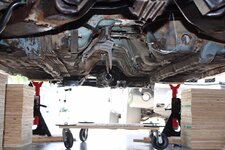
Thanks, TK I believe Tony answered that too.The bolt that opens a hole into the B-Shaft chamber is probably the one you take out to insert a screwdriver to align the orientation of the B-Shaft when doing a timing belt.