


rival
20+ Year Contributor
- 246
- 99
- Dec 12, 2004
-
aiken,
South Carolina
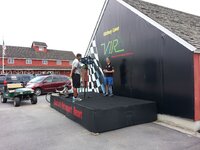
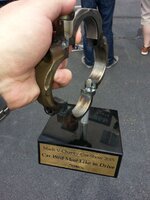
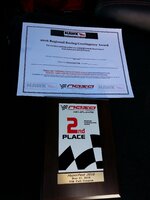
Congrats man, more coverage of all the hard work and dedication! Keep it up!
Follow along with the video below to see how to install our site as a web app on your home screen.
Note: This feature may not be available in some browsers.
For 1990-1999 Mitsubishi Eclipse, Eagle Talon, Plymouth Laser, and Galant VR-4 Owners. This is where the DSM platform history is documented and archived. Log in to help us in our mission, and to remove most ads from the browsing experience.

This site may earn a commission from merchant affiliate links, including eBay, Amazon, and others.
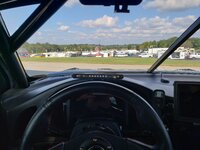
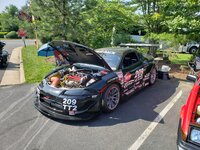
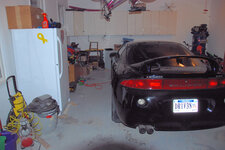
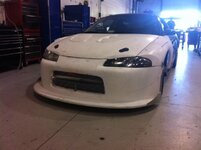
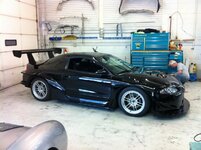
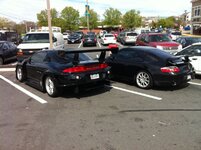
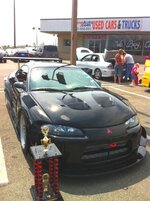
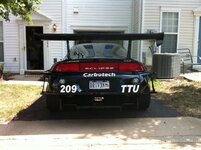
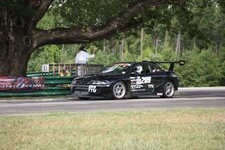
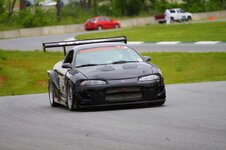
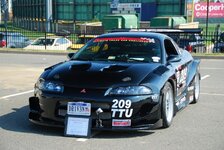
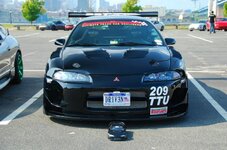
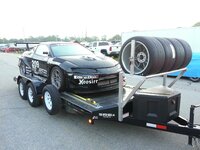
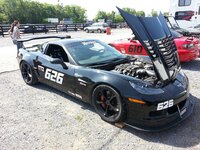
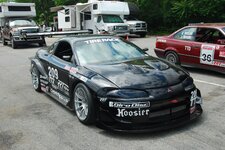
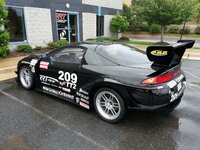
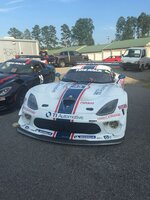
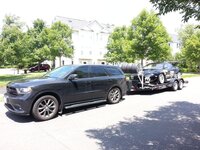
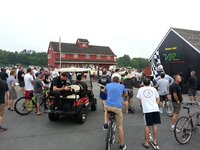
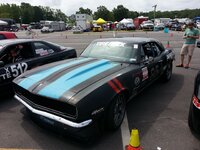
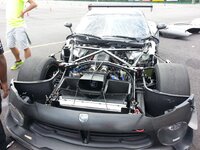
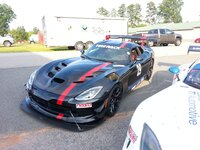
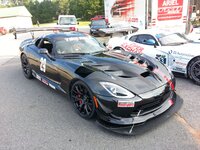
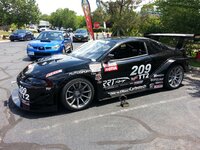
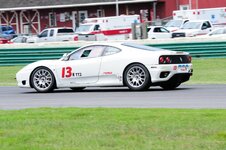
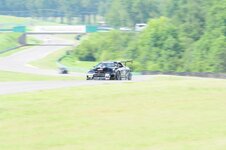
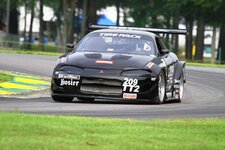
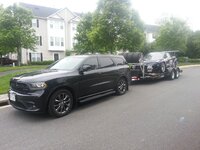
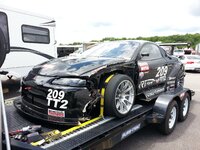
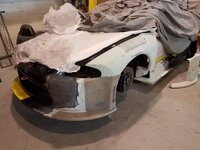
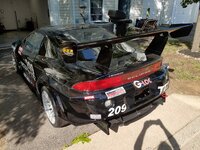
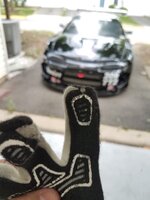
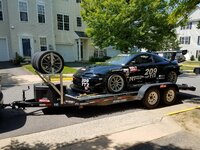
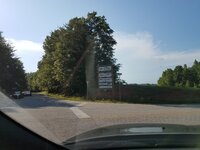
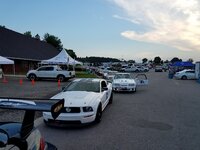
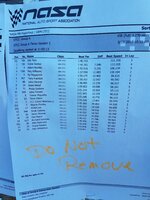
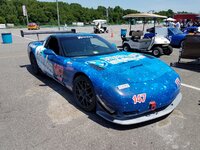
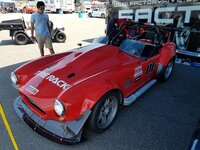
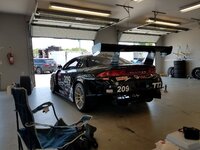
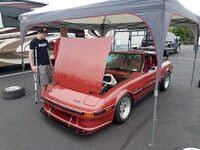
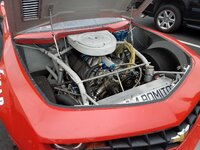
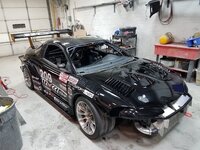
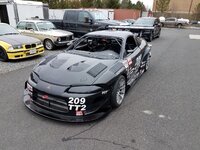
Good luck!About to head down to Virginia International Raceway. Hopefully she holds together!
View attachment 552313
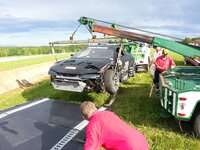
Reading you and other people's track stories makes me think these events are a giant headache. Hopefully you get some enjoyment out of this stuff.
.jpg")
.jpg")
.jpg")
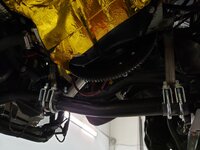
 I didn't really hear it at high speeds.


")


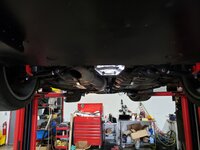
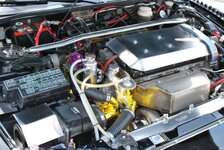
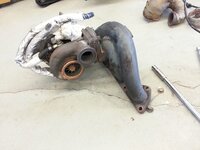
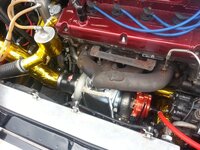
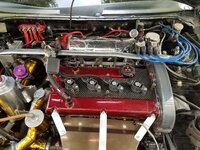
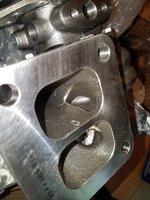
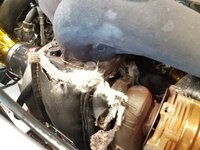
This is one amazing build. One day I'll take my galant out for a open track day, for now I will just have to settle for sim racing. I'm guessing over the winter you will be changing the exhaust housing? Hopefully that will fix your issue as your not getting power up top.