
More and more people are toying with 3D printing for car parts. If you've printed any parts for your car, please post some articles in this section describing how you did it. Whether if was for your DSM or not. With more and more OEM DSM parts becoming obsolete (no longer produced) 3D printing will become a popular option in this community.
Here are some resources I found to give people more info on getting started with 3D printing car parts.

 3dprinterly.com
 3dprintingindustry.com
Post your own Articles on this subject!
Here are some resources I found to give people more info on getting started with 3D printing car parts.
7 Best 3D Printers for Automotive Cars & Motorcycle Parts
3D printing has accelerated the growth of many industries in the world today. The automotive industry, in particular, has benefitted the most since the inception of additive manufacturing. The prototyping life cycle has been shortened significantly. Rapid prototyping is now possible since people...
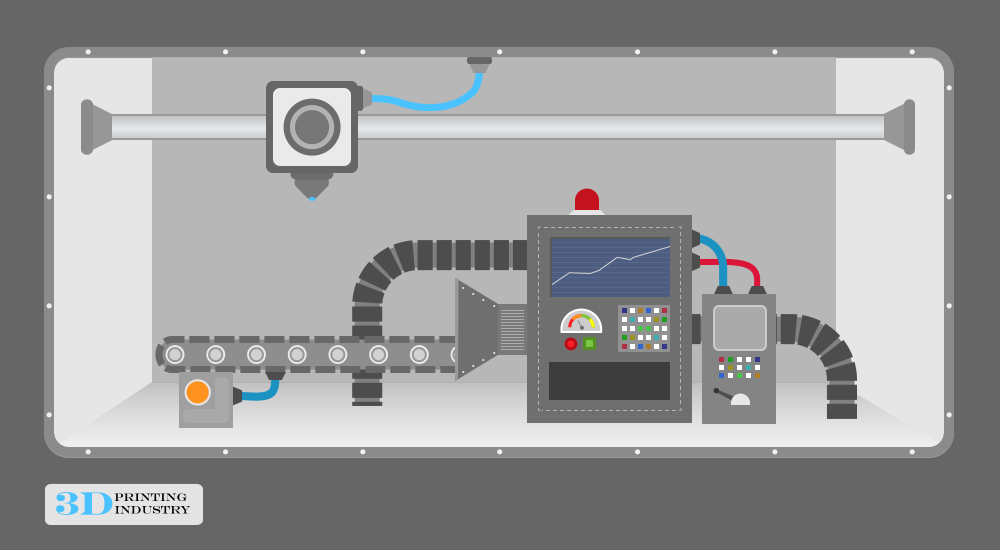
The Free Beginner's Guide - 3D Printing Industry
You must be logged in to view this image or video.
You must be logged in to view this image or video.
You must be logged in to view this image or video.
Post your own Articles on this subject!

")

