- Thread starter
- #101
SmalltownDSMer
10+ Year Contributor
- 1,752
- 6
- Aug 10, 2008
-
Doesn't matter,
Texas
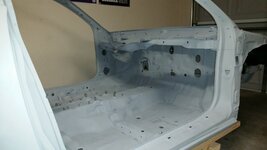
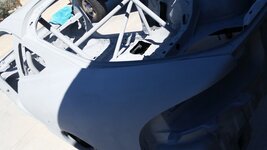
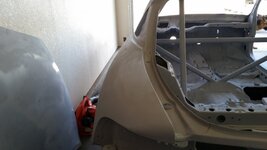
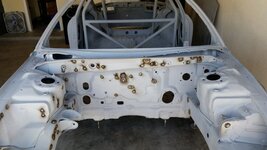
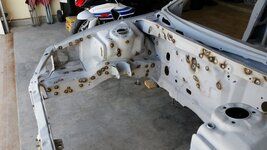
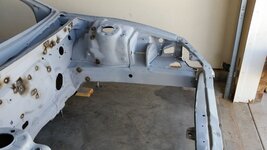
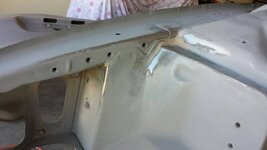
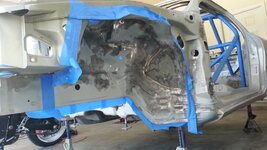
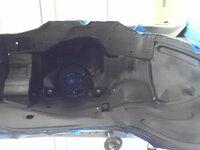
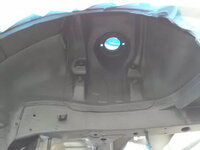
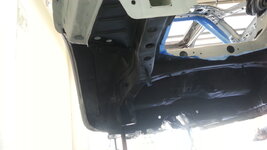
Also got the surface rust off the hatch and hood, clearcoat sanded off and primered ready to be painted.


Jayson
Jayson
For 1990-1999 Mitsubishi Eclipse, Eagle Talon, Plymouth Laser, and Galant VR-4 Owners. This is where the DSM platform history is documented and archived. Log in to help us in our mission, and to remove most ads from the browsing experience.

This site may earn a commission from merchant affiliate links, including eBay, Amazon, and others.


 . Nice work man!


 had to go back to see what I missed
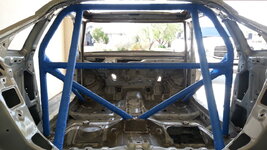
  not bad for a... minor build


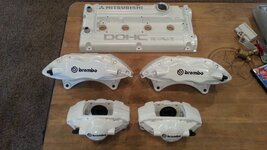
") And have you modded or shave/grinded the brembos already or are you using JDM knuckles ?
And have you modded or shave/grinded the brembos already or are you using JDM knuckles ?