


housegsx
20+ Year Contributor
- 2,455
- 44
- May 28, 2004
-
Greensburg,
Pennsylvania
The pads just came in! Here's a quick how to on installing them:
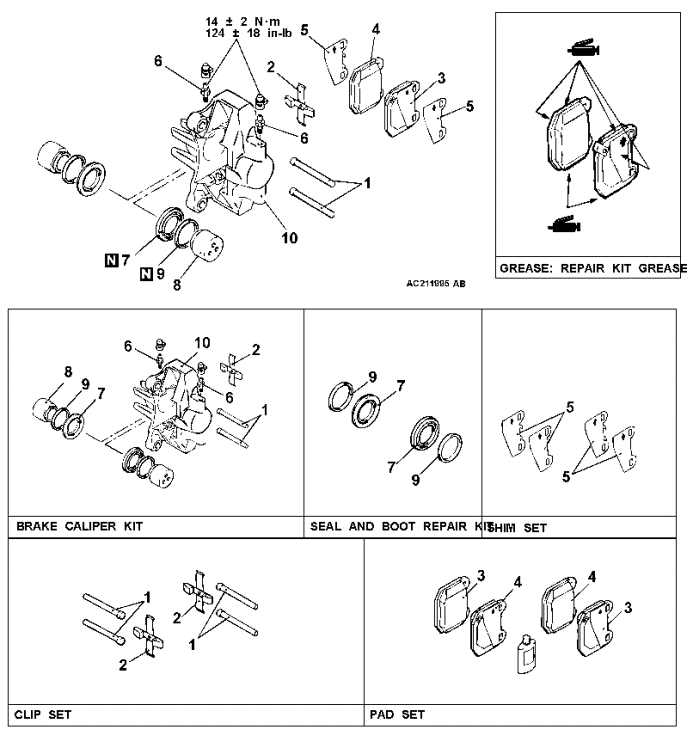
This is a diagram of the rear Evo brakes. I posted this picture so you can see how the shims should be installed. As you can tell, the wider part of the shim is the leading edge. The arrows on the shim point in the direction of rotation.
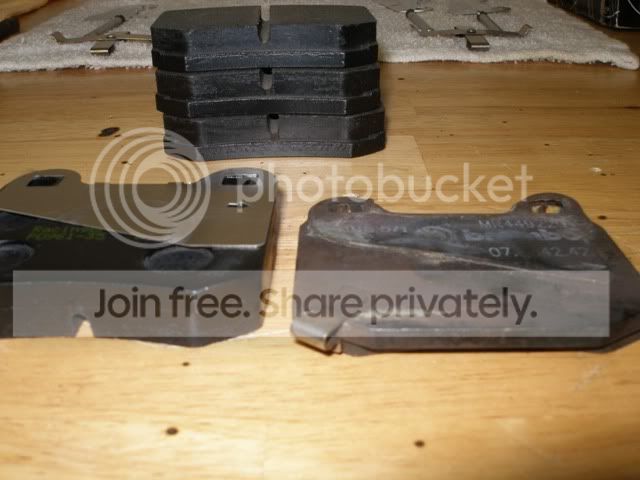
On the right is a stock Brembo pad. You can see it has a built in shim adhered to the pad. The aftermarket pad does not. (The don't have audible wear indicators either) Hopefully that extra built in shim is not important.
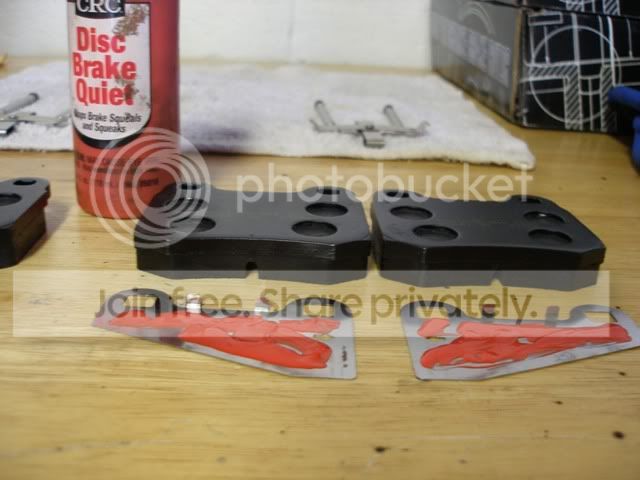
I spread some CRC brake quiet on the back of the shims.
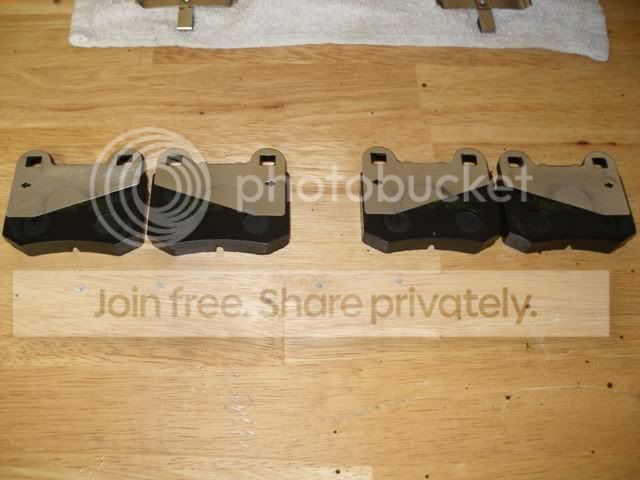
Shims installed
Here I spread some anti-seize on the pad guides of the calipers.
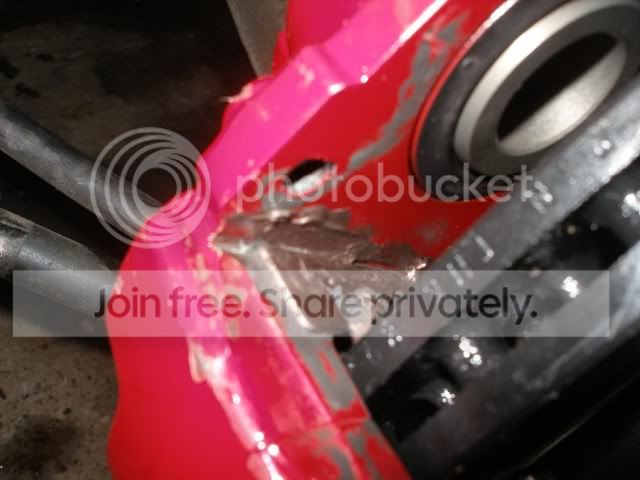
More anti-seize on the side of the pad backing plates and on the shims where the piston makes contact.
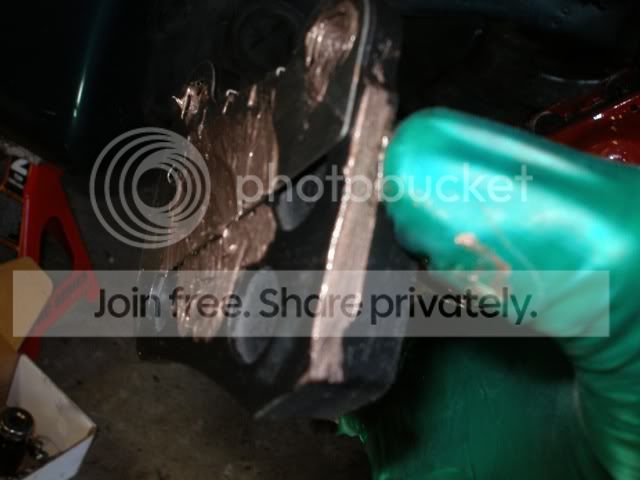
Pad orientation
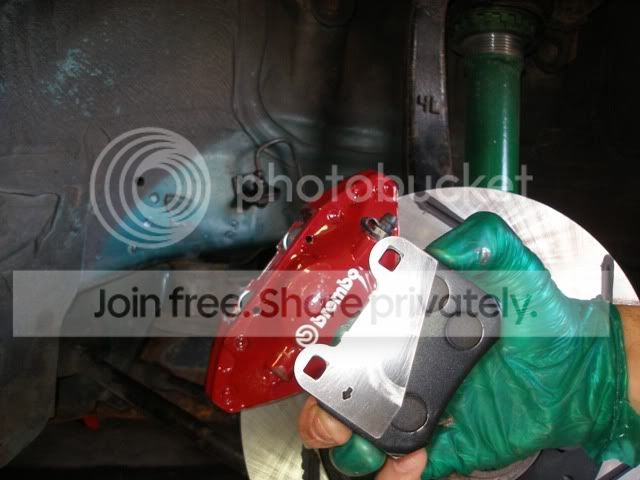
Drop the inside pad in and slide the top pin through to hold it.
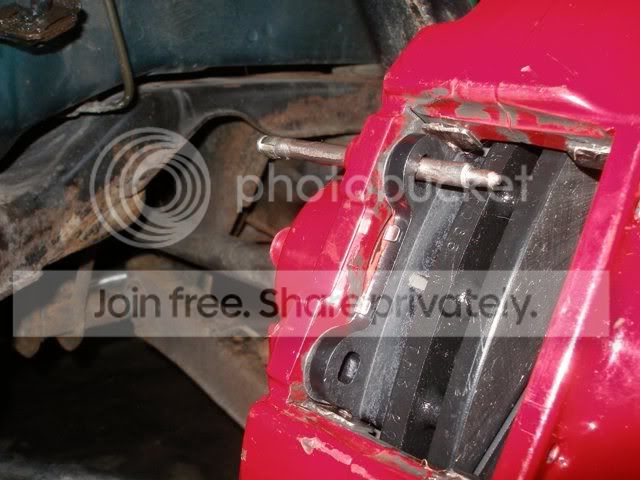
Drop the outboard pad in and slide the top pin the rest of the way.
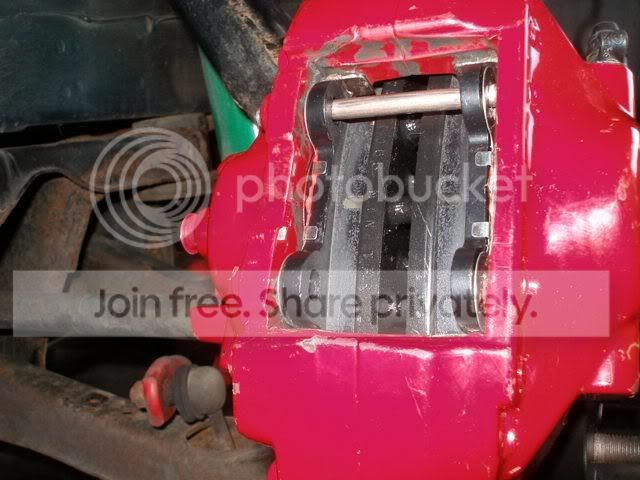
Spread some more grease or anti-seize on the spring where it will contact the top of the pad.
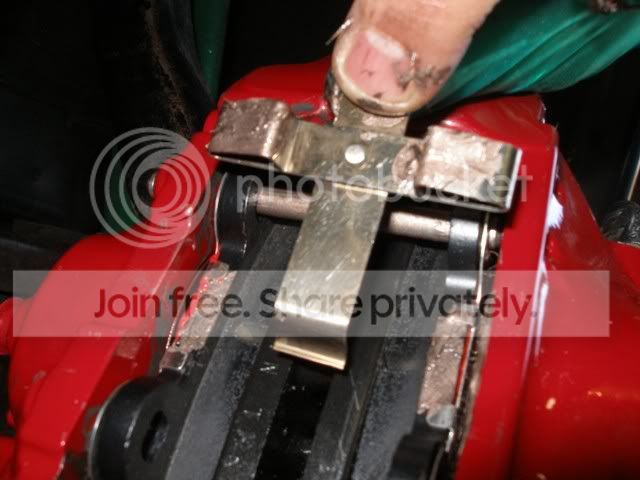
Turn the spring over and dab a little more on top of the spring where the pins ride.
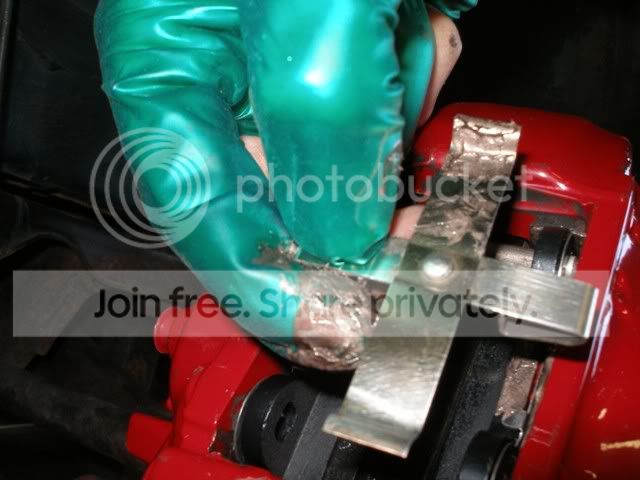
Slide the spring underneath the top pin.
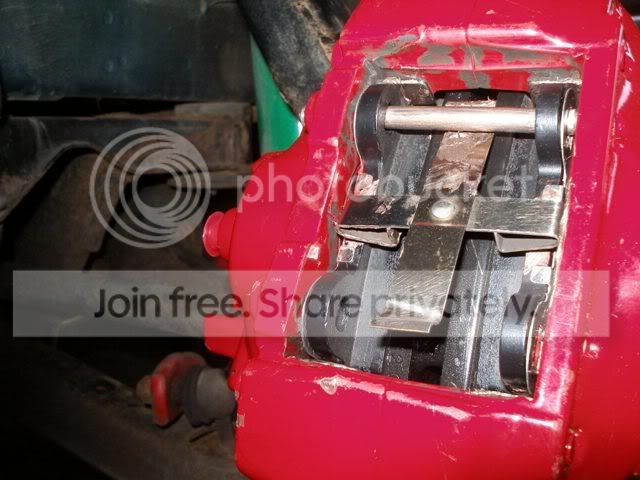
Slide the bottom pin in while pressing down on the spring. Make sure both pins are tapped in completely.
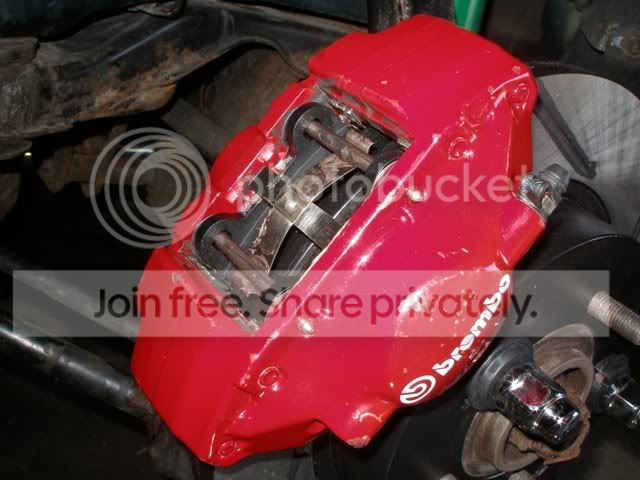
I'm still waiting on the lines and proportioning valve to show up so I can get this finished up. Once I get everything I will have updates.
This is a diagram of the rear Evo brakes. I posted this picture so you can see how the shims should be installed. As you can tell, the wider part of the shim is the leading edge. The arrows on the shim point in the direction of rotation.
On the right is a stock Brembo pad. You can see it has a built in shim adhered to the pad. The aftermarket pad does not. (The don't have audible wear indicators either) Hopefully that extra built in shim is not important.
I spread some CRC brake quiet on the back of the shims.
Shims installed
Here I spread some anti-seize on the pad guides of the calipers.
More anti-seize on the side of the pad backing plates and on the shims where the piston makes contact.
Pad orientation
Drop the inside pad in and slide the top pin through to hold it.
Drop the outboard pad in and slide the top pin the rest of the way.
Spread some more grease or anti-seize on the spring where it will contact the top of the pad.
Turn the spring over and dab a little more on top of the spring where the pins ride.
Slide the spring underneath the top pin.
Slide the bottom pin in while pressing down on the spring. Make sure both pins are tapped in completely.
I'm still waiting on the lines and proportioning valve to show up so I can get this finished up. Once I get everything I will have updates.


 my 2g gsx needs a brake upgrade

















