

Black'95
15+ Year Contributor
- 135
- 8
- Aug 23, 2010
-
East Berlin,
Pennsylvania
Yeah I ddnt explain what I'm talking about too well. I thought your fittings were using existing tapped points on the transmission. Only asking since my transmission is out of the car and I happen to have a Tilton oil pump... I'll probably end up using the drain/fill points for the in/out of the pump. Wish it was easier to get cool oil to the 3rd/4th gears butnits better than nothing. Love the build man. Good luck to you!
If I'm thinking of the correct spot, you're referencing the three bolts right next to each other, and they have a spring and ball bearing behind them. You can't replace those or modify them that I'm aware of, because they're the stops for the gear shifter. Maybe "stops" isn't the correct word, but when you put the car into gear, those ball bearings click into dimples on the shift rails and hold them in place. I'm far from a trans expert, but think they help basically hold the car in gear...
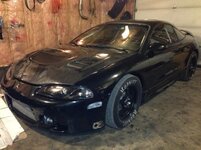
OP, CLEAN car, bro! I was giggling at the sooty spot on your garage door from the exhaust, because I used to have a white cabinet in my garage behind my car. After a couple weeks it looked just like that garage door haha!
 Yeah I tried to keep it clean for a couple years after I built the garage in 05 but just gave up and that was 10 or so years ago. Now you've got my OCD twitching and I can see myself painting it sometime to clean it up. now. Great thanks
  (j/k)
(j/k)")

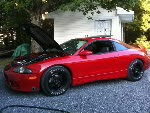

 story of my life. The rear is perfect and I've got them 1.450" higher just to match the front fully slammed.
