elocneas
Proven Member
- 110
- 8
- Oct 11, 2012
-
Nashville,
Tennessee
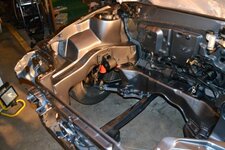
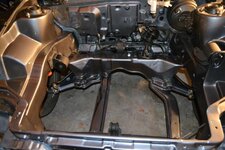
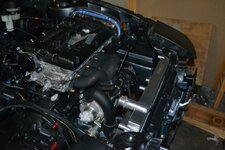
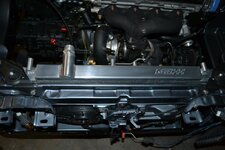
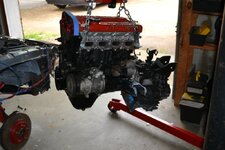
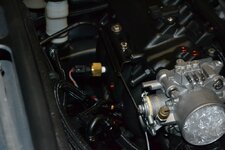
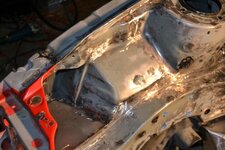
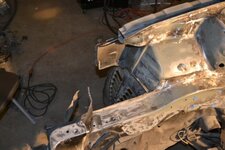
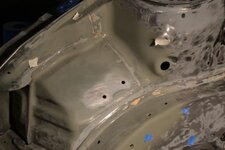
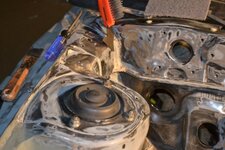
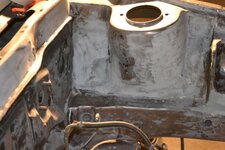
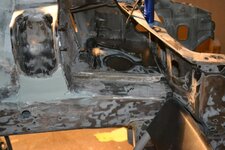
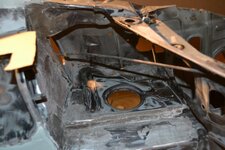
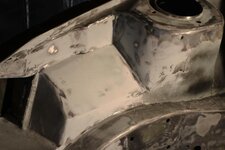
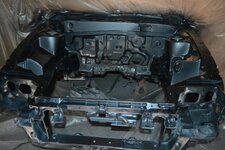
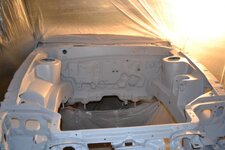
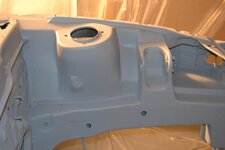
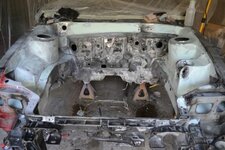
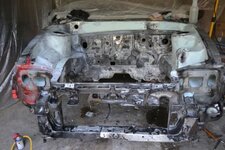
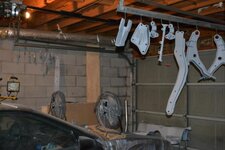
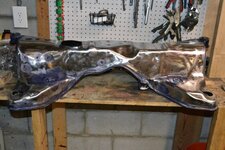
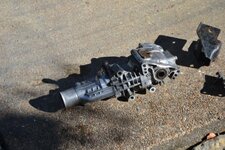
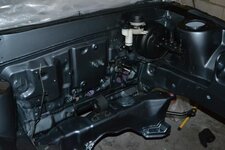
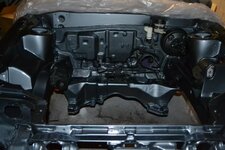
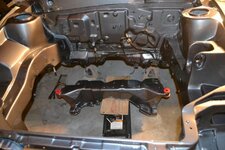
Came to my house on a tow truck 9 months ago. I have since stripped it down and just got the engine bay finished and painted.
The plans for the engine bay are:
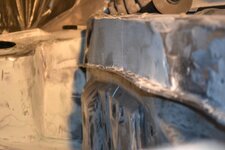
Fuse box and battery relocation, wire tuck starting by moving the harness to come from the middle if the firewall, welded all seams and holes not to be used, relocate brake lines and fuel lines, re shape strut towers and streamline body lines. (replace headlight bucket).
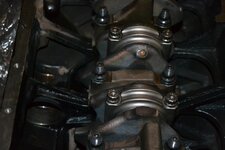
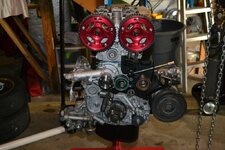
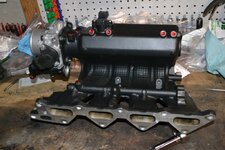
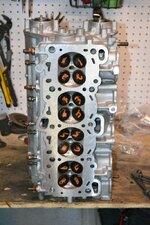
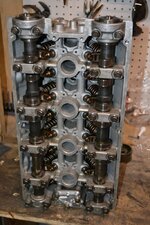
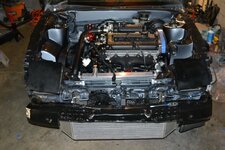
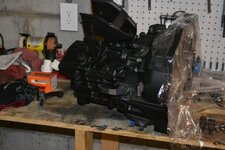
Engine:
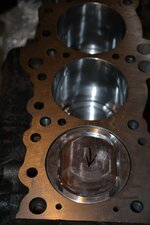
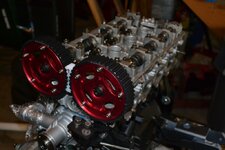
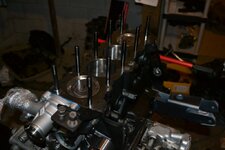
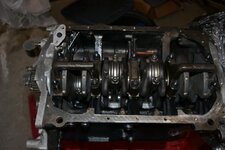
Magnus heat barrier gasket on 1g IM with 3000gt tb and turbo seal upgrade, ngk plug wires, 2g stock ignition, cas with wiring harness for 2g, fuel rail, revised lifters, web 264/265 cams, new valves new valve stem seals, new timing belt, new oil pump, balance shaft deleted, new timing stuff, oe crank pulley, full 6 bolt, with 9:1 compression mahle pistons, with side skirt protection, gas relief ports, floating wrist pins on manley H beam rods, new seals everywhere, all oem, oem MLS head gasket the block was decked along with the head, for perfect fitment.
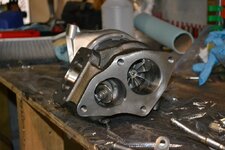
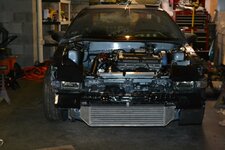
Turbo/ECU setup:
20g TD05 (I have 2 holset turbos with bep to use also), v3 full, ets front mount, aluminum aftermarket radiator, 3" full turbo back exhaust, FP manifold, 1000 cc injectors (going to run E85), tial bov, tial external waste gate, aeromotive FPR.
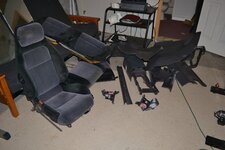
Interior/body:
Not sure yet on some of the mods here but will see as I have all of the interior including the dash out of the car so I can move the fuse box and rewire. I will be removing the rear wiper, fixing some other body issues and giving the car a paint job to match the engine bay.
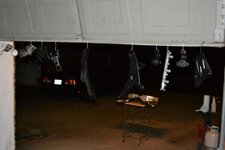
I will update on the other mods as they come along. Here are some pics so far.
The plans for the engine bay are:
Fuse box and battery relocation, wire tuck starting by moving the harness to come from the middle if the firewall, welded all seams and holes not to be used, relocate brake lines and fuel lines, re shape strut towers and streamline body lines. (replace headlight bucket).
Engine:
Magnus heat barrier gasket on 1g IM with 3000gt tb and turbo seal upgrade, ngk plug wires, 2g stock ignition, cas with wiring harness for 2g, fuel rail, revised lifters, web 264/265 cams, new valves new valve stem seals, new timing belt, new oil pump, balance shaft deleted, new timing stuff, oe crank pulley, full 6 bolt, with 9:1 compression mahle pistons, with side skirt protection, gas relief ports, floating wrist pins on manley H beam rods, new seals everywhere, all oem, oem MLS head gasket the block was decked along with the head, for perfect fitment.
Turbo/ECU setup:
20g TD05 (I have 2 holset turbos with bep to use also), v3 full, ets front mount, aluminum aftermarket radiator, 3" full turbo back exhaust, FP manifold, 1000 cc injectors (going to run E85), tial bov, tial external waste gate, aeromotive FPR.
Interior/body:
Not sure yet on some of the mods here but will see as I have all of the interior including the dash out of the car so I can move the fuse box and rewire. I will be removing the rear wiper, fixing some other body issues and giving the car a paint job to match the engine bay.
I will update on the other mods as they come along. Here are some pics so far.
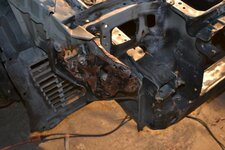
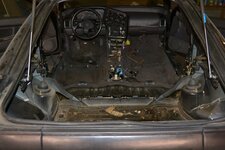
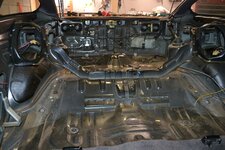

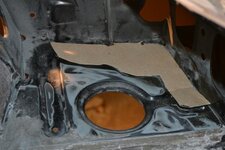
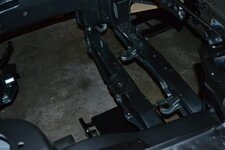

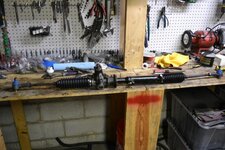
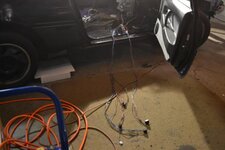
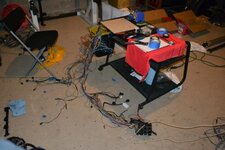
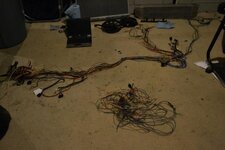
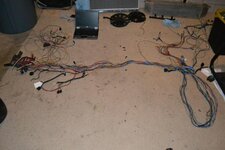
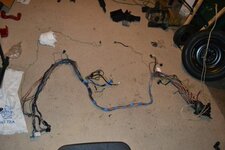
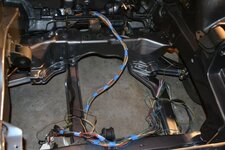
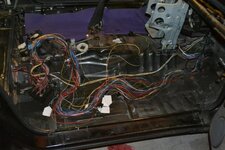
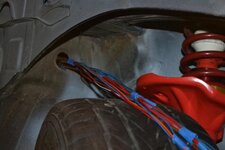
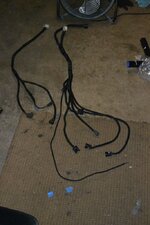
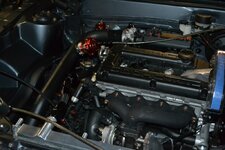
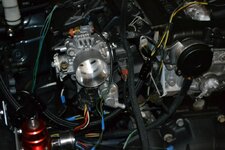
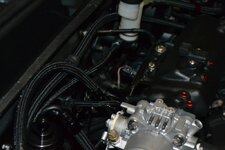
 put it in, ran it, then said what the hell was I thinking. I don't know why my original idea was to run it through the center where I made my hole to relocate the engine harness, but after running it and seeing that big gob of wire I yanked it all out of the car. I decided to do the right thing which is run it inside the car. First I went online to bust out the factory service manual for the wiring circuit diagrams to get familiar with the wire colors and flow. I measured length of the firewall and added a foot to the bulk of the harness. Then chopped the extra wire I was not going to need with the new location moving the fuse box to the glove box. I cut each wire individually taping them securely together so I can solder them later. I then addressed the daisy chain/grounding from the factory by cutting and extending them where needed to make the new harness tails. Before I put it back in the car I soldered and shrink tubed the connections I had taped earlier. I ran the drivers side making my extensions then went and did the same for the passenger side. I drilled a hole in the passenger side to run under the finder. Again went back and soldered and shrink tubed all of my connections.