


AWD-Tony
Proven Member
- 6,787
- 3,746
- Sep 11, 2017
-
Cincinnati,
Ohio
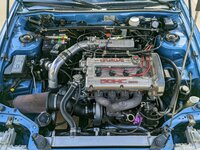
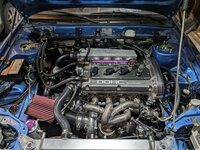
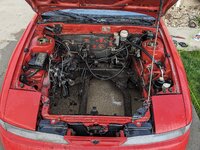
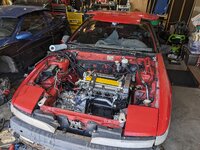
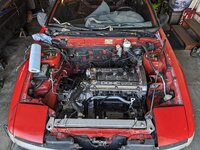
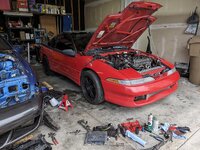
I had to make slight modifications for the girdle to fit. A few spots on the block and yes it was tight against the one bolt for the oil filter housing. I think I took a little off the girdle.