


airmail96
15+ Year Contributor
- 1,077
- 3
- Mar 28, 2005
-
Virginia Beach,
Virginia
So I had a build going in the old journal system before the new one got implimented, but just hadn't taken the time to move everything over to the new system, but today I have some spare time so hopefully I can get everything moved over to here. My plan is to have the main post updated with links to various updates I make in the post for easy categorization.
Return from deployment and Parts list.
Slight Interior Deconstruction
Removing things from the motor
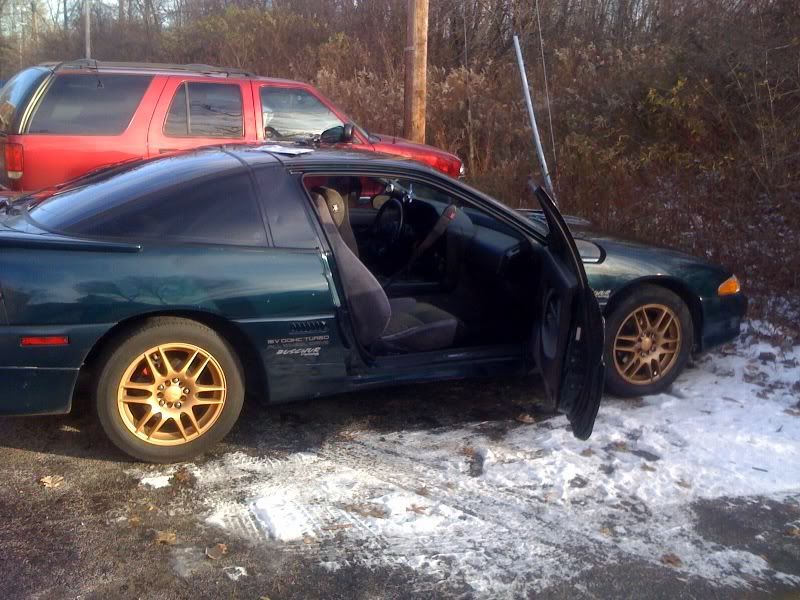
Hey guys what's going on? I just joined this forum and thought I would throw my build up on here even though I am currently stuck on deployment. The reason for the title is this is my third DSM, I lost the first two to accidents so I figure I would give them one more try and if I wreck this one then it's just not ment to be. The car is a 93 Eagle Talon TSi AWD here it is when I picked it up
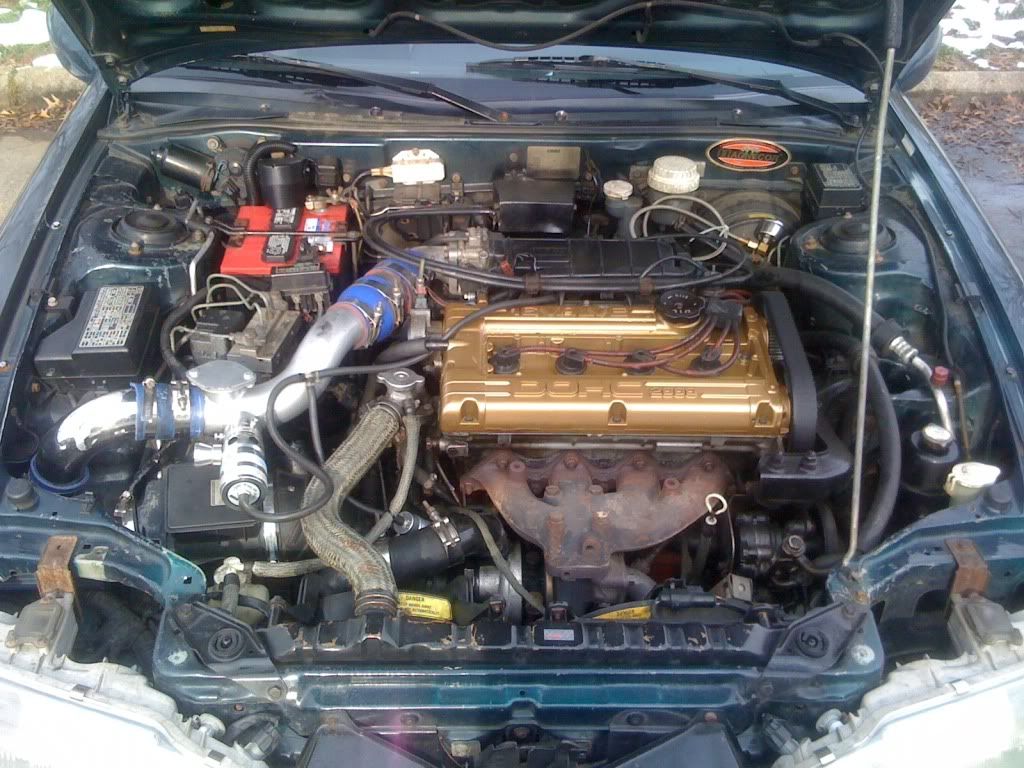
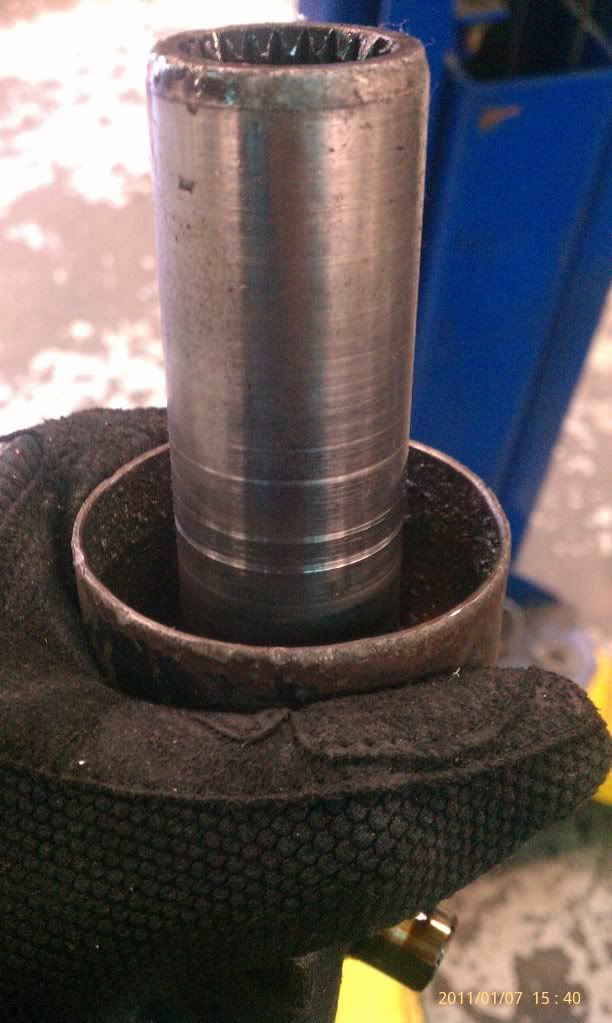
Buschur Stage 1 Block Walbro 255 Hard Upper and lower intercooler pipes Knock Off BOV 2g Mass 550cc injectors Motegis Spray painted copper 16g Turbo (not sure on the size) Bushchur 2.5in Exhaust 2.5 Atmospheric dump Reverse pops out, and the e-brake doesn't work . Shortly after I got it home I noticed a leak comnig from the transfer case didn't really think anything of thought maybe it was over filled, being my first AWD I just kind of drove it around fillnig it up occasionally and then looked into the recall, got the recall performed (Brand New t-case from the dealer) about 6 months later as I was halfway home to West Virginia I start hearing a horrible sound, needless to say ran the t case dry causing complete an utter chaos inside metal shavings everywhere inside. Got a new T-case and that one too was leaking so I knew it had to be something specific to the car I searched around and found the T-case recall kit. This is what my old yoke looked like.
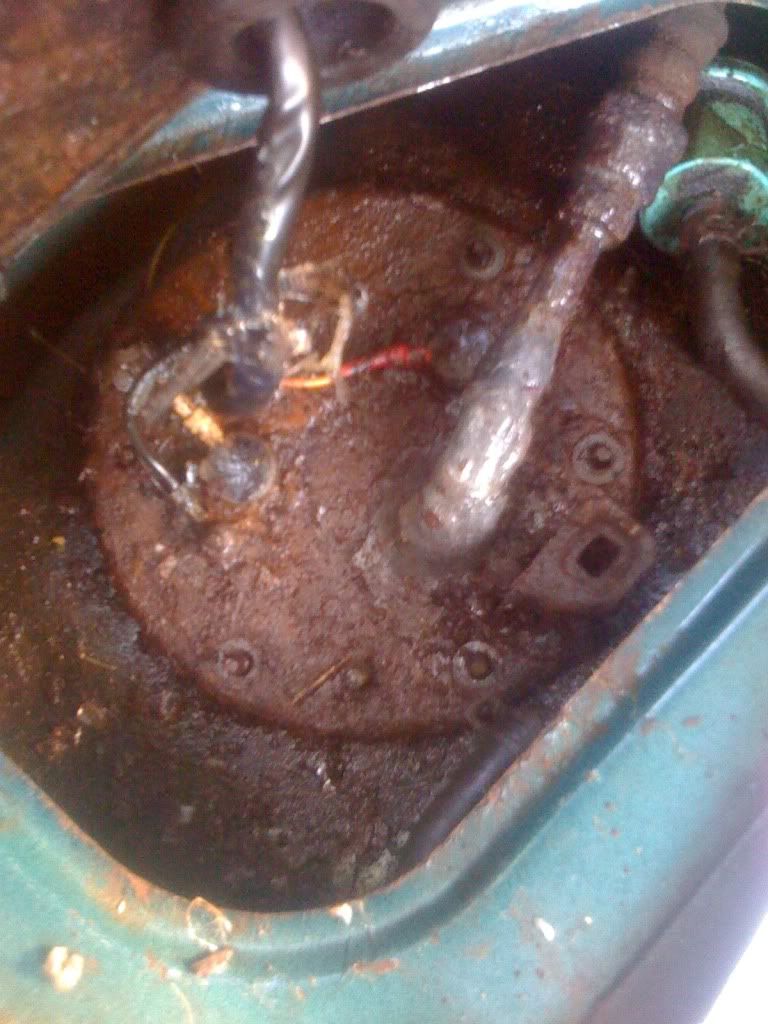
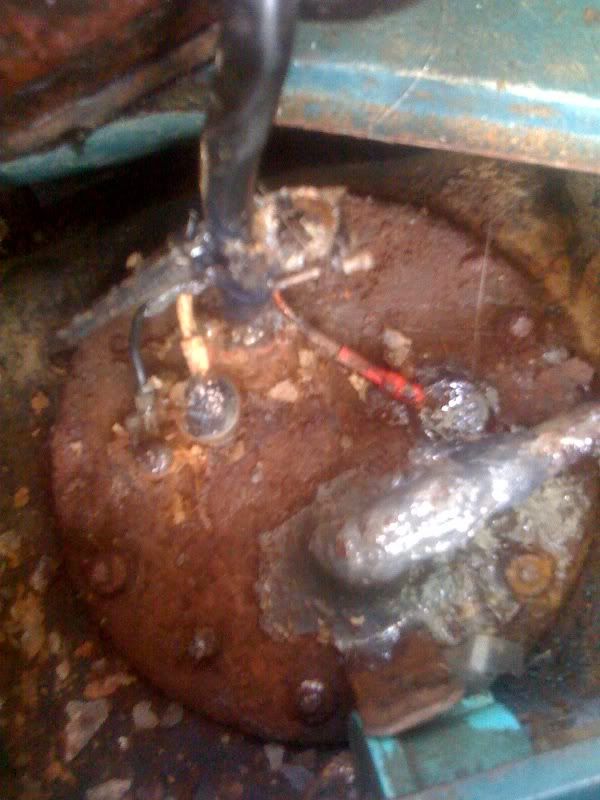
With the new yolk on there was no more leaks, go figure I wish I would have done that one a long time ago, not really sure what I was so afraid of. While I was under there I went ahead and installed the aluminum driveshaft support bushings, didn't really notice anything different between them and the old ones. The next thing that happened to her was one day while getting gas I noticed something leaking underneath the car from the driver side right behind the rear tire, squated down touched it and smelled it low and behold it was gas. So I drive back home and start looking around, come to find out the feed line coming off the sending unit had rusted so bad it was leaking I tried to patch it with some JBweld with no luck.
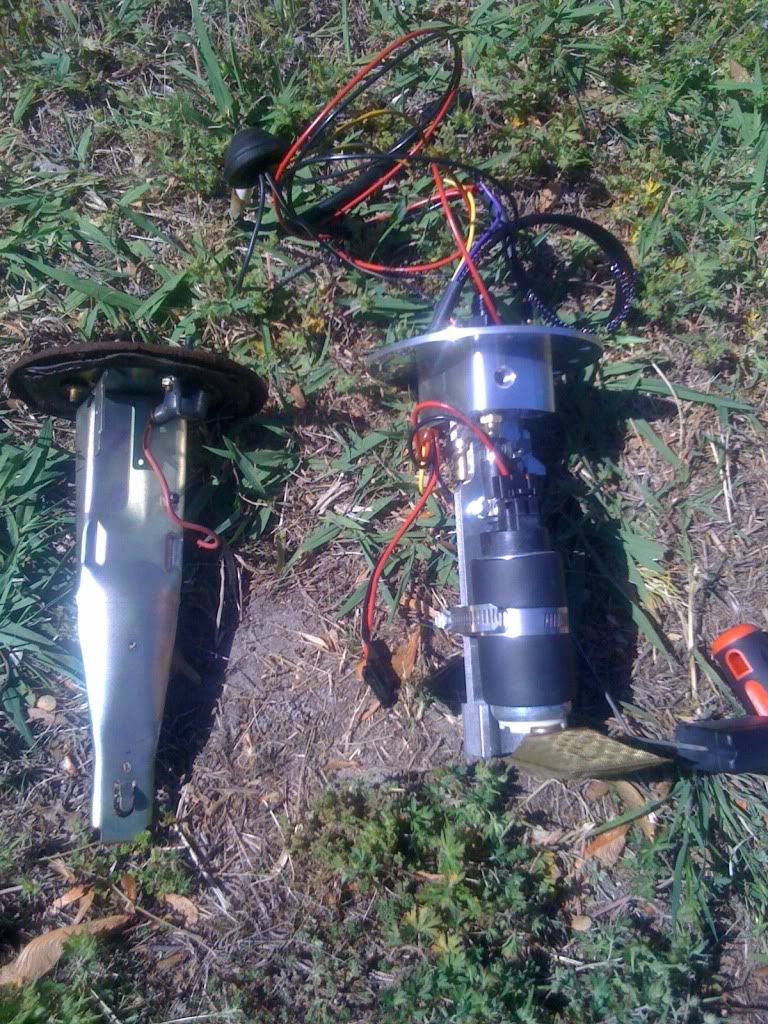
At this point I decided to say screw it, so I surfed on over to STM and bought the Full Blown Motorsports Dual pump intank setup with their -6an tank to rail kit, figured I never wanted to go through this again. When I recieved the Full BLown kit I was kind of suprised at just how simple the thing was. Looking back at this purchase I wish that I would have gone with the Buschur double pump unit just for the simplicity of the wiring.
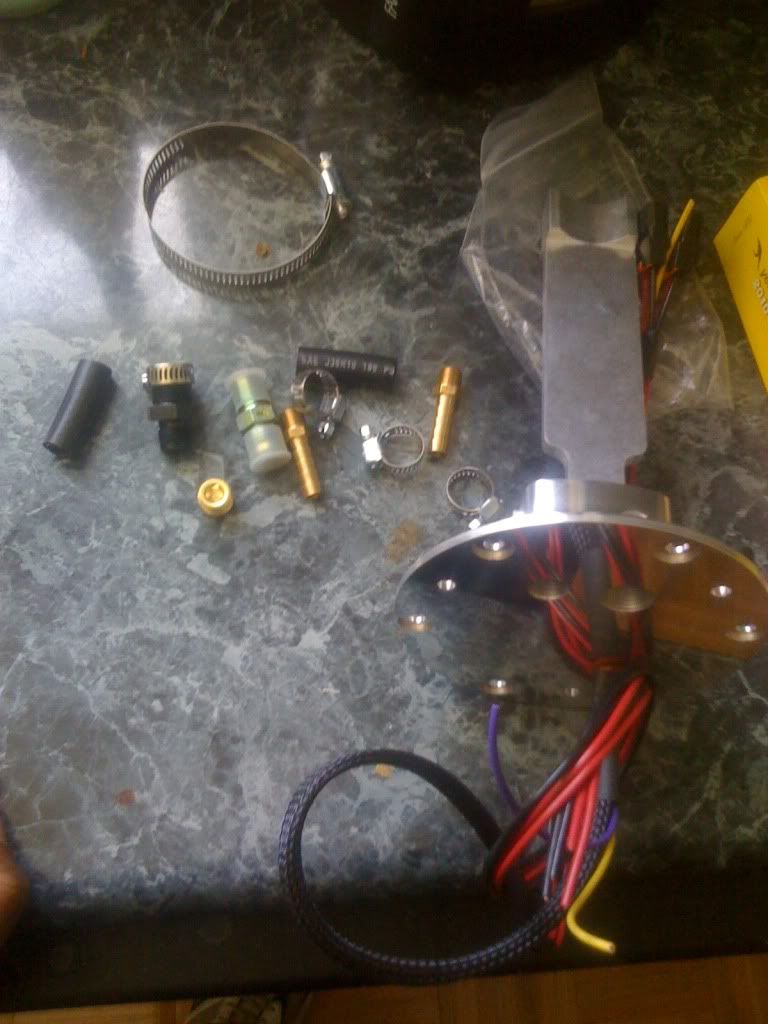
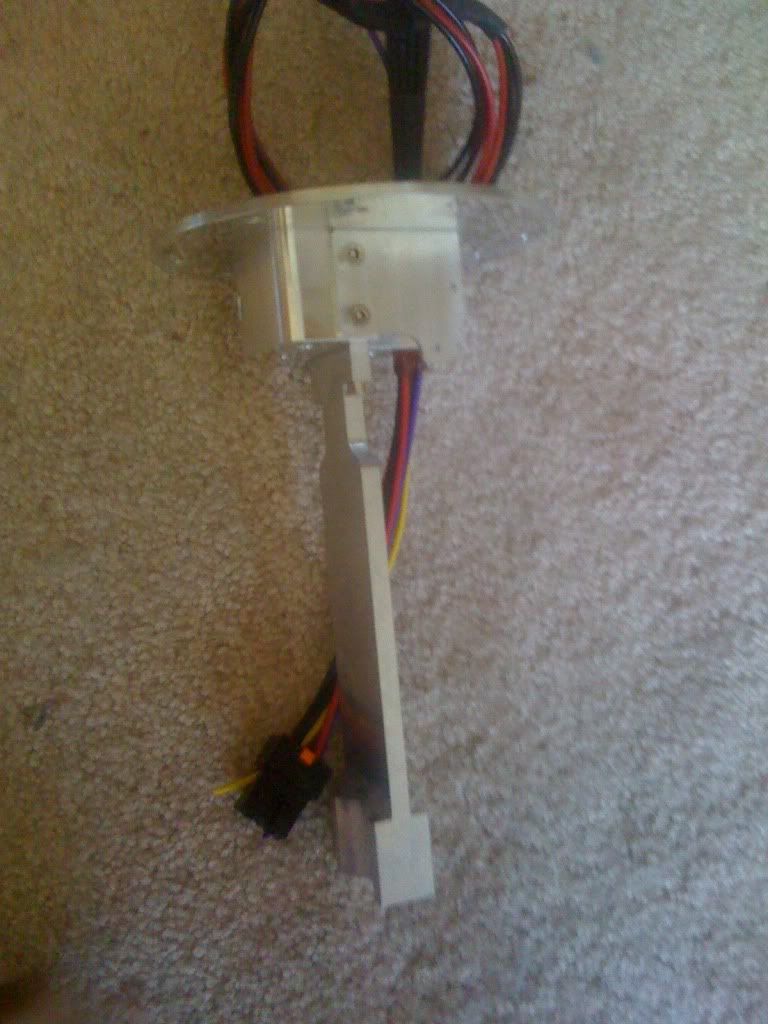
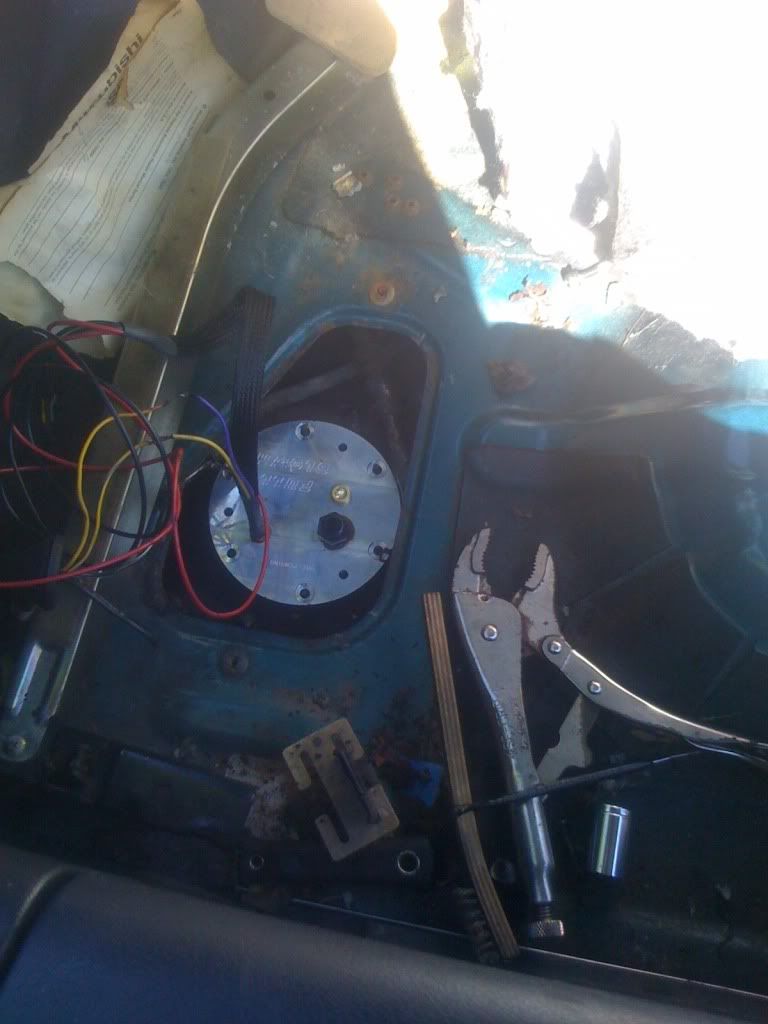
Luckily I managed to get the old sending unit out without snappnig a single nut or anything, but while installnig the new one well lets just say I broke 5, so for the time beign the car constantly has a gas smell yummy.
 .
.
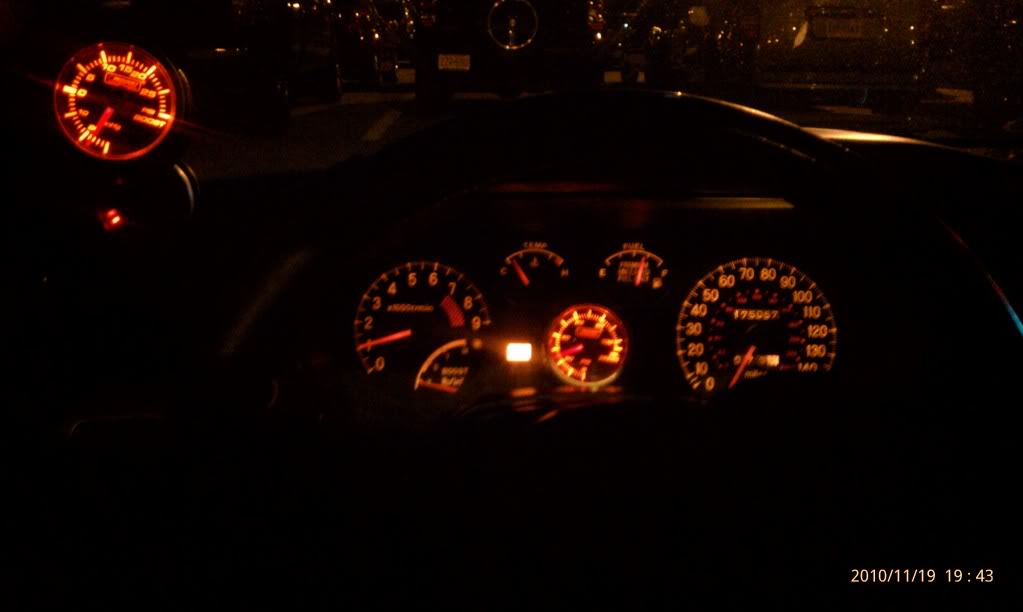
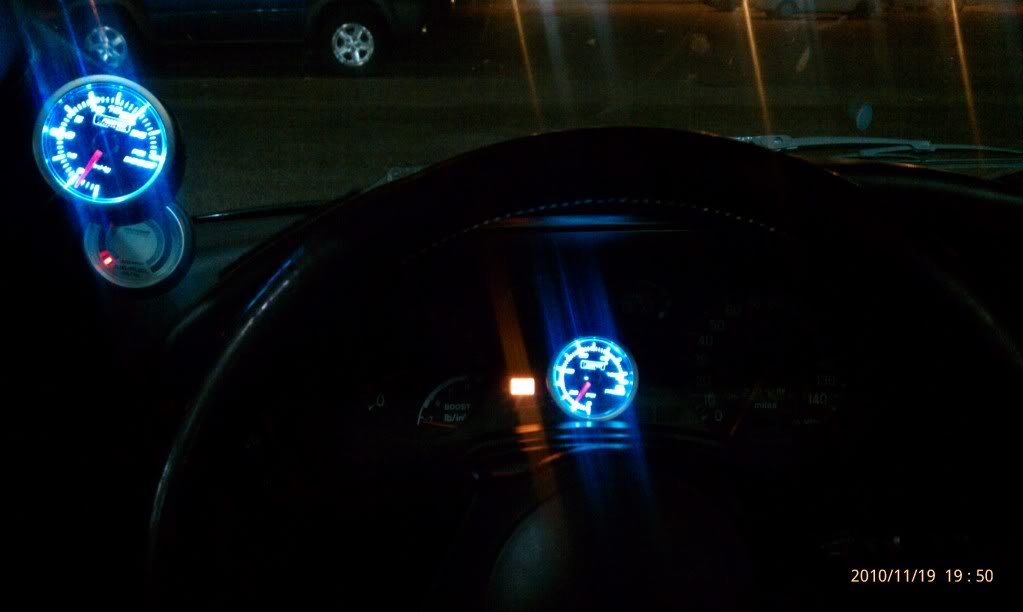
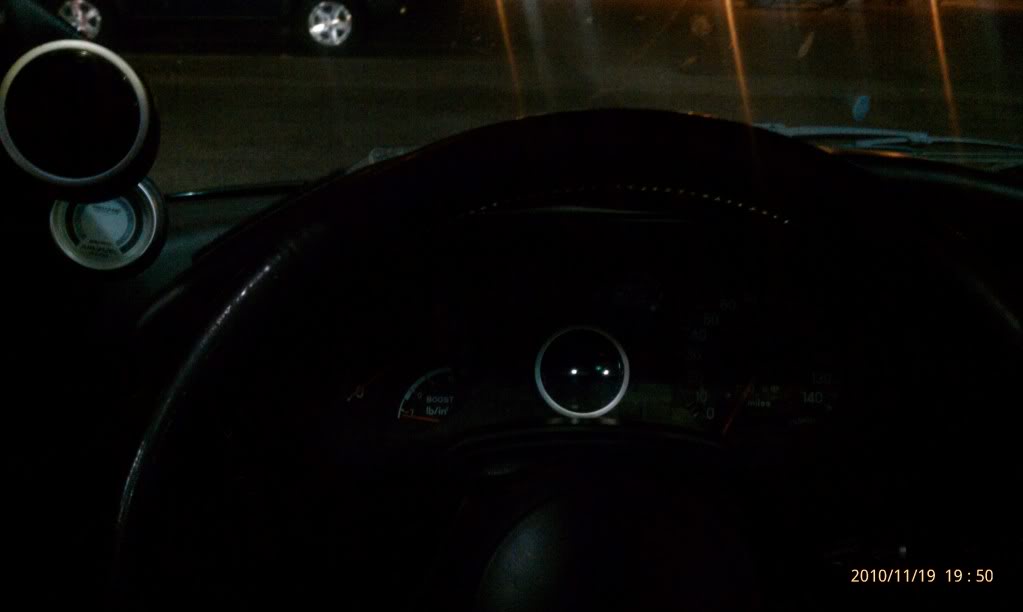
I also took the time to go ahead and wire up my new Prosport boost and oil pressure guage.
 night time
 day time
 off.
off.
After all of that I just drove the car around fixing the little odds and ends until, one day after doing a third gear pull as I was slowing down I heard a thunk and something dragging, after pulling over I looked udner the car and saw this. WTF
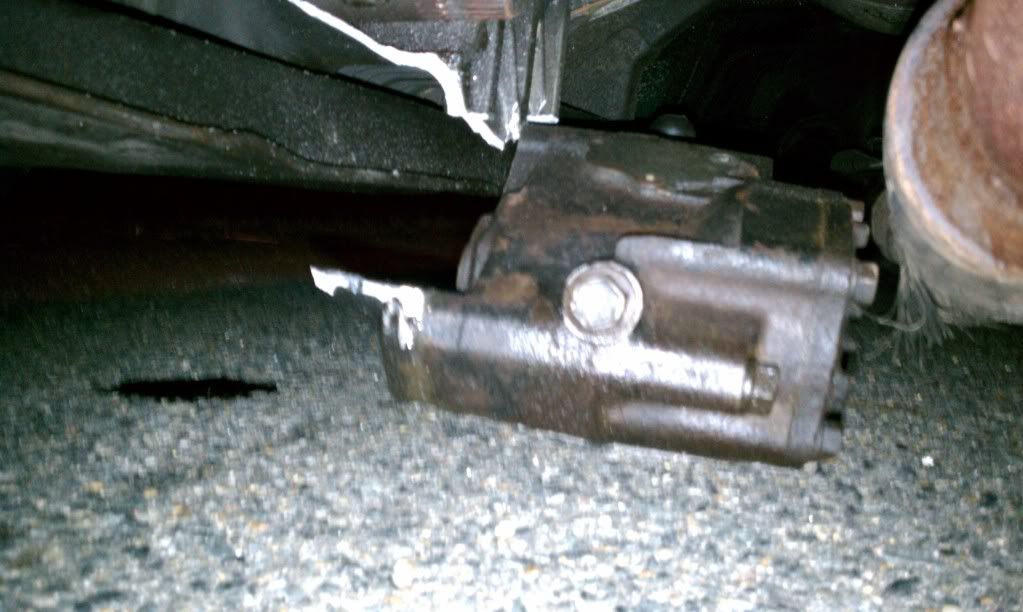
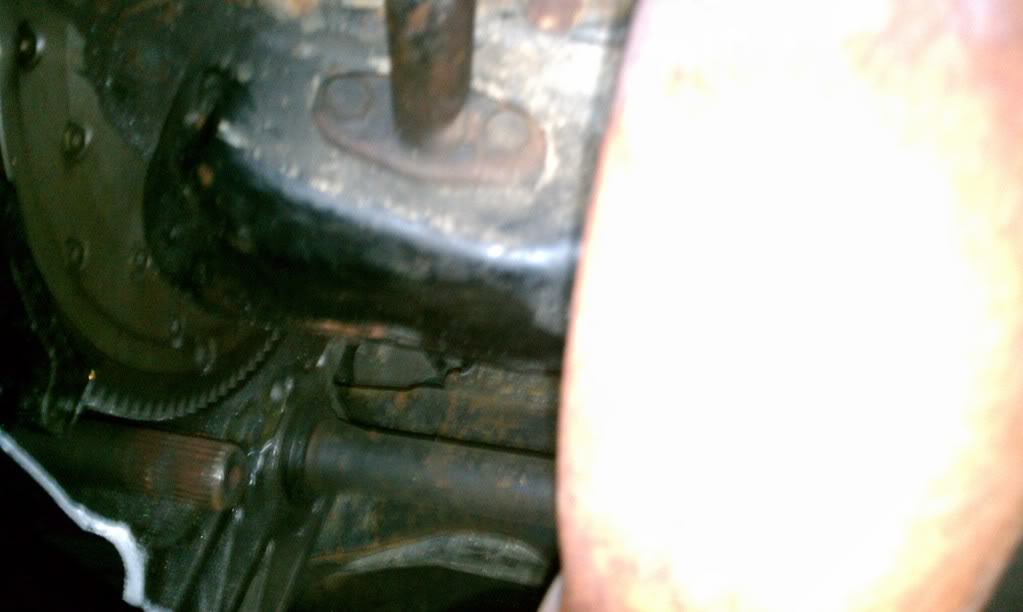
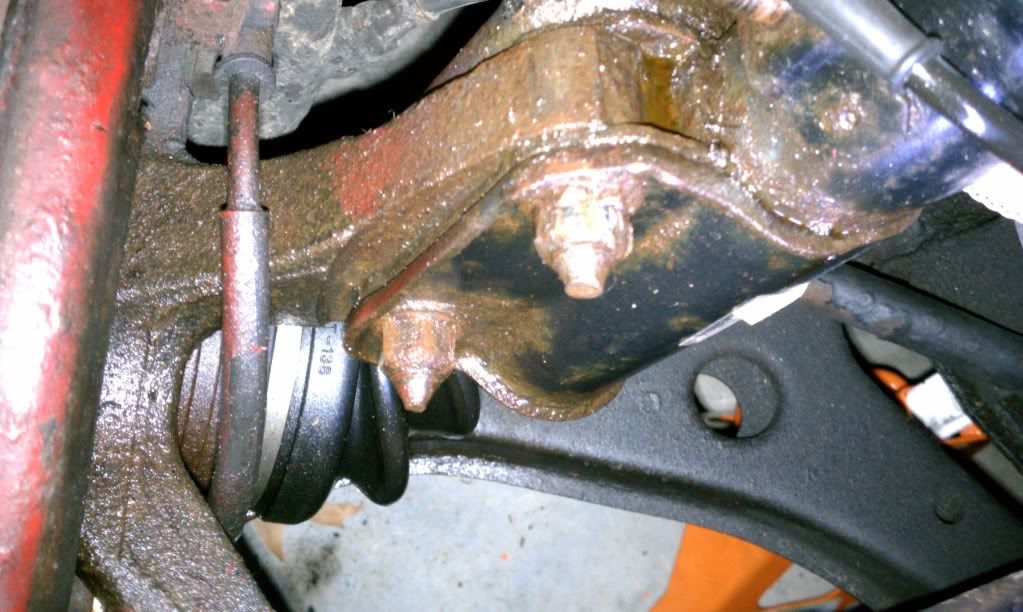
Yup T-case took a chunk out of my bell housing and dropped on the ground still attached to the driveshaft. At that ponit I decided it was time to build her I had just moved in with a friend from the ship and he offered to let me use part of his garage (shame on him). I don't know how some of you guys get your transmissions out so fast. There was so much rust build up on the shock towers it was insane it was my first time ever using a propane torch to break bolts loose though I wish I would have discovered how well that stuff works sooner. The passanger side had been taken loose before, but the drivers side looked like it had never been touched.
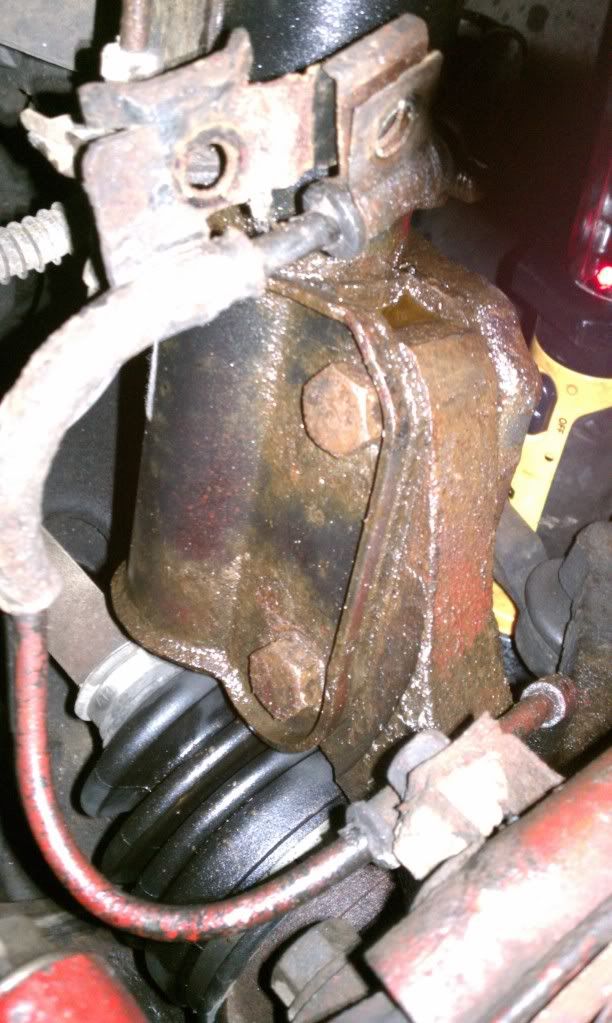
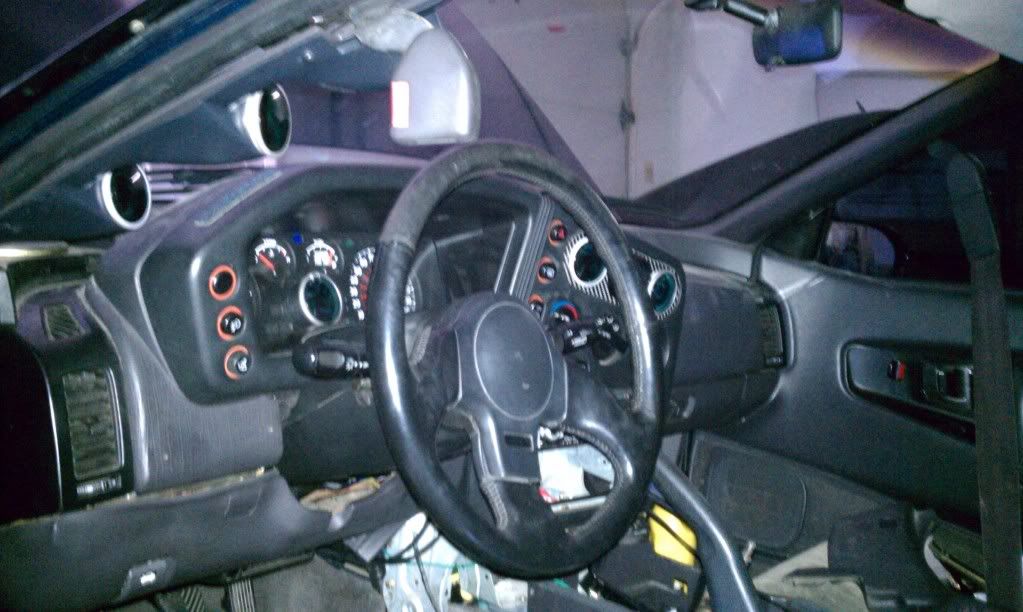
As I was working my way through the rust I started to accumulate parts: Avid Racing Motormounts (Driver, passanger, rear), Arp head studs, Spearco Core intercooler, AEM Tru-Boost, Tial Q Bov, Jays Racing Alternator relocation kit, Walbro 255, Prosport AFR Wideband, Coolant Temp, Voltage gauges and then I got sent on deployment 4 months early the only thing that I was able to do before we left was Install the transmission back in with the avid racing mount and wire up the guages in the interior and hook up the tru-boost.
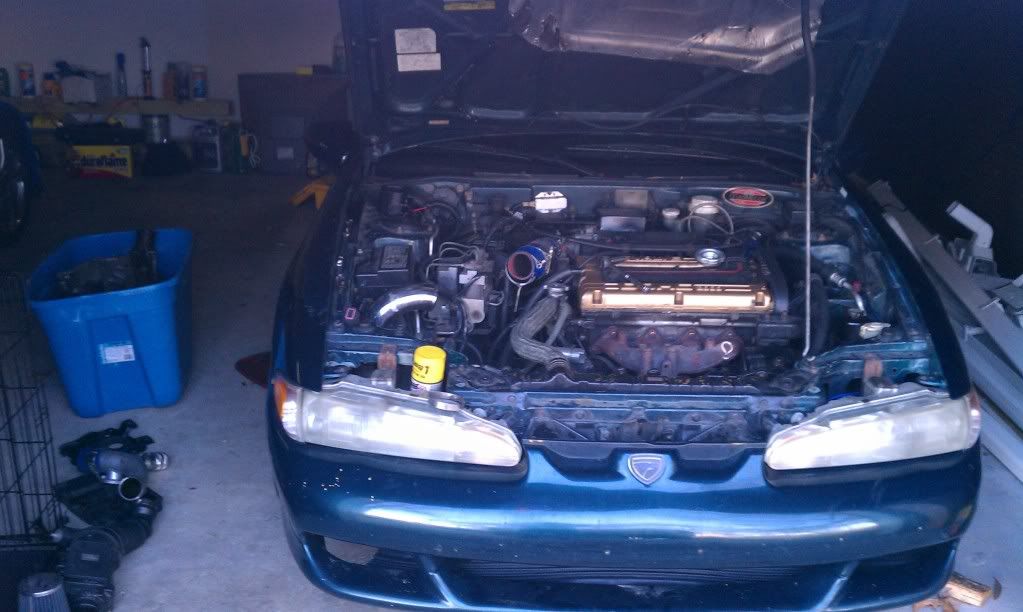 Jackstand racing :-( Since I have been out I have acquired some more parts: FP2 cams, Hawver Intake Manifold, JMFab Fuel Cell, JMFab race support bumper, Tial MV-S, 1680cc Fic Hi-z injectors, Passanger side knuckle, shifter cables, and ebrake cables. For tunning I plan to use my DSMap/Werewolf SD setup that I had from my last DSM. Also plan on running E-85 since we have a couple stations that sell it around where I am stationed at.
Return from deployment and Parts list.
Slight Interior Deconstruction
Removing things from the motor
Hey guys what's going on? I just joined this forum and thought I would throw my build up on here even though I am currently stuck on deployment. The reason for the title is this is my third DSM, I lost the first two to accidents so I figure I would give them one more try and if I wreck this one then it's just not ment to be. The car is a 93 Eagle Talon TSi AWD here it is when I picked it up
Buschur Stage 1 Block Walbro 255 Hard Upper and lower intercooler pipes Knock Off BOV 2g Mass 550cc injectors Motegis Spray painted copper 16g Turbo (not sure on the size) Bushchur 2.5in Exhaust 2.5 Atmospheric dump Reverse pops out, and the e-brake doesn't work
. Shortly after I got it home I noticed a leak comnig from the transfer case didn't really think anything of thought maybe it was over filled, being my first AWD I just kind of drove it around fillnig it up occasionally and then looked into the recall, got the recall performed (Brand New t-case from the dealer) about 6 months later as I was halfway home to West Virginia I start hearing a horrible sound, needless to say ran the t case dry causing complete an utter chaos inside metal shavings everywhere inside. Got a new T-case and that one too was leaking so I knew it had to be something specific to the car I searched around and found the T-case recall kit. This is what my old yoke looked like.With the new yolk on there was no more leaks, go figure I wish I would have done that one a long time ago, not really sure what I was so afraid of. While I was under there I went ahead and installed the aluminum driveshaft support bushings, didn't really notice anything different between them and the old ones. The next thing that happened to her was one day while getting gas I noticed something leaking underneath the car from the driver side right behind the rear tire, squated down touched it and smelled it low and behold it was gas. So I drive back home and start looking around, come to find out the feed line coming off the sending unit had rusted so bad it was leaking I tried to patch it with some JBweld with no luck.
At this point I decided to say screw it, so I surfed on over to STM and bought the Full Blown Motorsports Dual pump intank setup with their -6an tank to rail kit, figured I never wanted to go through this again
. When I recieved the Full BLown kit I was kind of suprised at just how simple the thing was. Looking back at this purchase I wish that I would have gone with the Buschur double pump unit just for the simplicity of the wiring. Luckily I managed to get the old sending unit out without snappnig a single nut or anything, but while installnig the new one well lets just say I broke 5, so for the time beign the car constantly has a gas smell yummy.
I also took the time to go ahead and wire up my new Prosport boost and oil pressure guage.
After all of that I just drove the car around fixing the little odds and ends until, one day after doing a third gear pull as I was slowing down I heard a thunk and something dragging, after pulling over I looked udner the car and saw this. WTF
Yup T-case took a chunk out of my bell housing and dropped on the ground still attached to the driveshaft. At that ponit I decided it was time to build her I had just moved in with a friend from the ship and he offered to let me use part of his garage (shame on him). I don't know how some of you guys get your transmissions out so fast. There was so much rust build up on the shock towers it was insane it was my first time ever using a propane torch to break bolts loose though I wish I would have discovered how well that stuff works sooner. The passanger side had been taken loose before, but the drivers side looked like it had never been touched.
As I was working my way through the rust I started to accumulate parts: Avid Racing Motormounts (Driver, passanger, rear), Arp head studs, Spearco Core intercooler, AEM Tru-Boost, Tial Q Bov, Jays Racing Alternator relocation kit, Walbro 255, Prosport AFR Wideband, Coolant Temp, Voltage gauges and then I got sent on deployment 4 months early the only thing that I was able to do before we left was Install the transmission back in with the avid racing mount and wire up the guages in the interior and hook up the tru-boost.
Last edited by a moderator:
















