


LiquidX
DSM Wiseman
- 8,280
- 132
- Sep 19, 2008
-
Anywhere,
Pennsylvania
Since I got the car back and had nothing to do, I decided to do some wire "tucking". Not exactly hiding a lot but moving things around. It was going good, cutting the loom, removing tape, re taping and re routing. I was just working on the section of the harness that goes onto the intake manifold.
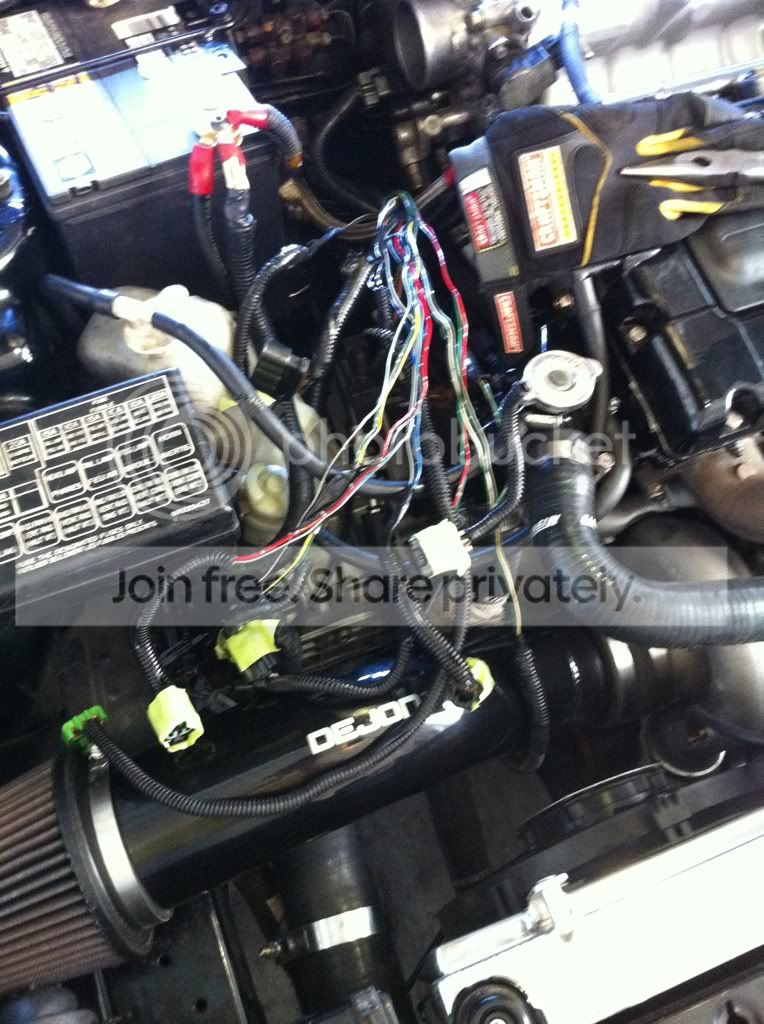
Here are all of the plugs striped from the harness. Injectors 1-4, AC compressor, transistor, noise condenser, coil pack, CPS, MAP sensor.
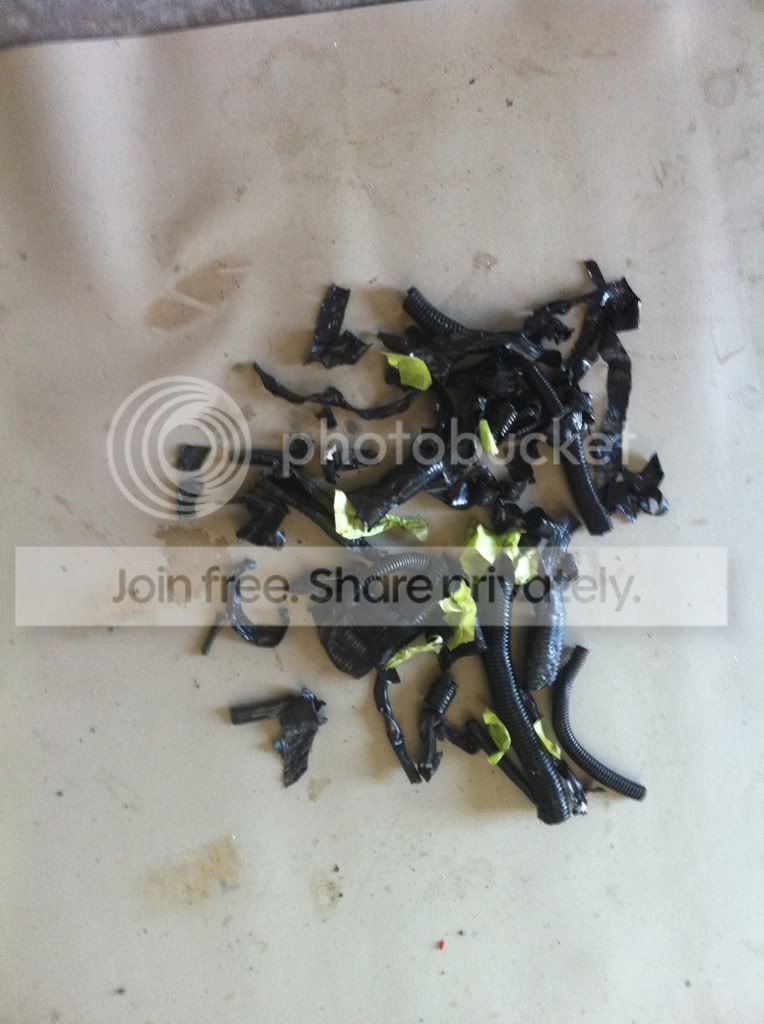
This is all of the old loom and tape that I removed.
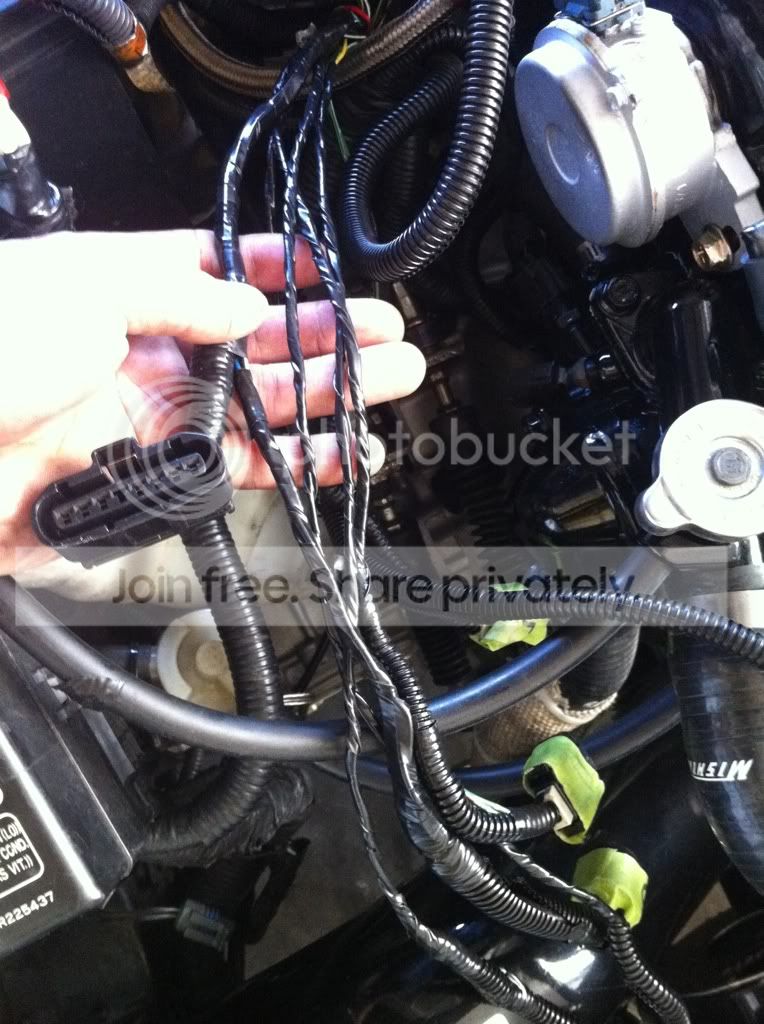
After taping them up.
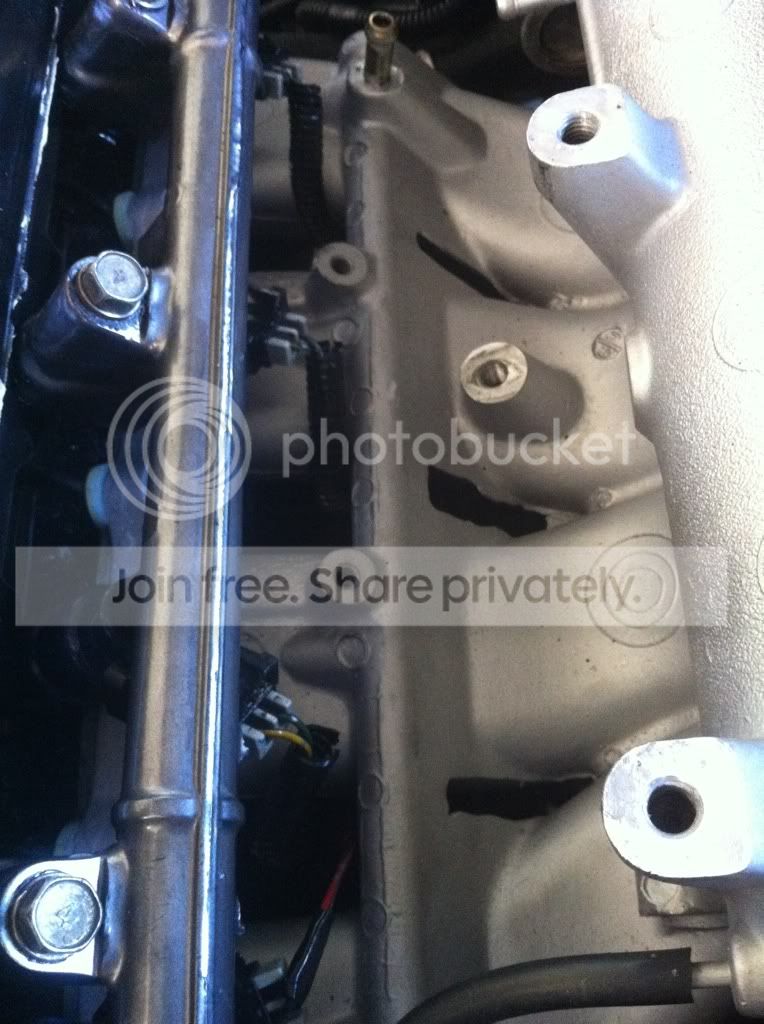
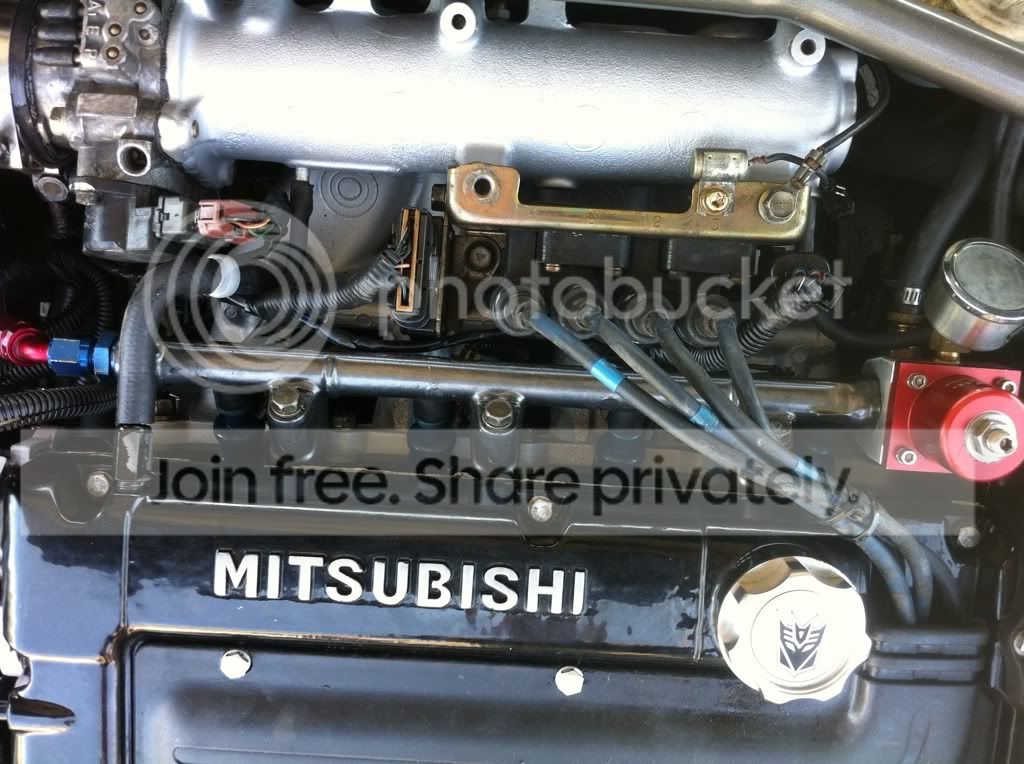
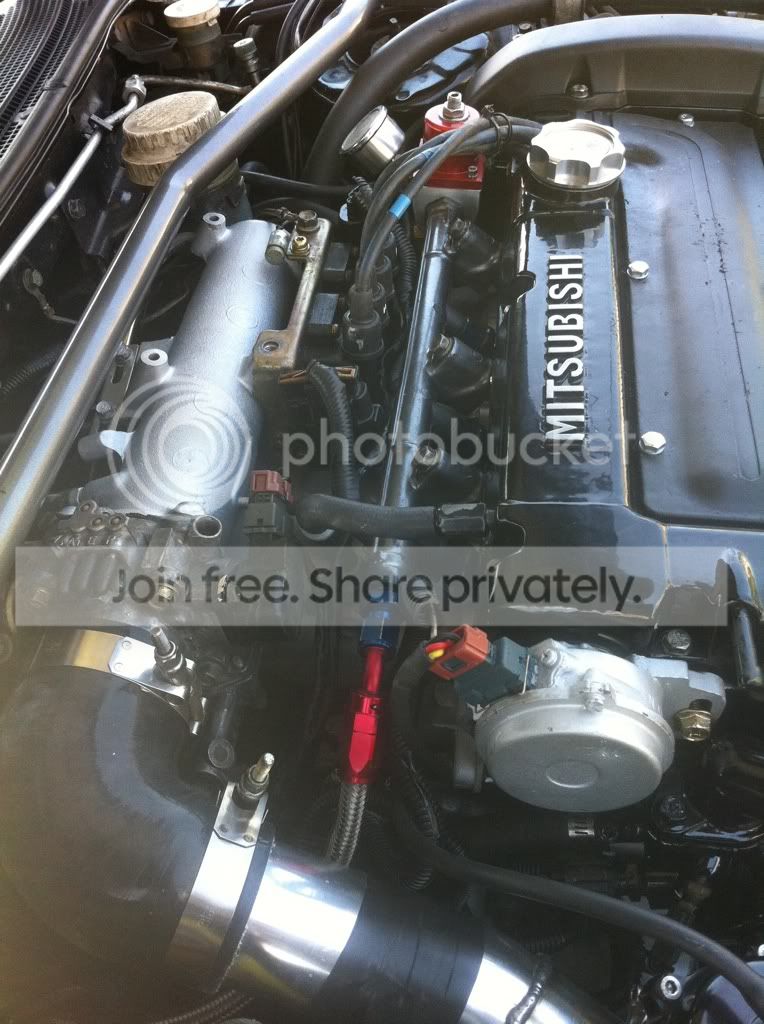
I routed the injector wires under the intake manifold and up in between each runner. On the EvoIII intake manifold, I did not need to cut any injector wires which was a huge plus.
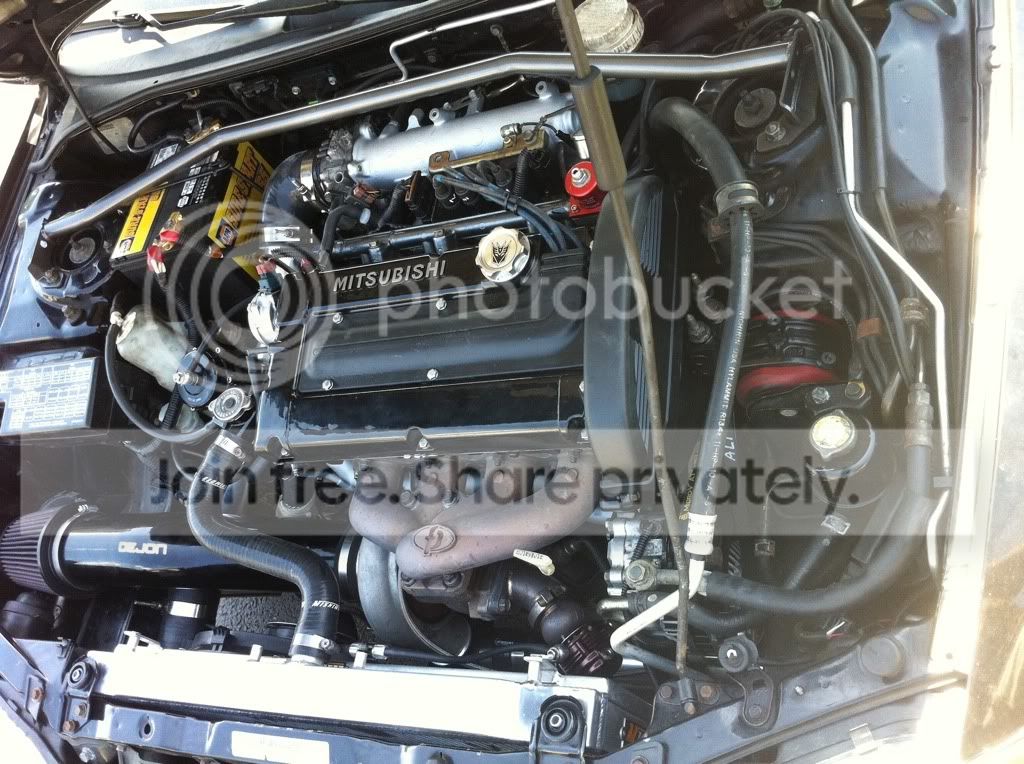
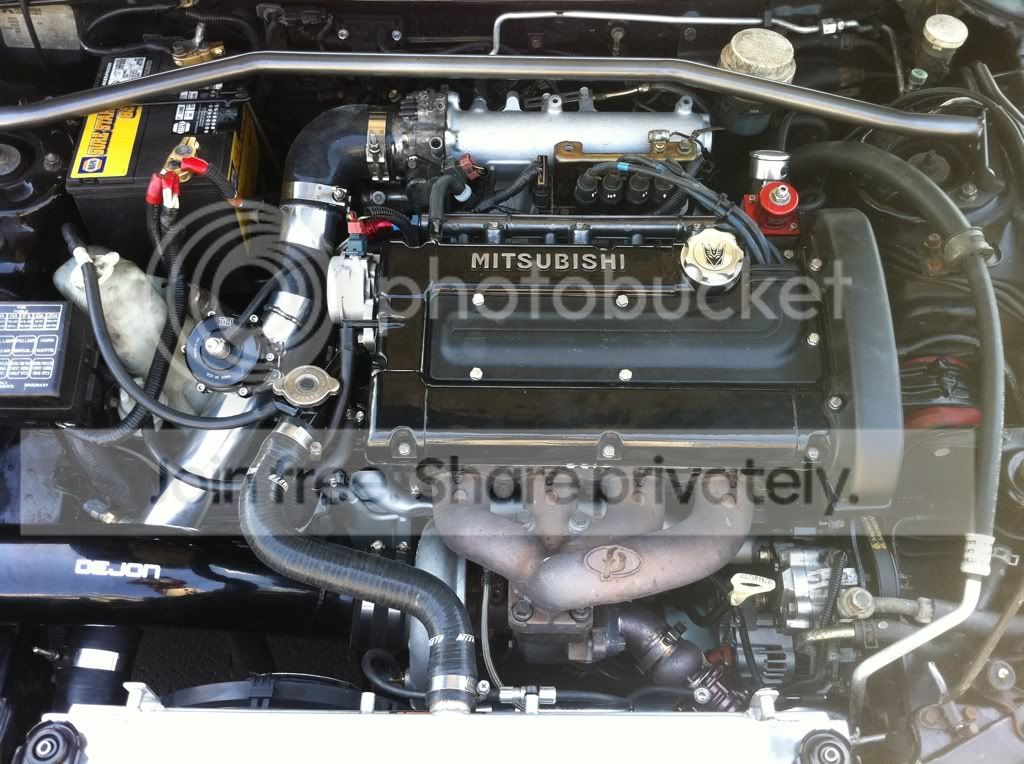
The noise condenser, AC, CAS plug and the CPS plug were routed under the intake manifold and now sit by the AC compressor. As you all know, they normally are routed on top of the intake runners next to the rail. This cleaned up a bulk of the wires from sight.
I did need to extend the noise condenser wire as it wasn't long enough to reach the capacitor that is attached to the coil pack.
The transistor and coil pack wires were taped up and left routed on top of the manifold. I think it still looks exceptional.
The MAP sensor wires where are tapped into the MDP wires, needed shortened. They were long enough when the harness was routed the stock way but moving everything let me remove about 8" of wire from that connection.
Here is the final product.
I did run into a problem however. After doing all of this I went to start the car and nothing. It would crank for as long as the key was on but it would never catch. The radiator fan would be running as the car died which was odd. Giving it gas allowed it to run but it sounded like it was on 2 cylinders and it was puffing smoke out the back. Now I'm completly depressed trying to figure out what happened.
I went over every wire and connection and verified they were all plugged in and plugged into the correct sensor. I came to find out that injector plug #1 had bare wire showing on each wire. I tape it up and I still have the same issue.
I call Brian (Snowborder0) and he comes by to take a look. We get link hooked up and take a look at a log with the car turned off and see some very odd sensor values. Coolant temp was -70*, IAT was -40*, throttle position was a constant 100%, TPS voltage was staying right around 4.85v and adjusting the TPS wouldn't change any values.
He has a bright idea and gets on the ECMLink wiki and tells me about the "ECU sensor ground" and how it could be burned out as the symptoms I'm receiving are very, very similar. We procede to pull the ECU out and open the case.
Here is what we find.
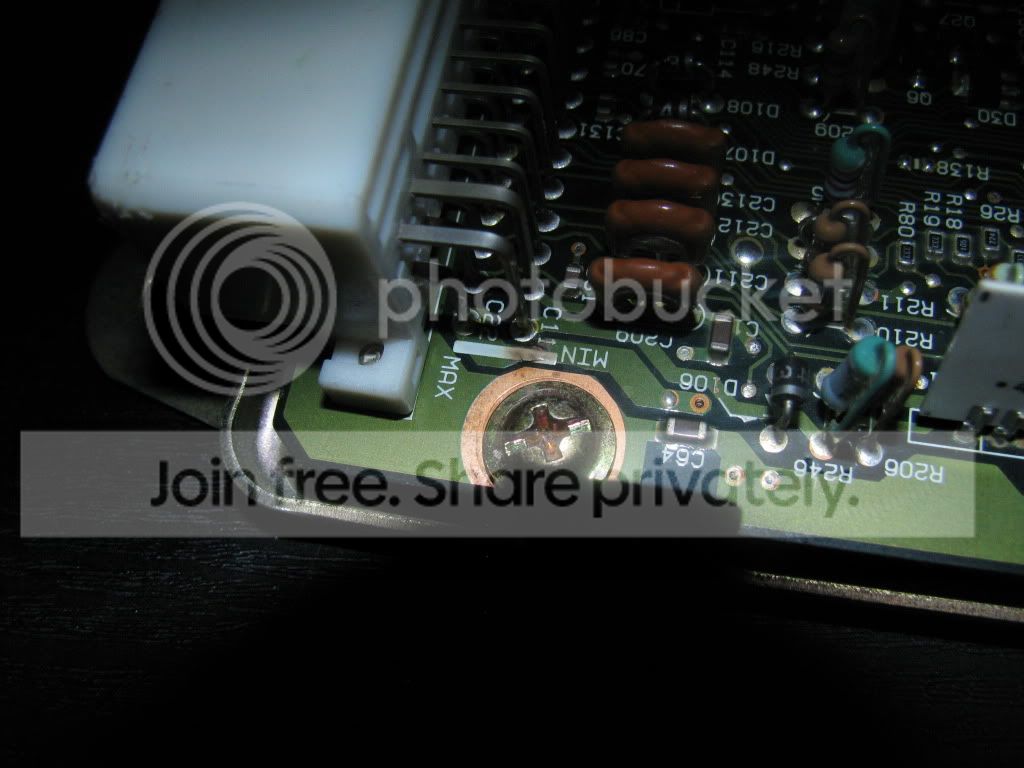
The white strip with the brown on it is a blown trace for the sensor ground. This was confirmed by Tom from ECMTuning. There are only a few ways that it could go out and that ground is not to see more than 5v otherwise it will blow.
So today, I decided to tackle this some more and try to figure out what the issue is with why it blew. Fixing the trace without fixing the cause will just cause it to blow again or damage something else.
I wouldn't suggest doing this yourself if you don't know about electronics or how to properly solder. Too much heat can damage other board components or damage the part you are attempting to fix. Having solder touch something else can cause a short and damage the board, cause a fire, and/or damage other vehicle electronics.
I followed these instructions to help locate the fault. Surprisingly, both the resistance test and voltage test passed so I can only suspect that the injector wires were the cause. To back that up, I also received a p0201 code which is an injector #1 fault.
So I decided to fix the trace myself and made a jumper out of some copper wire stands that were twisted together and then all soldered. Put it onto the board where I had a couple dots of solder waiting on the traces and then soldered it in.
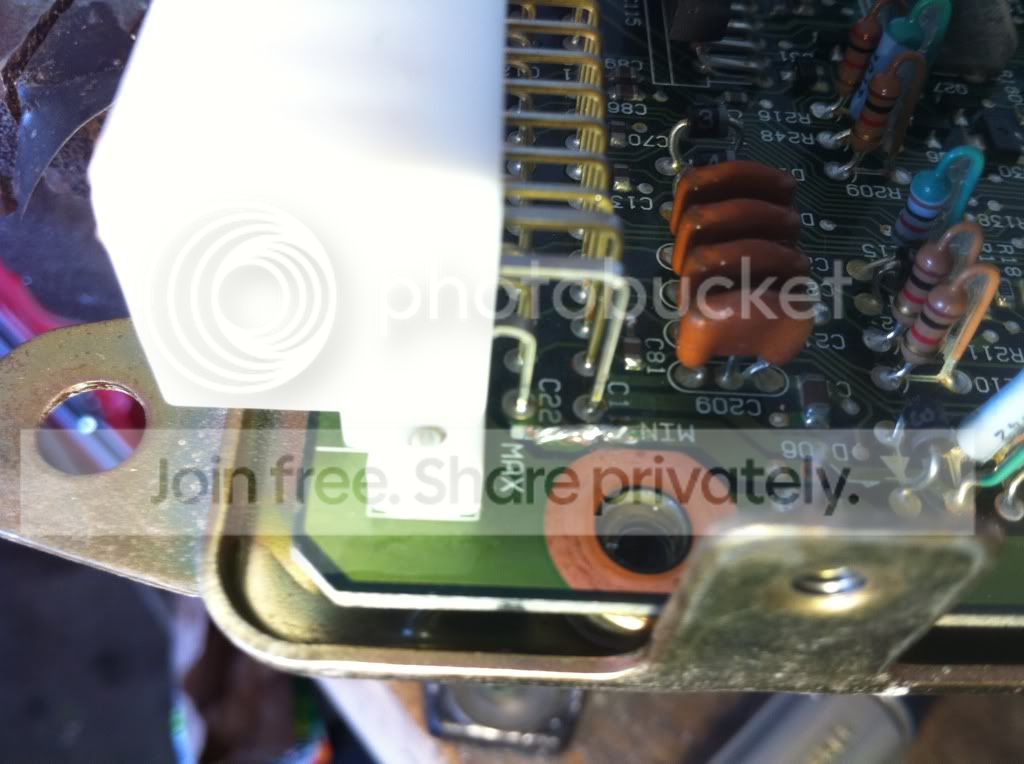
Car runs just as it should now and the logs look great.
Here are all of the plugs striped from the harness. Injectors 1-4, AC compressor, transistor, noise condenser, coil pack, CPS, MAP sensor.
This is all of the old loom and tape that I removed.
After taping them up.
I routed the injector wires under the intake manifold and up in between each runner. On the EvoIII intake manifold, I did not need to cut any injector wires which was a huge plus.
The noise condenser, AC, CAS plug and the CPS plug were routed under the intake manifold and now sit by the AC compressor. As you all know, they normally are routed on top of the intake runners next to the rail. This cleaned up a bulk of the wires from sight.
I did need to extend the noise condenser wire as it wasn't long enough to reach the capacitor that is attached to the coil pack.
The transistor and coil pack wires were taped up and left routed on top of the manifold. I think it still looks exceptional.
The MAP sensor wires where are tapped into the MDP wires, needed shortened. They were long enough when the harness was routed the stock way but moving everything let me remove about 8" of wire from that connection.
Here is the final product.
I did run into a problem however. After doing all of this I went to start the car and nothing. It would crank for as long as the key was on but it would never catch. The radiator fan would be running as the car died which was odd. Giving it gas allowed it to run but it sounded like it was on 2 cylinders and it was puffing smoke out the back. Now I'm completly depressed trying to figure out what happened.
I went over every wire and connection and verified they were all plugged in and plugged into the correct sensor. I came to find out that injector plug #1 had bare wire showing on each wire. I tape it up and I still have the same issue.
I call Brian (Snowborder0) and he comes by to take a look. We get link hooked up and take a look at a log with the car turned off and see some very odd sensor values. Coolant temp was -70*, IAT was -40*, throttle position was a constant 100%, TPS voltage was staying right around 4.85v and adjusting the TPS wouldn't change any values.
He has a bright idea and gets on the ECMLink wiki and tells me about the "ECU sensor ground" and how it could be burned out as the symptoms I'm receiving are very, very similar. We procede to pull the ECU out and open the case.
Here is what we find.
The white strip with the brown on it is a blown trace for the sensor ground. This was confirmed by Tom from ECMTuning. There are only a few ways that it could go out and that ground is not to see more than 5v otherwise it will blow.
So today, I decided to tackle this some more and try to figure out what the issue is with why it blew. Fixing the trace without fixing the cause will just cause it to blow again or damage something else.
I wouldn't suggest doing this yourself if you don't know about electronics or how to properly solder. Too much heat can damage other board components or damage the part you are attempting to fix. Having solder touch something else can cause a short and damage the board, cause a fire, and/or damage other vehicle electronics.
I followed these instructions to help locate the fault. Surprisingly, both the resistance test and voltage test passed so I can only suspect that the injector wires were the cause. To back that up, I also received a p0201 code which is an injector #1 fault.
So I decided to fix the trace myself and made a jumper out of some copper wire stands that were twisted together and then all soldered. Put it onto the board where I had a couple dots of solder waiting on the traces and then soldered it in.
Car runs just as it should now and the logs look great.
















