

robertbaxley03
Tooooooo many photos is what it said when I tried to upload soooooo..... here is part 3
Now get the top cover of the case and make sure that it is clean. Install the new reverse cone and the reverse wave spring with NEW machine screws. Torque the machine screws to spec.
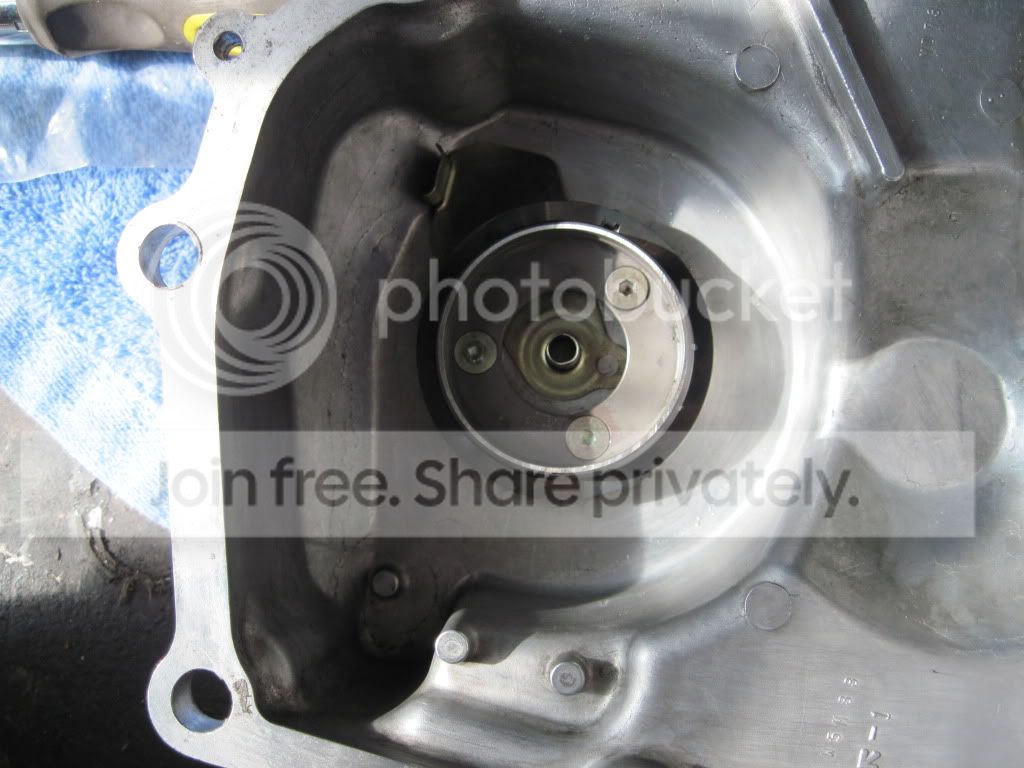
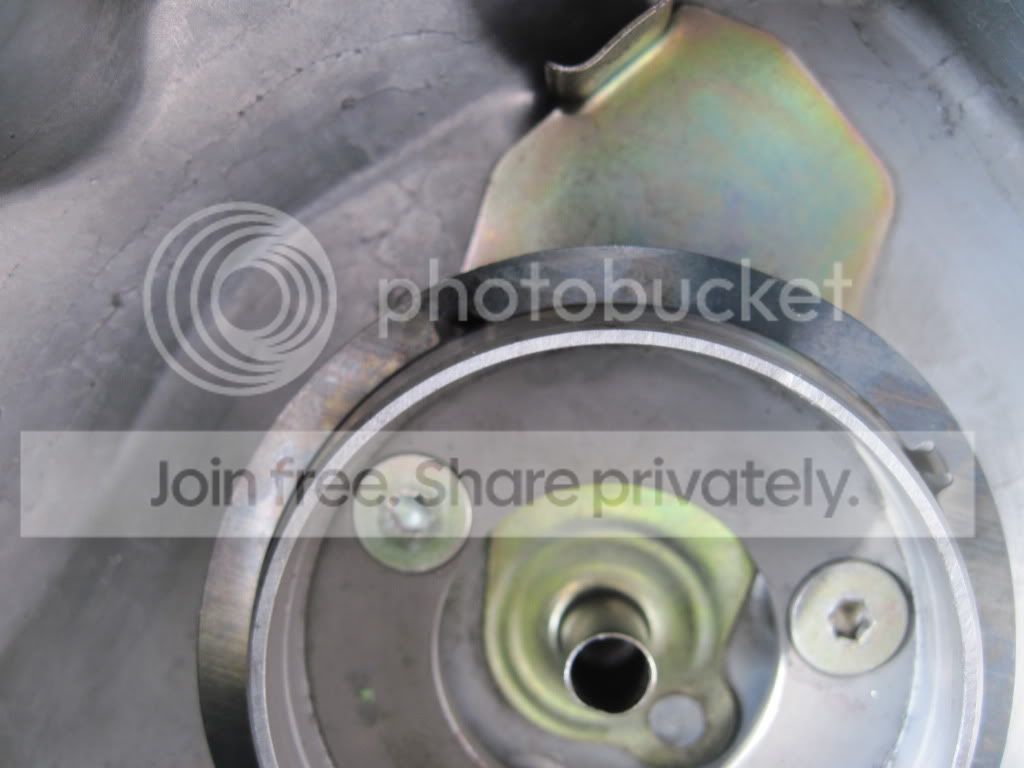
Take out the bolts that where holding the third case section on and make sure the top sealing surface is clean.
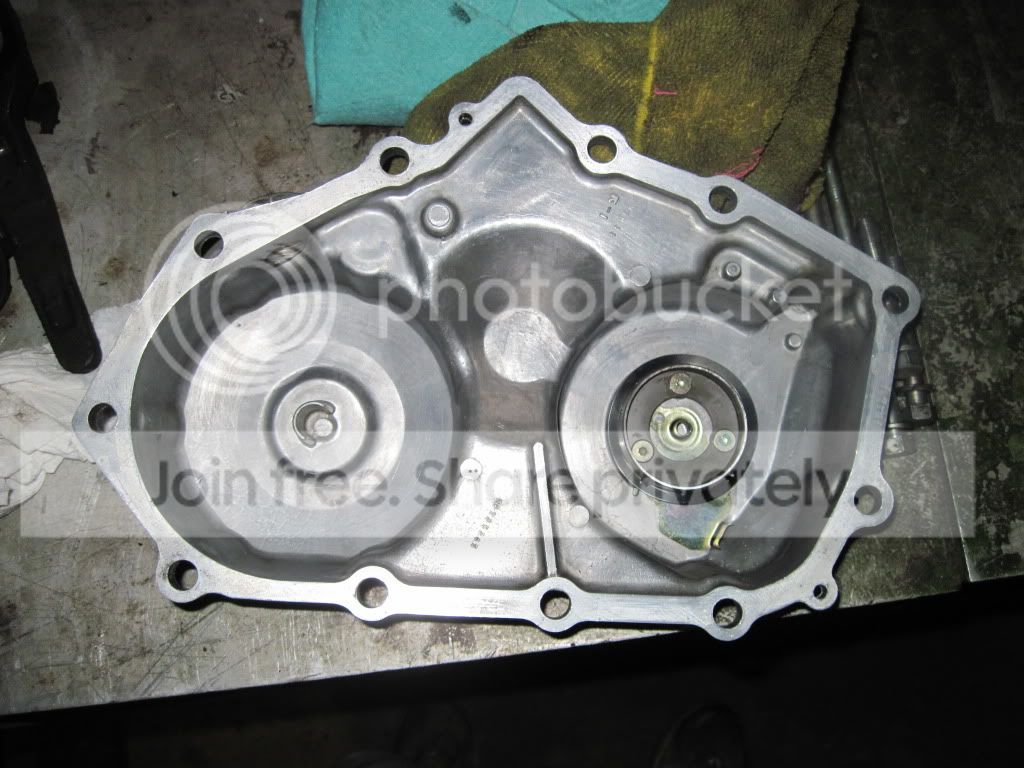
Make sure the outer cover's sealing surface is clean.
Apply Vaseline to the reverse synchro and install it into the 5th and reverse assembly. The Vaseline is just to hold the synchro into place since you will no longer be able to set the transmission onto the bell housing without some kind of support due to the output shaft.
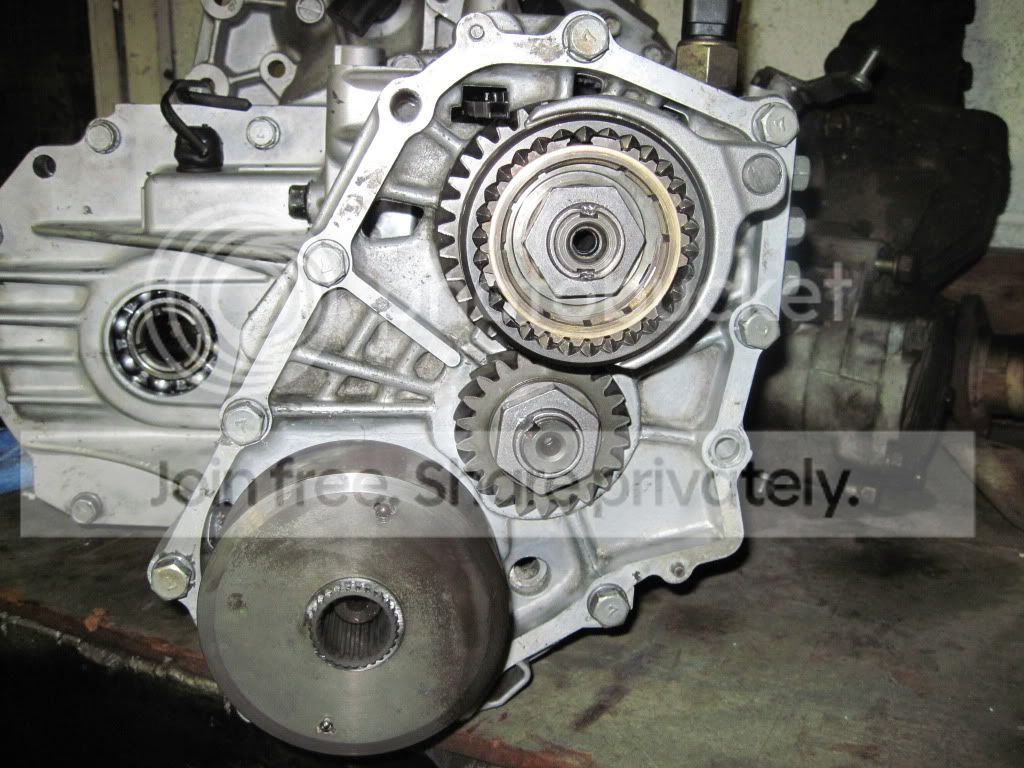
Apply RTV to the sealing surfaces and follow the torque sequence(29ft. lbs) once again.
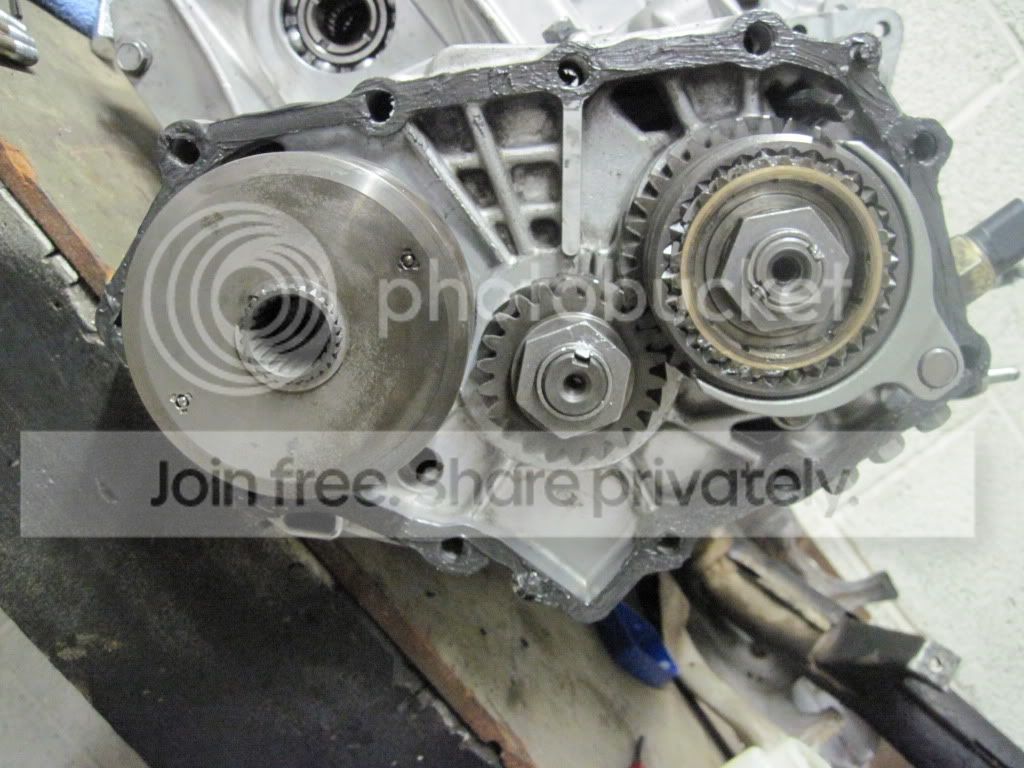
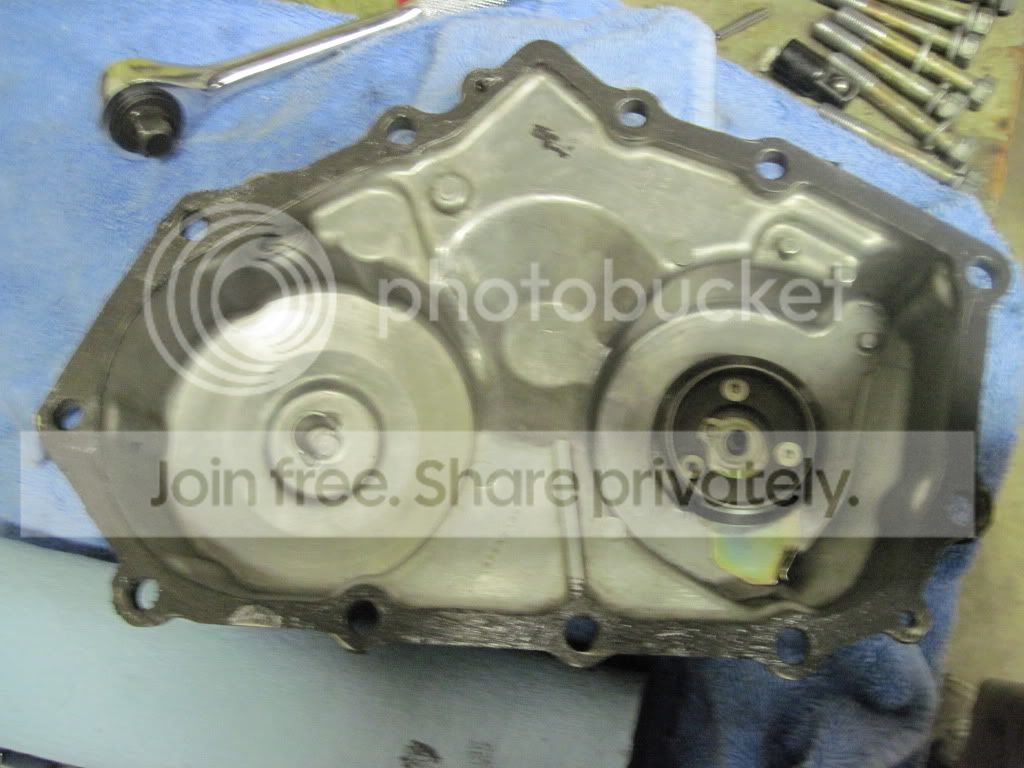
The driver’s side axle seal is the one with the metal casing. There is a small hole in the boot that will be facing outwards, that will need to face down.
I applied a small amount of RTV and used a socket to press the seal in until it was flat with the case.
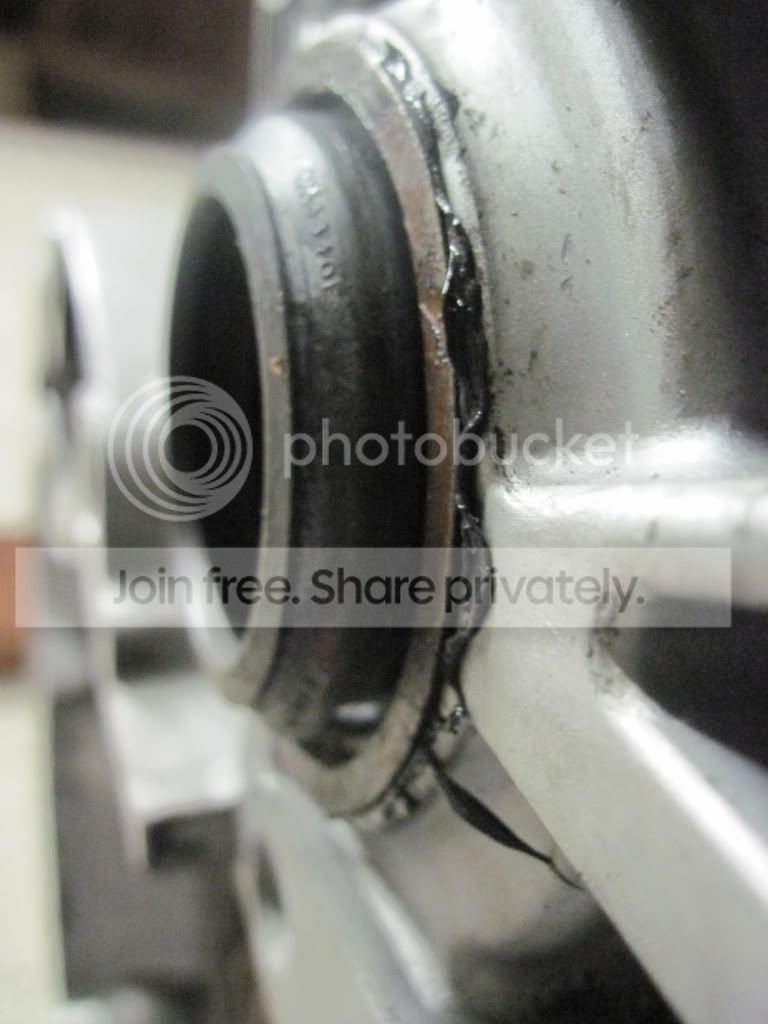
The passenger side seal is all rubber. The spring faces the inside of the tranny. Apply a small amount of RTV and press it in with your 36mm socket. This seal will have a flared edge facing the outside. Press the seal in flush with the case. It is ok if the Flange hangs out but make sure the solid part behind it is flush. You do not want to press this seal in to far. The front diff will eat away at the rear of the seal and cause leakage.
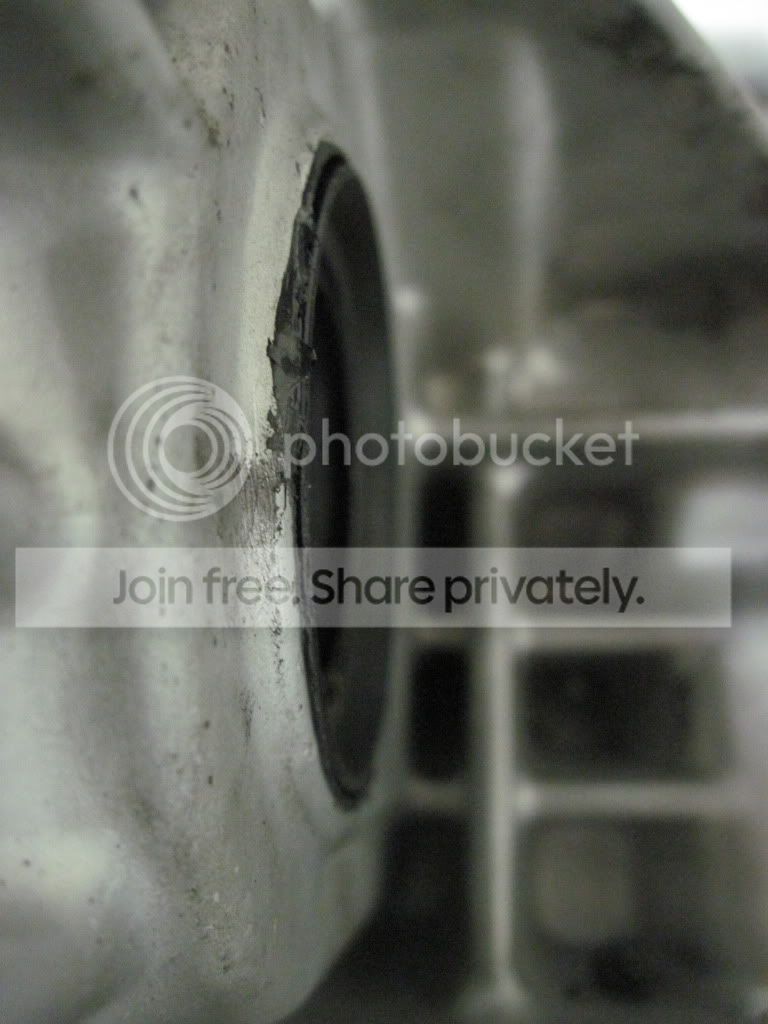
Install all rubber boots plugs and fancy moldings into the appropriate spots.
I put my new fulcrum in (cheap part good insurance)
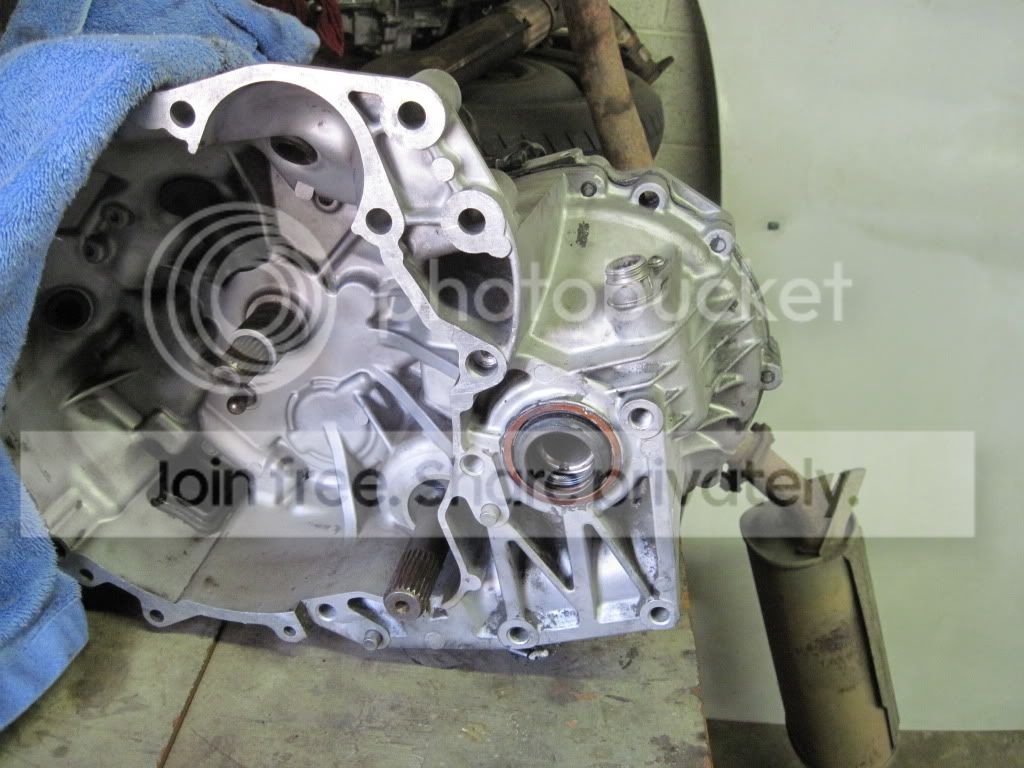
Get out your OEM Fork and Throwout bearing along with the Jesus clip.
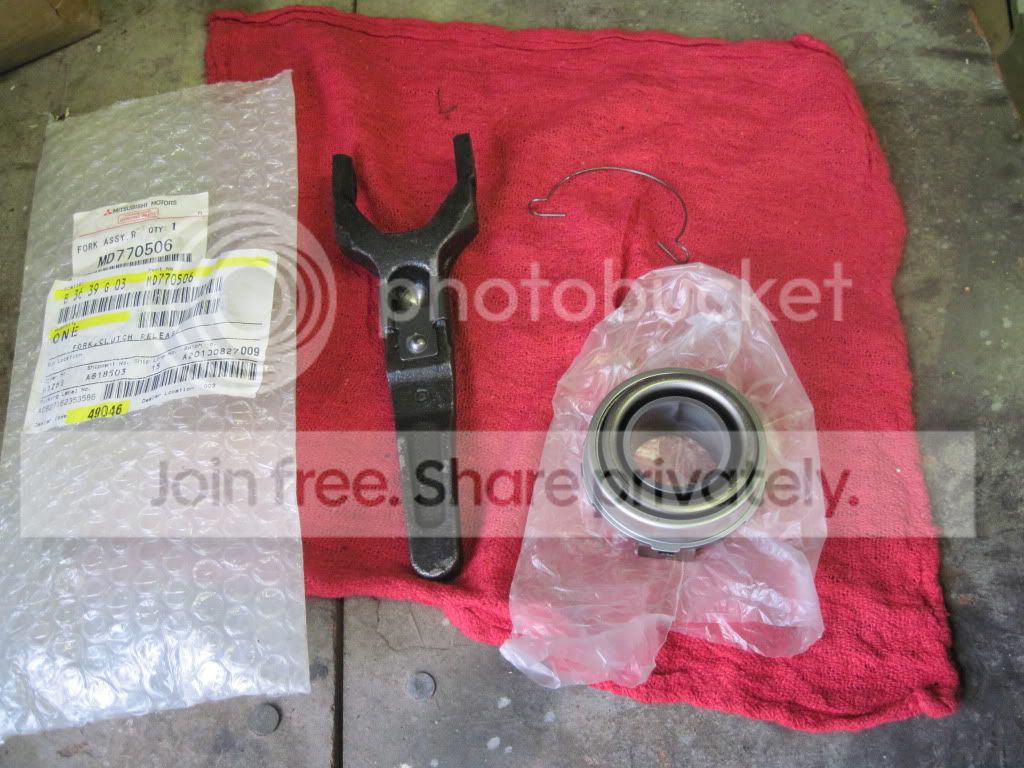
Apply a small amount of grease to the Fulcrum and shift fork pivot point.
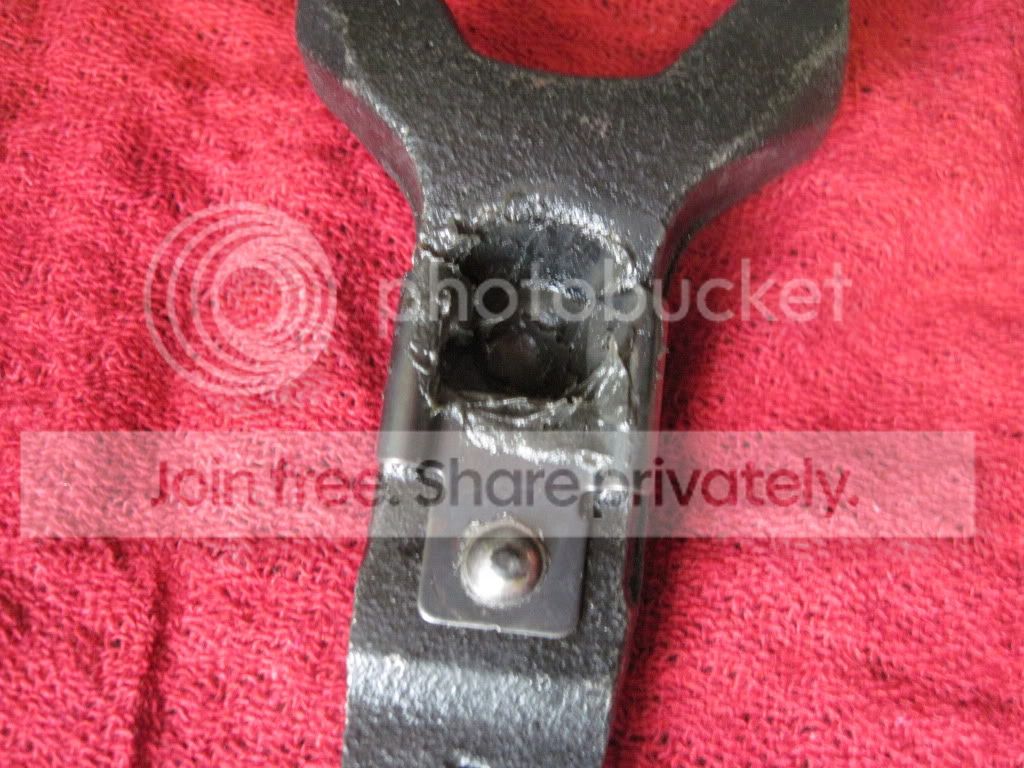
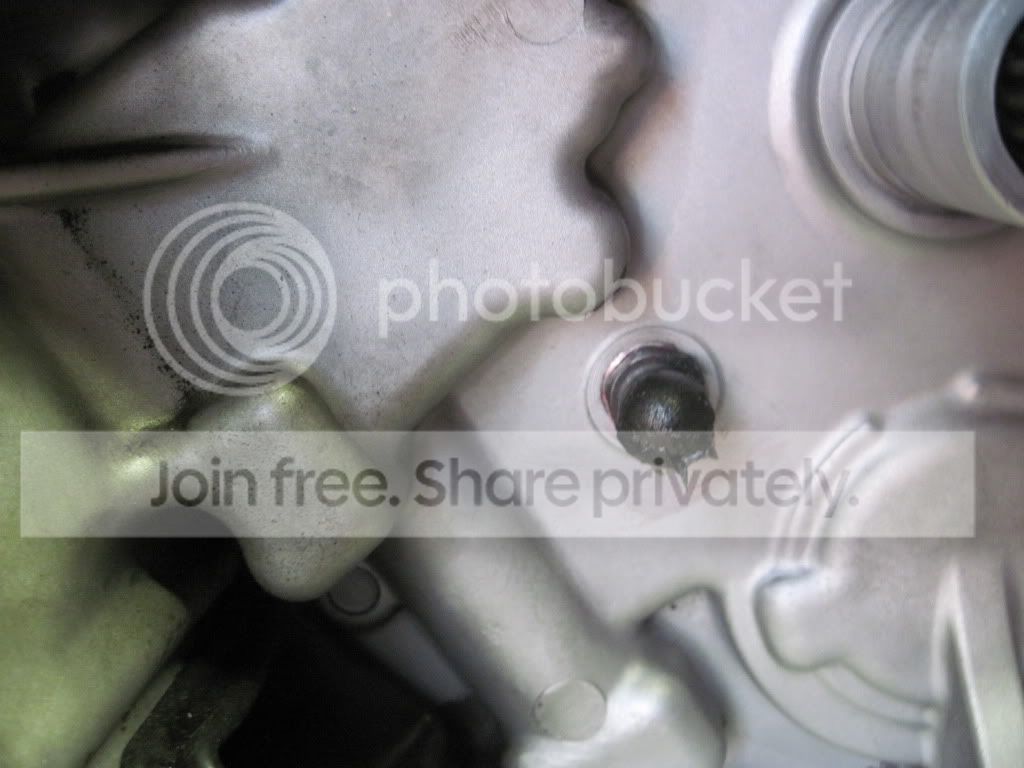
Install the fork first. It may take a little pressing to get the fulcrum into place, but you can do it.
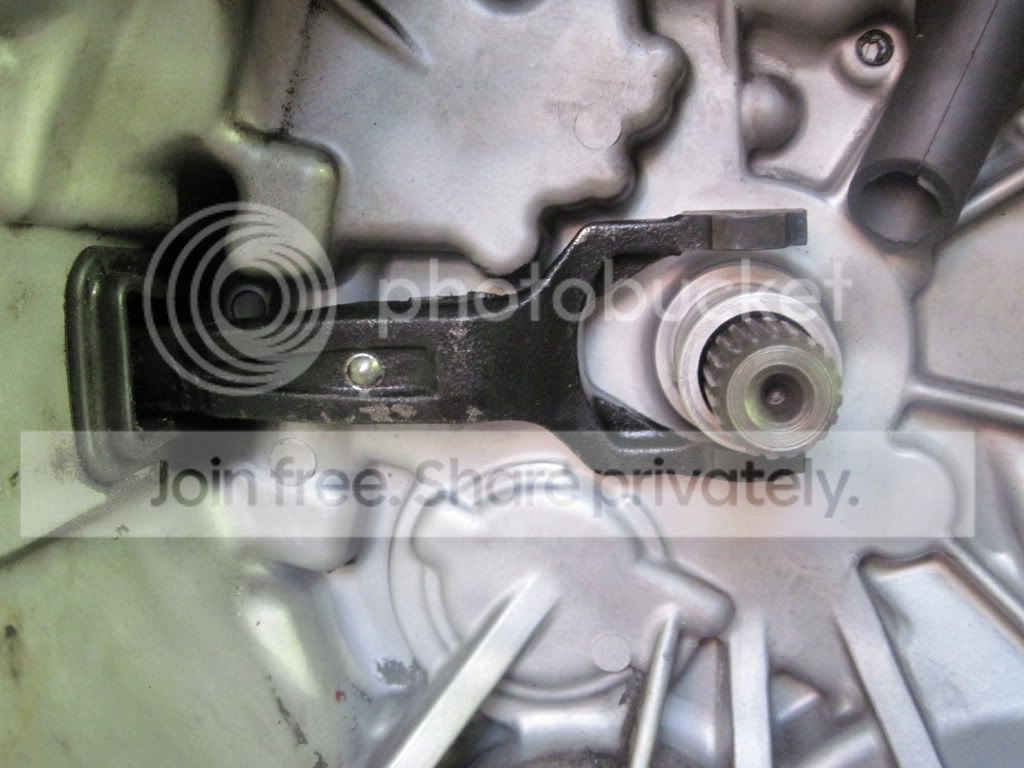
Grease the inside of the Throwout bearing (lightly) and slide it into place.
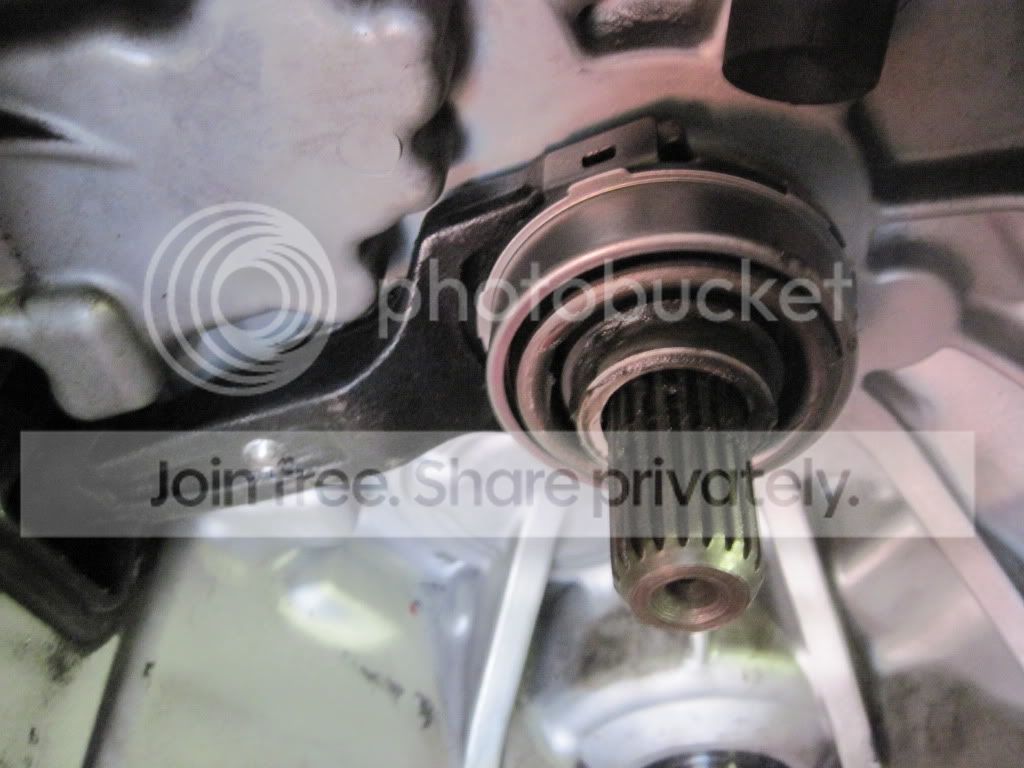
Install the clip.
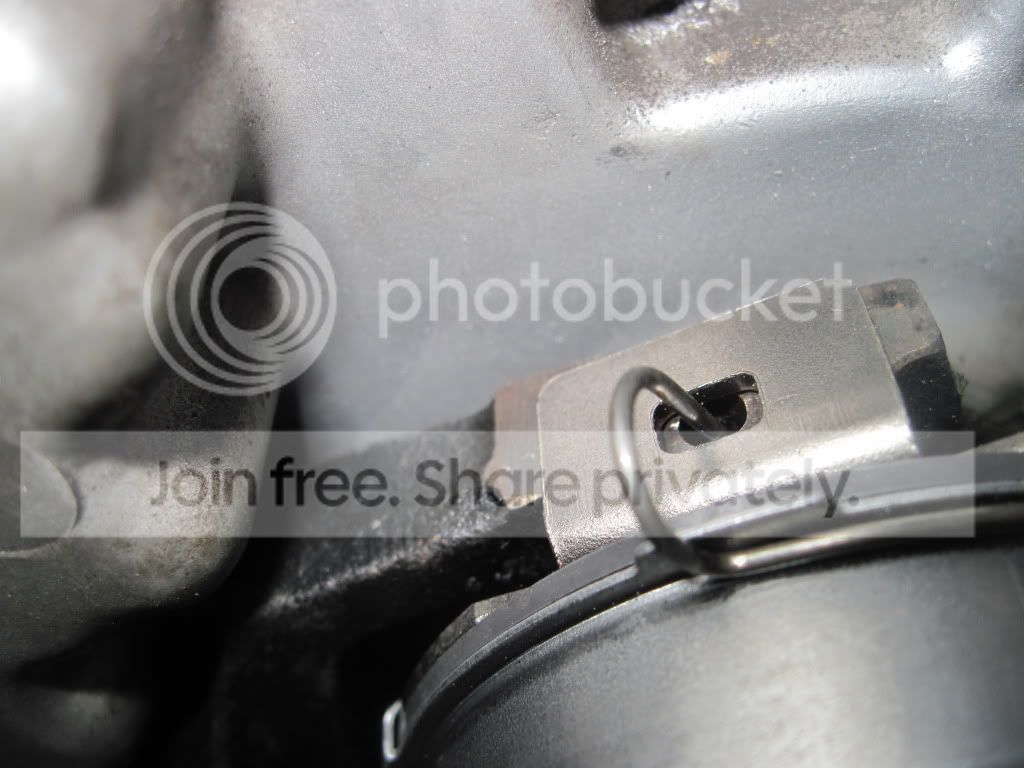
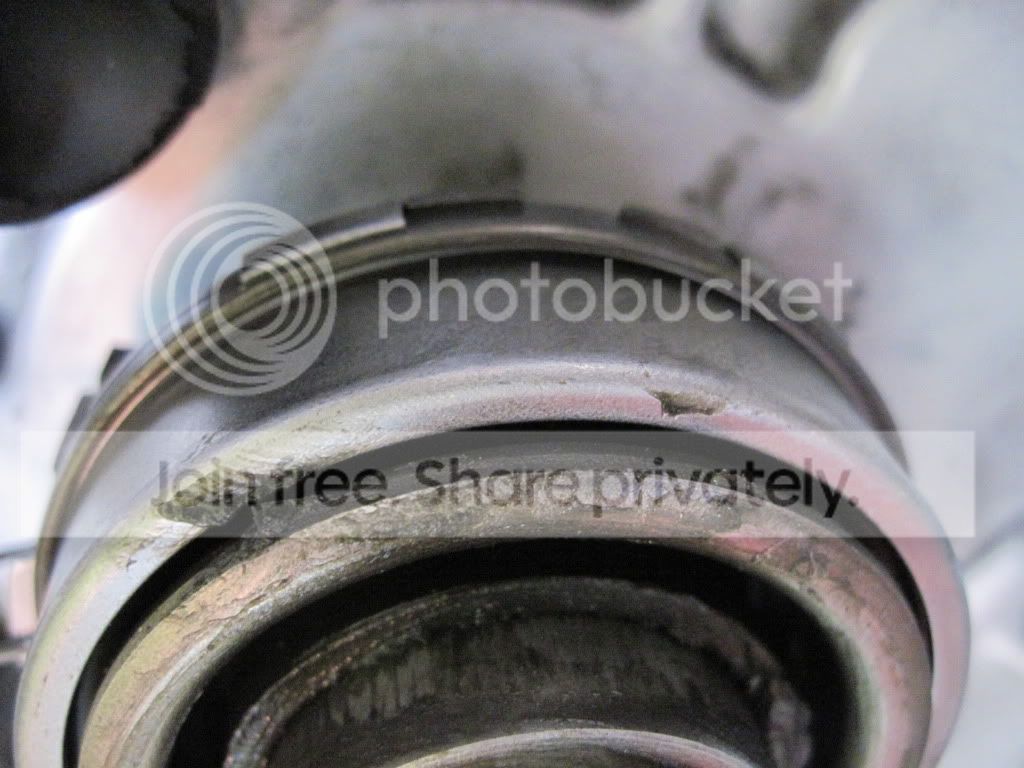
I also made a video of the clip installation and posted it to youtube.
1990 DSM throwout Bearing Clip - YouTube
This process took quite some time and was a real learning experience. You will need many tools to embark on this adventure and the price tag is still there for parts. I would just like to give a special thanks to Tim Zimmer @TMZperformance for quality parts and awesome customer service. If you need any of the things that you have seen in my post parts wise, it all came from http://www.tmzperformance.com/
Other than that, WA-LA that is the tranny.
Now get the top cover of the case and make sure that it is clean. Install the new reverse cone and the reverse wave spring with NEW machine screws. Torque the machine screws to spec.
Take out the bolts that where holding the third case section on and make sure the top sealing surface is clean.
Make sure the outer cover's sealing surface is clean.
Apply Vaseline to the reverse synchro and install it into the 5th and reverse assembly. The Vaseline is just to hold the synchro into place since you will no longer be able to set the transmission onto the bell housing without some kind of support due to the output shaft.
Apply RTV to the sealing surfaces and follow the torque sequence(29ft. lbs) once again.
The driver’s side axle seal is the one with the metal casing. There is a small hole in the boot that will be facing outwards, that will need to face down.
I applied a small amount of RTV and used a socket to press the seal in until it was flat with the case.
The passenger side seal is all rubber. The spring faces the inside of the tranny. Apply a small amount of RTV and press it in with your 36mm socket. This seal will have a flared edge facing the outside. Press the seal in flush with the case. It is ok if the Flange hangs out but make sure the solid part behind it is flush. You do not want to press this seal in to far. The front diff will eat away at the rear of the seal and cause leakage.
Install all rubber boots plugs and fancy moldings into the appropriate spots.
I put my new fulcrum in (cheap part good insurance)
Get out your OEM Fork and Throwout bearing along with the Jesus clip.
Apply a small amount of grease to the Fulcrum and shift fork pivot point.
Install the fork first. It may take a little pressing to get the fulcrum into place, but you can do it.
Grease the inside of the Throwout bearing (lightly) and slide it into place.
Install the clip.
I also made a video of the clip installation and posted it to youtube.
1990 DSM throwout Bearing Clip - YouTube
This process took quite some time and was a real learning experience. You will need many tools to embark on this adventure and the price tag is still there for parts. I would just like to give a special thanks to Tim Zimmer @TMZperformance for quality parts and awesome customer service. If you need any of the things that you have seen in my post parts wise, it all came from http://www.tmzperformance.com/
Other than that, WA-LA that is the tranny.
















