

robertbaxley03
So it has been some time since I have posted an Update. The highlights of what has been happening. I got my block back from the machine shop and I had purchased STD Wiseco pistons to use for this build. I had the machine shop hone it out for me. I did My final wash as stated by BogusSVO in one of his tech threads, and then started to take my measurements for clearances. As I measured the Bores I got some horrible News. I had about 2 tho of Tapper and Out of round. Some cylinders where better than others but that happened to be the worst one. So with the pistons measured and the roundness issue I had .006 of PTW so that was way out of tolerance. I had to purchase a New set of pistons and Now have to have the block bored over. Just to clear things up the machine shop was not at fault. I wanted to believe that they where but due to wear on the cylinders from the 160,000 miles was the issue. If your cylinders are out of tolerance to begin with honeing them out will normally not fix the issue. So my motor should be coming back this week. Well I could not do anything with the motor but I got my last pieces of my tranny in and started to put that back together. First I had the case Media blasted to clean all the dirt and grim off.
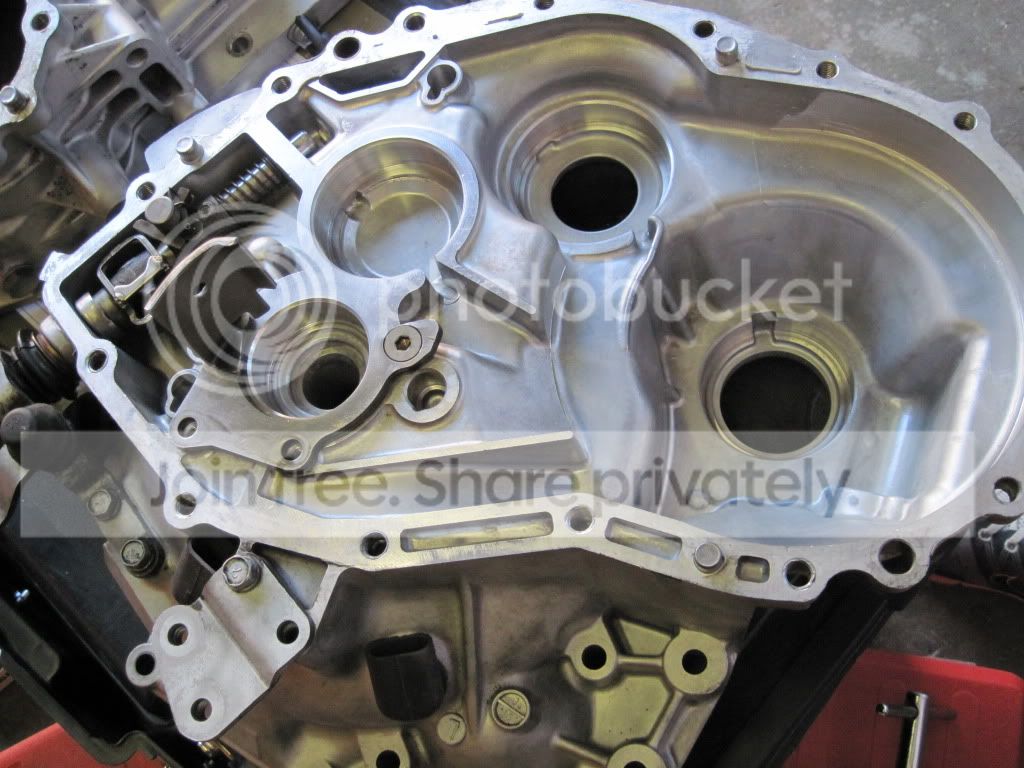
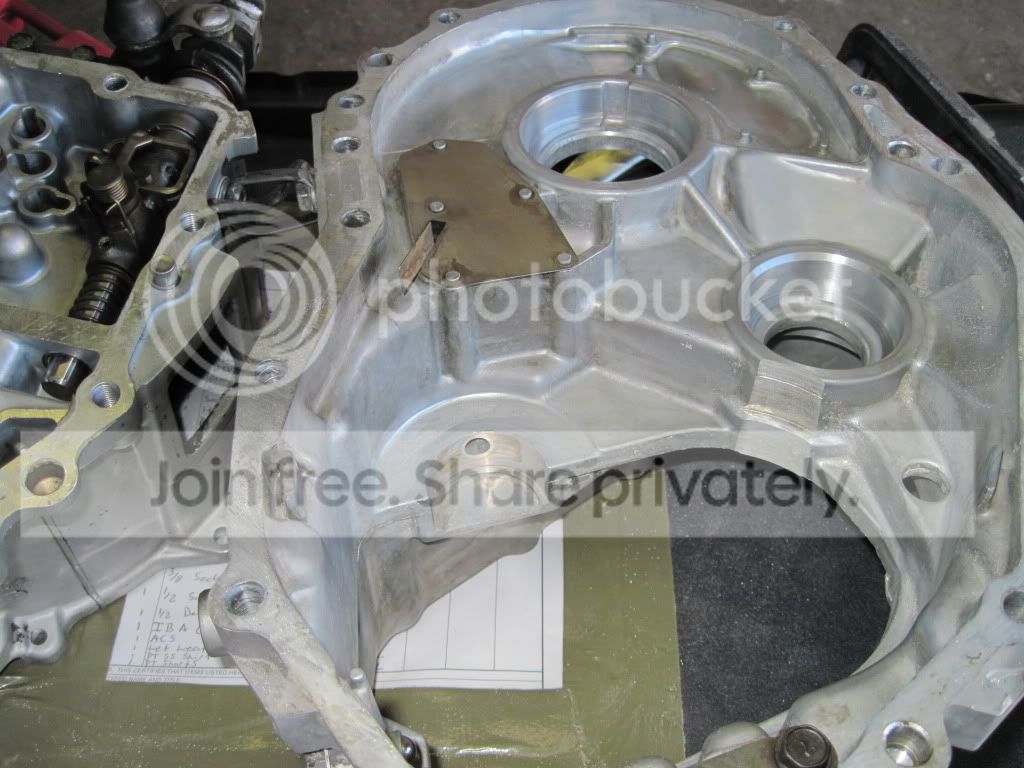
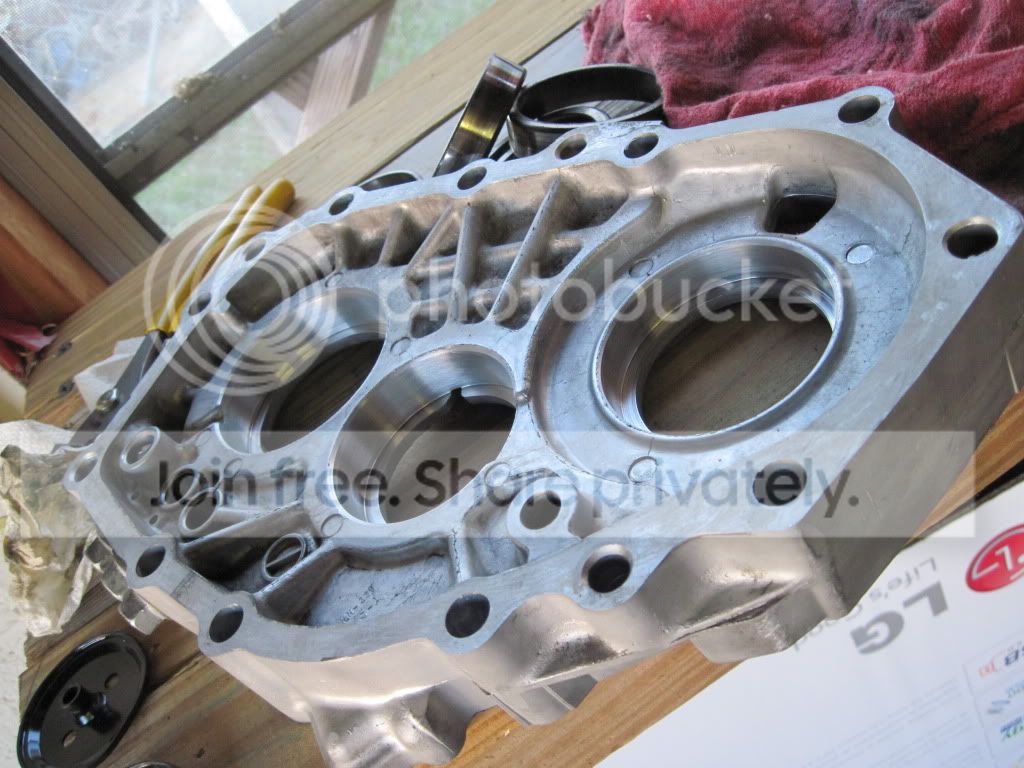
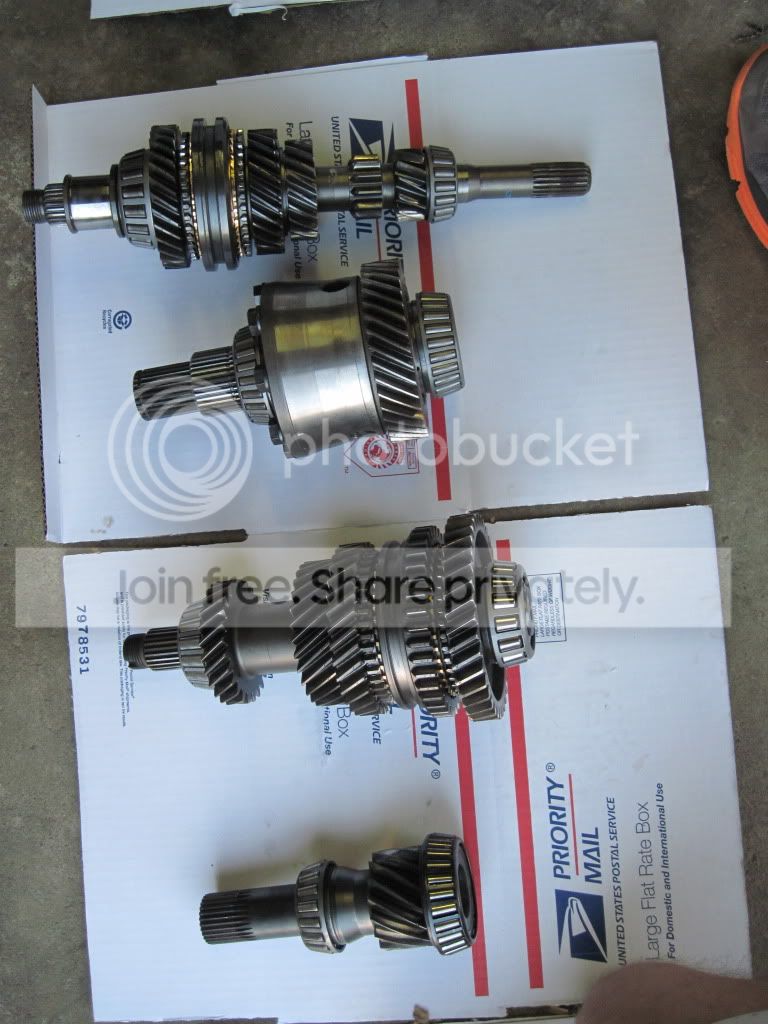
I purchased all the parts from Tim at TMZ performance. He pressed all the gear sets together.
I cleaned the case very very good to make sure that no media was left in the shifter assembley and to make sure that all passages where clean. I used brake cleaner and lint free towles to do this.
All inner races are installed and left in place after the cleaning. The only race you must remove is the outer races to measure the solder.
I took measurements for clearances by placing solder on top of the races between the race and the case. Use Vasoline to hold the solder in place.
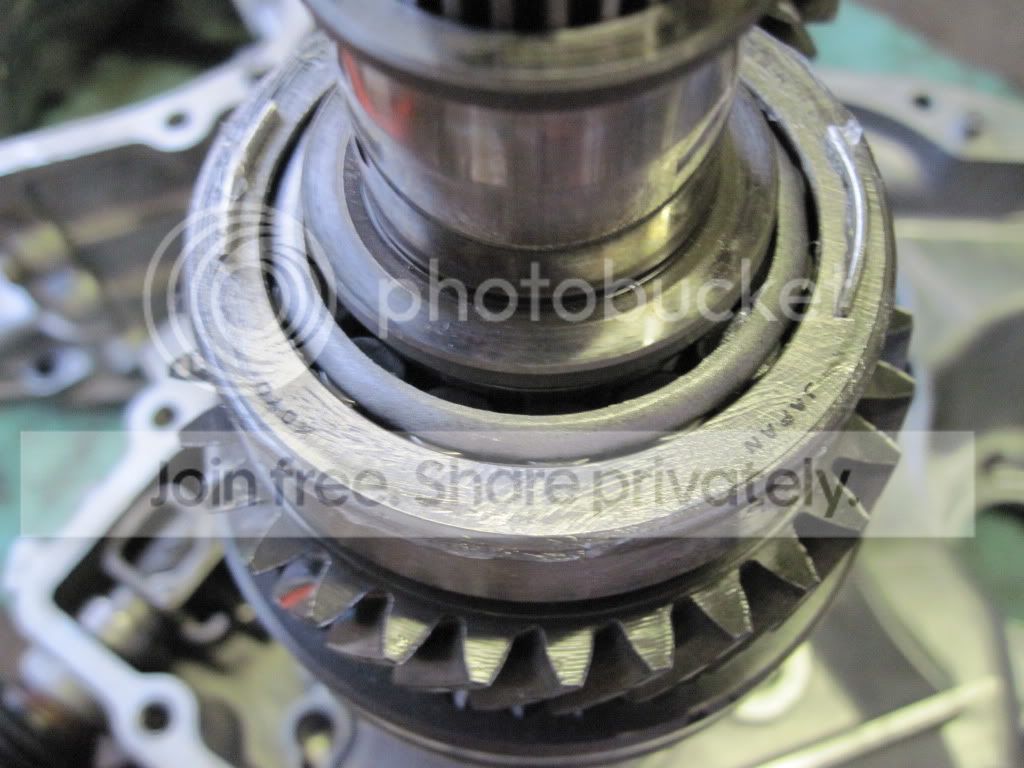
The case bolts are then torqued to 29 ft lbs.The case is then taken apart again. You take out the pieces of solder and you measure them with a micrometer to get your 0 point. You need a decent set of mic's good to the thousandth. Once that was done we had to figure in Preload and order the correct shims. Today I gave the case one last cleaning and put the front diff and output pinion gear in place.
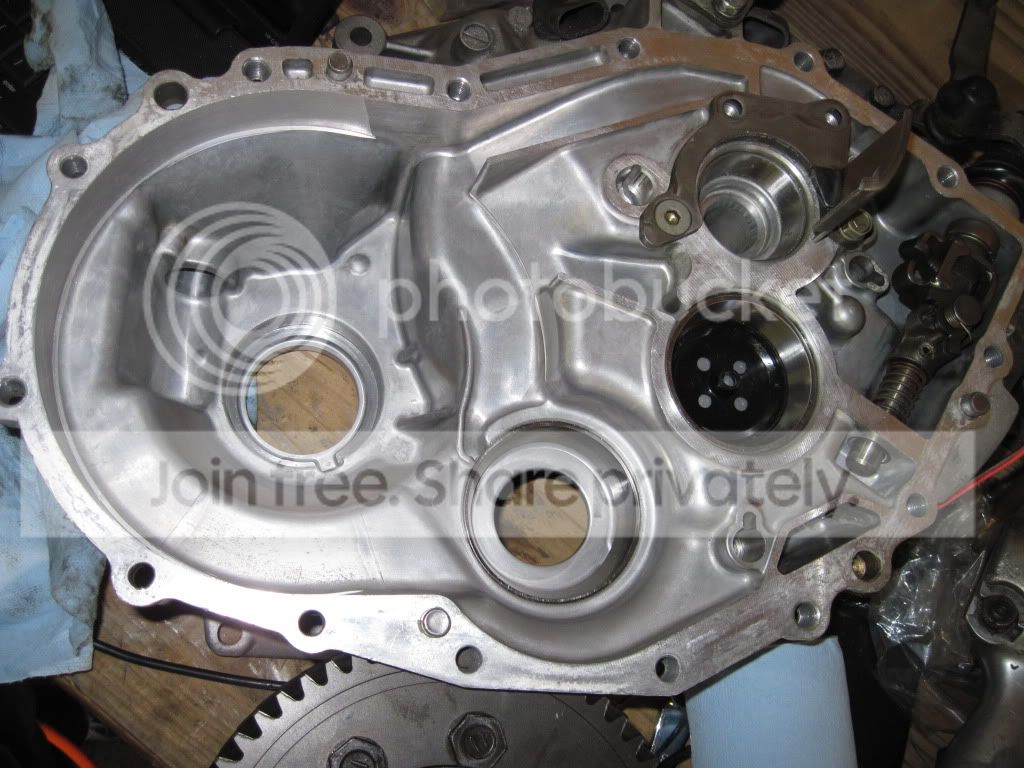
You must slide both pices in at the same time. Also the bearings on the front diff are pressed on.
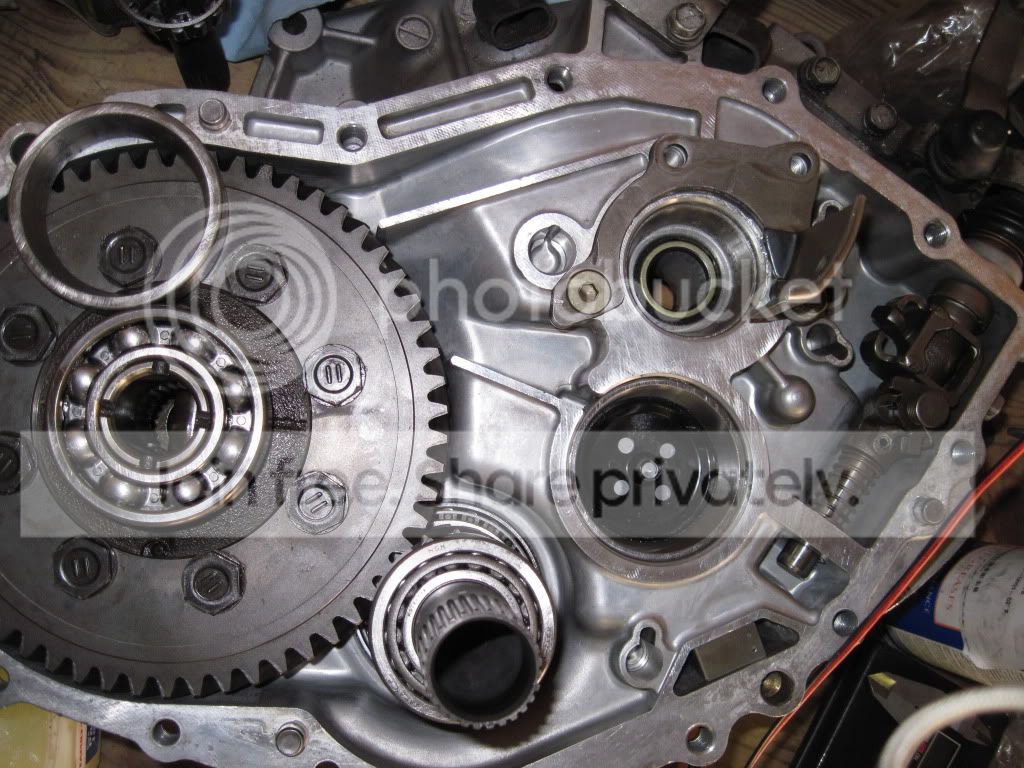
Next it was time for the seal below the input shaft.
Notice the upper right corner of the picture the seal is installed with the brass facing inside the tranny.
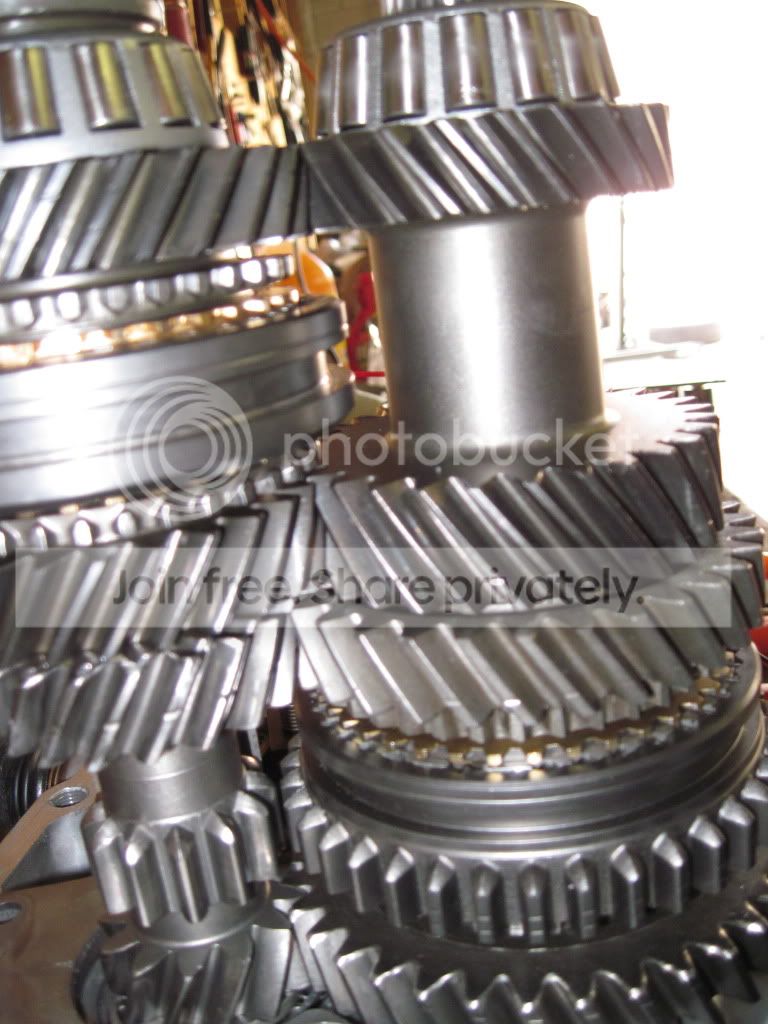
Make sure the oil guide is placed below the intermediate shaft inner bearing. If it is not there you will have issues. After the install of the seal grab both gear sets and slide them in. This takes a little wiggiling but you can do it.
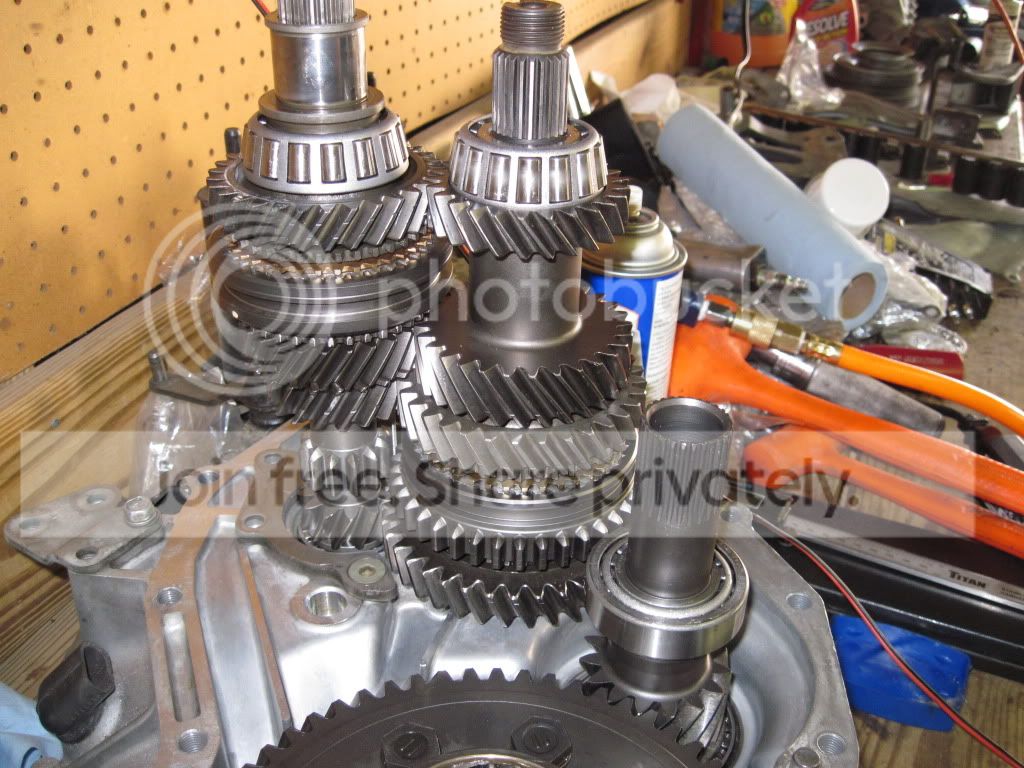
I then cleaned up the shifter rails and installed them.
Clean on Left, Dirty on right.
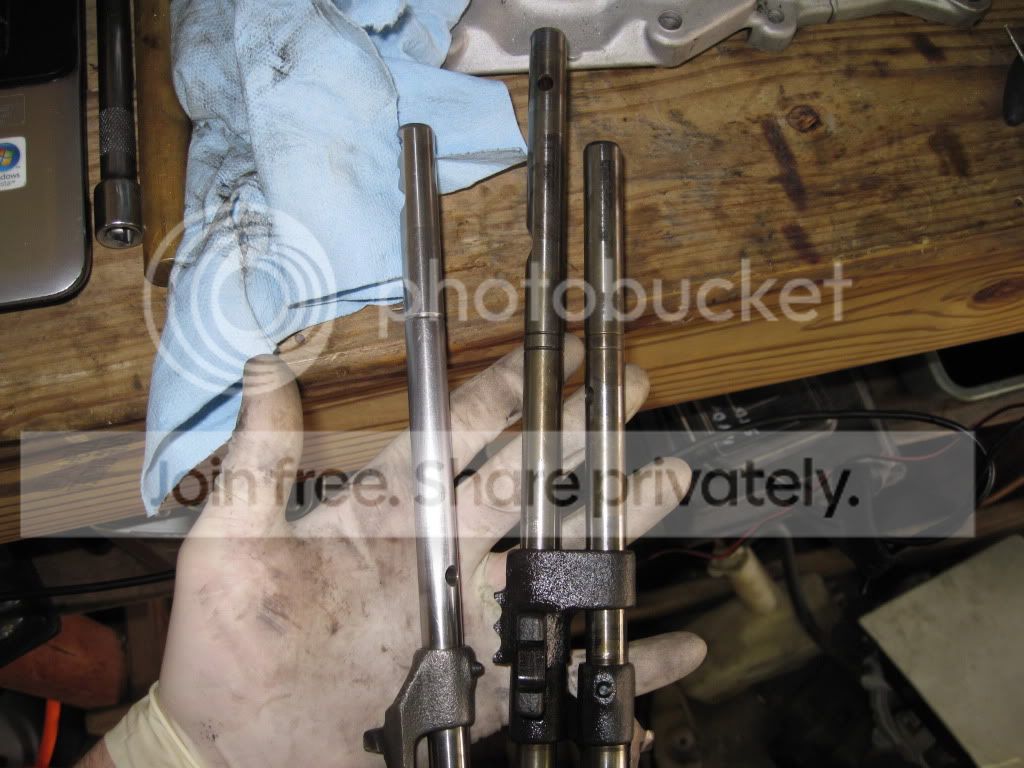
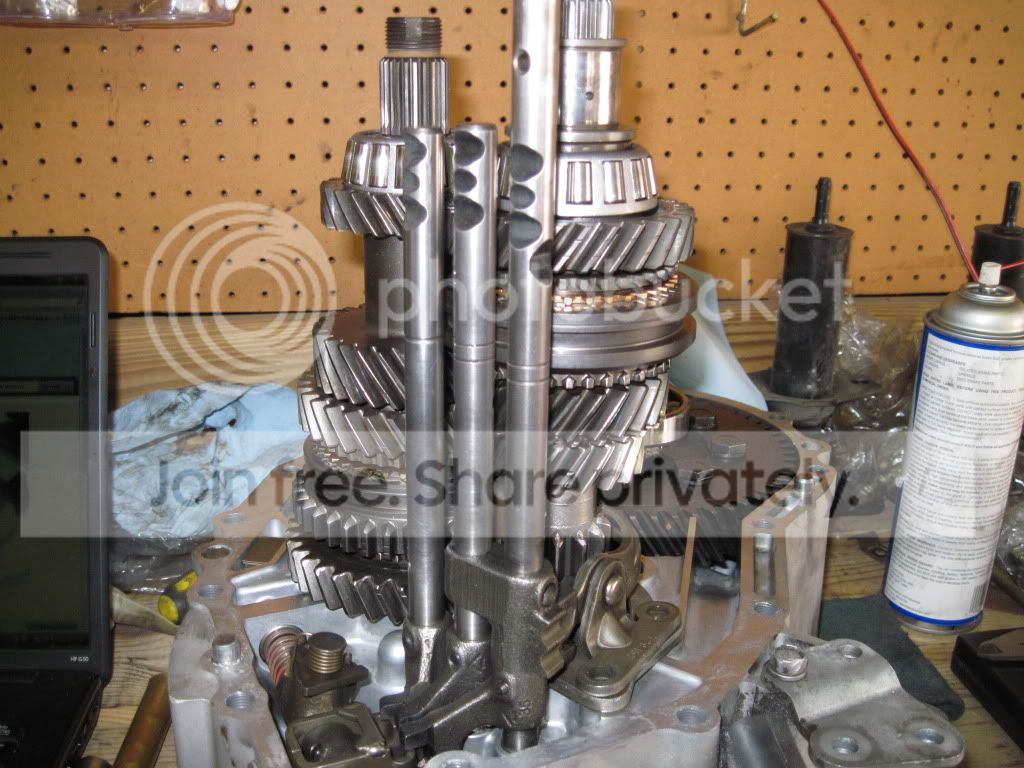
I then took out the shift forks and fit them around the hub and sliders. The shift forks slide onto the shifter rails and may take some wiggle time to get them to line up. Next is the biggest Pain in the A#$. Roll pins.
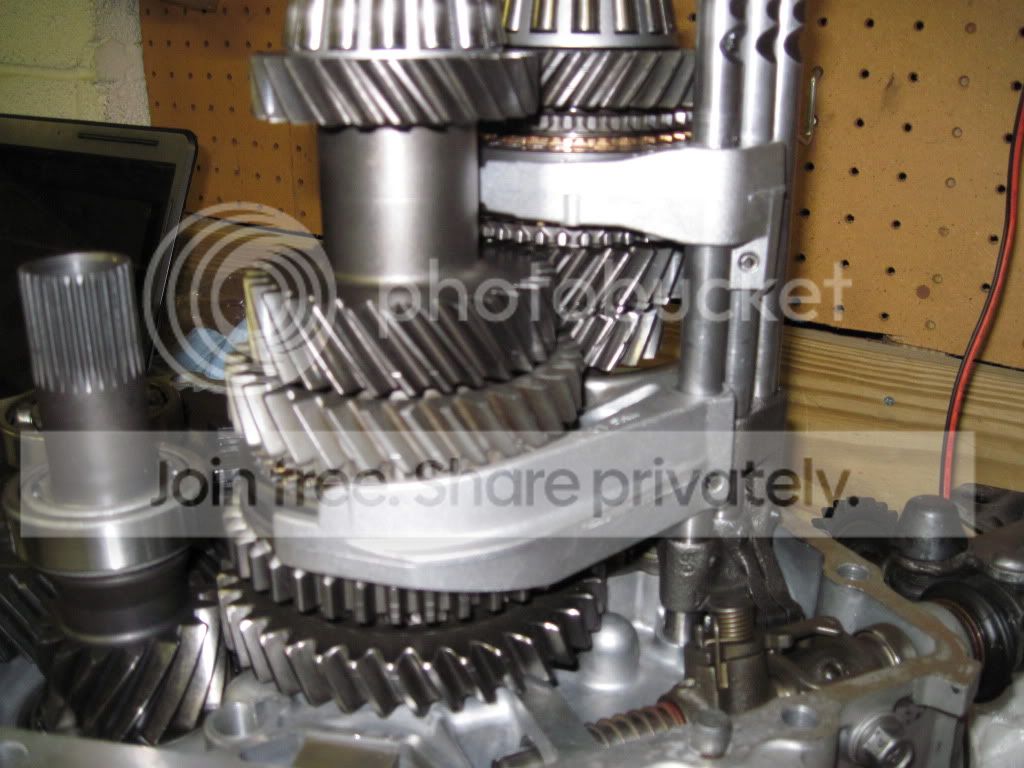
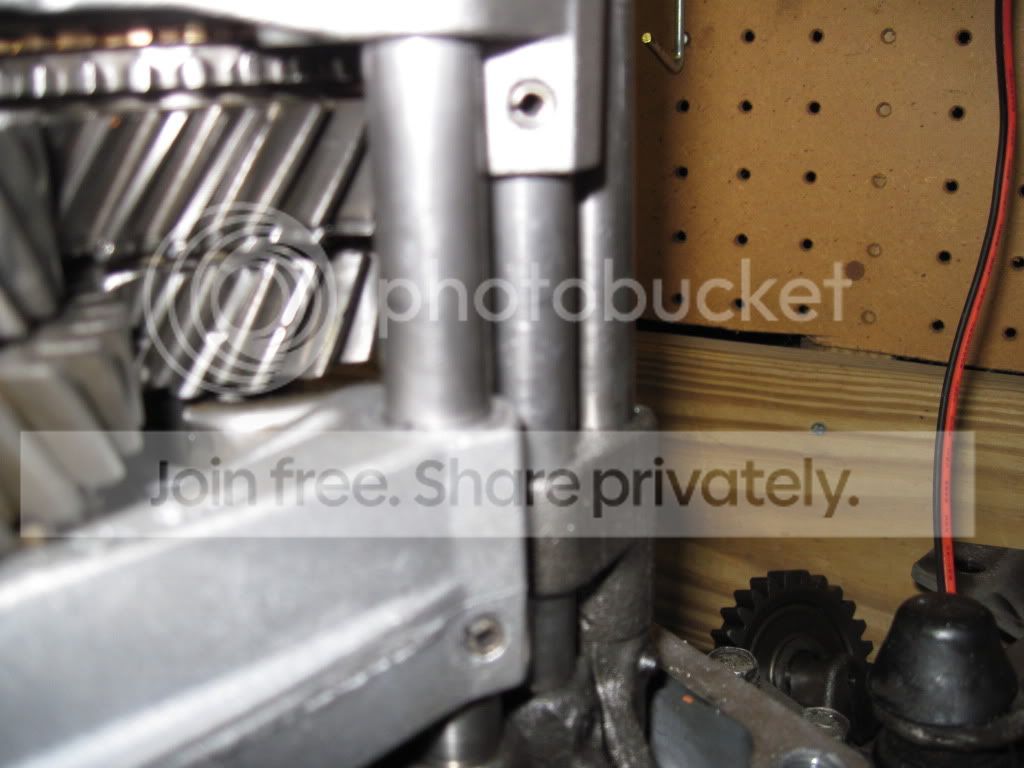
They do a great job in holding things together but boy are they a pain to install. After some time both shift fork roll pins where installed.
The reverse gear lever was installed with 2 bolts torqued to 14ft lbs.
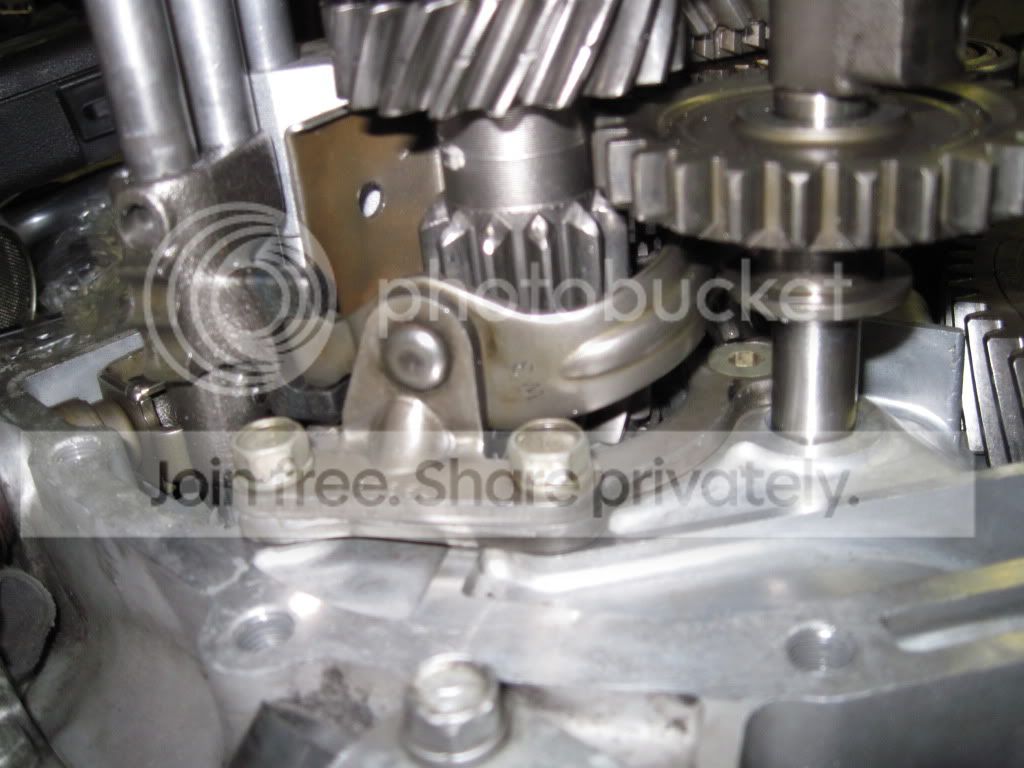
The reverse gear was installed and lined up with the shift fork.
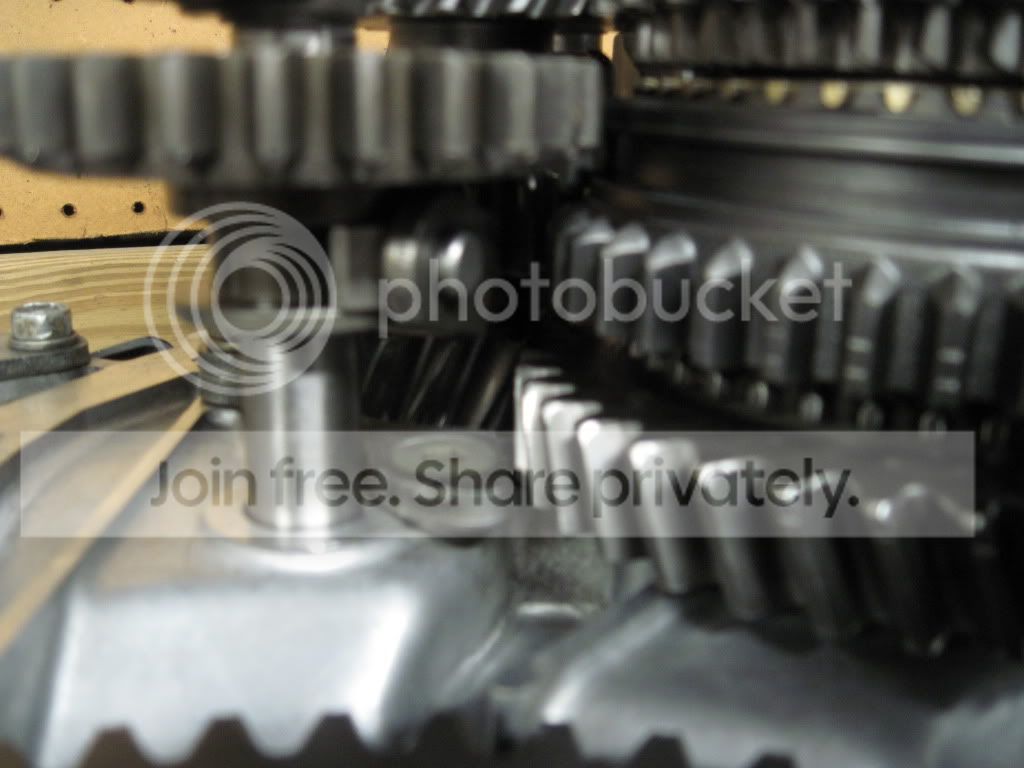
The upgraded trash magnet was also installed into the case.
To finish up the night I installed the shim onto the top of the Front Differential as well as the shim between the Output Pinion gears outer race and the case. I then slid the middle case section on to avoid any contamination.
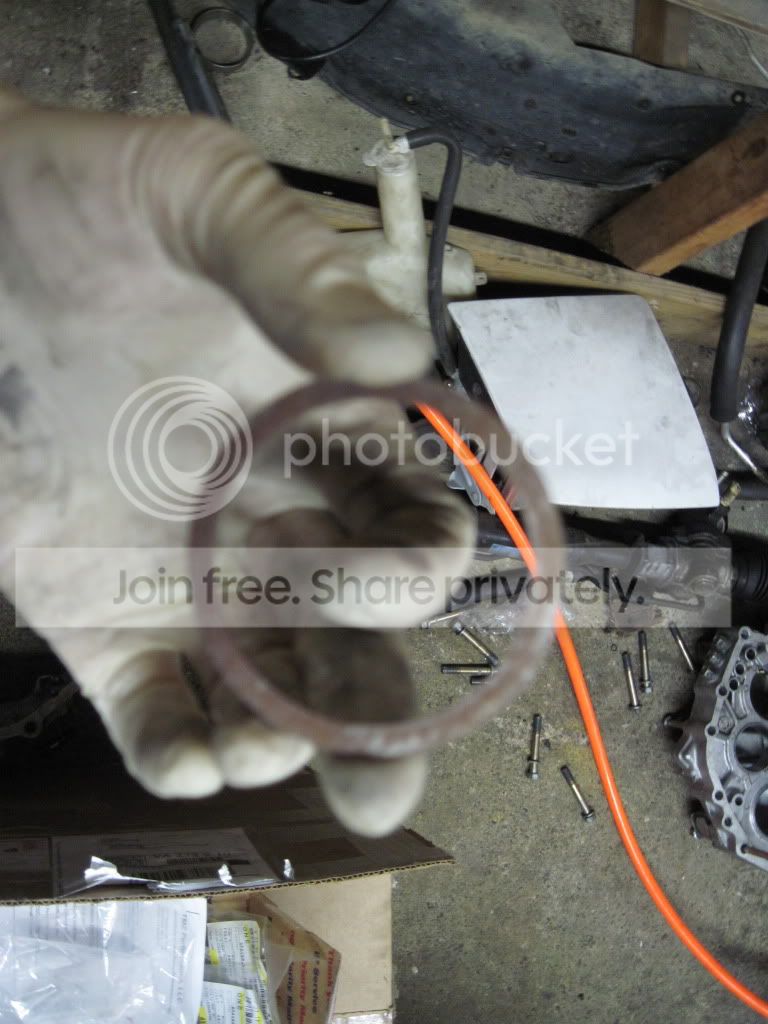
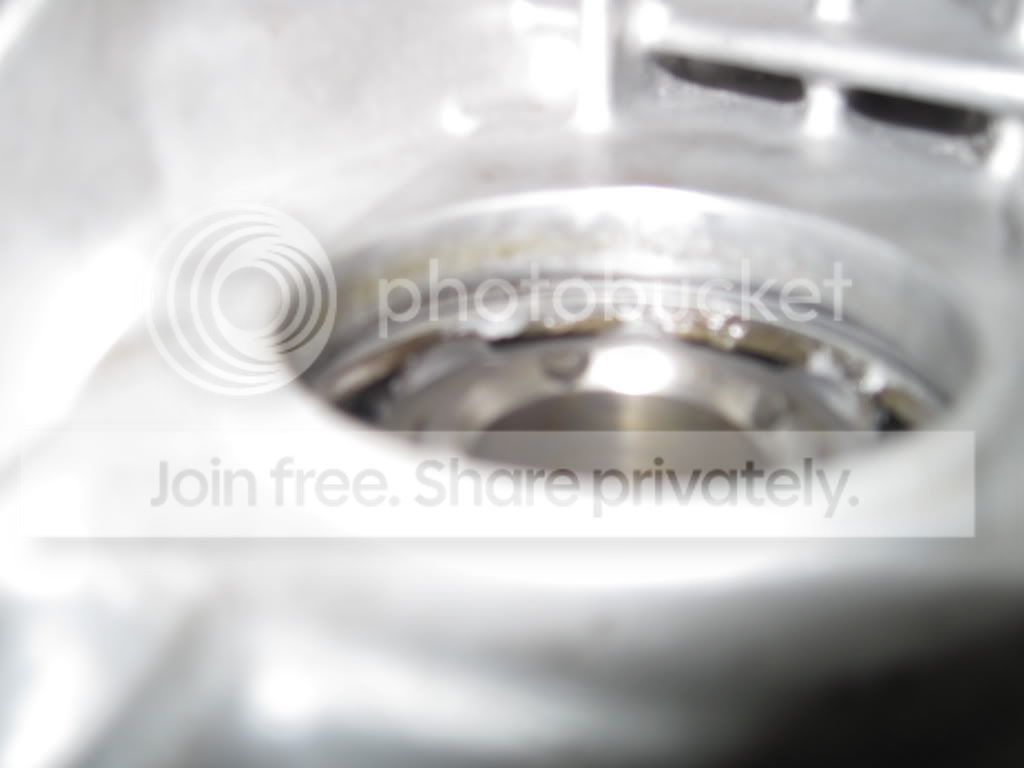
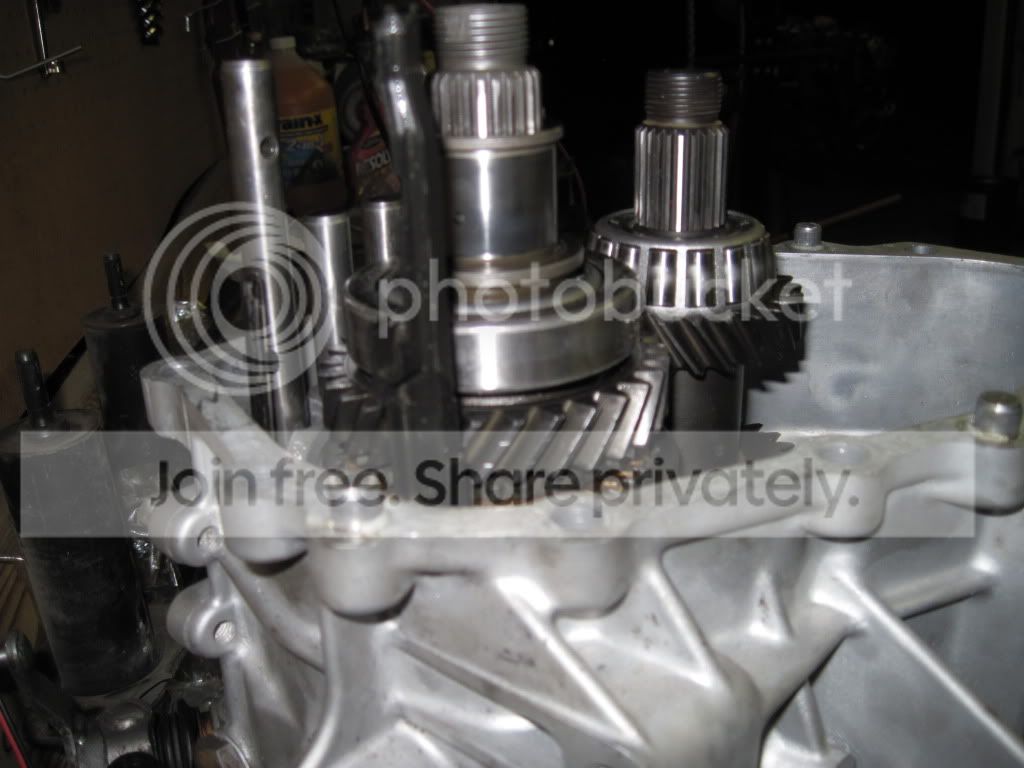
Do not forget the oil guides at this point.
This is all I had time for today and will have to finish it up sometime this week. I also have pieced the firewall back together and installed the subframe with new bushings. My bushings came out with a few wacks of a hammer and went in pretty easy too. I will keep this thing posted a little more often.
I purchased all the parts from Tim at TMZ performance. He pressed all the gear sets together.
I cleaned the case very very good to make sure that no media was left in the shifter assembley and to make sure that all passages where clean. I used brake cleaner and lint free towles to do this.
All inner races are installed and left in place after the cleaning. The only race you must remove is the outer races to measure the solder.
I took measurements for clearances by placing solder on top of the races between the race and the case. Use Vasoline to hold the solder in place.
The case bolts are then torqued to 29 ft lbs.The case is then taken apart again. You take out the pieces of solder and you measure them with a micrometer to get your 0 point. You need a decent set of mic's good to the thousandth. Once that was done we had to figure in Preload and order the correct shims. Today I gave the case one last cleaning and put the front diff and output pinion gear in place.
You must slide both pices in at the same time. Also the bearings on the front diff are pressed on.
Next it was time for the seal below the input shaft.
Notice the upper right corner of the picture the seal is installed with the brass facing inside the tranny.
Make sure the oil guide is placed below the intermediate shaft inner bearing. If it is not there you will have issues. After the install of the seal grab both gear sets and slide them in. This takes a little wiggiling but you can do it.
I then cleaned up the shifter rails and installed them.
Clean on Left, Dirty on right.
I then took out the shift forks and fit them around the hub and sliders. The shift forks slide onto the shifter rails and may take some wiggle time to get them to line up. Next is the biggest Pain in the A#$. Roll pins.
They do a great job in holding things together but boy are they a pain to install. After some time both shift fork roll pins where installed.
The reverse gear lever was installed with 2 bolts torqued to 14ft lbs.
The reverse gear was installed and lined up with the shift fork.
The upgraded trash magnet was also installed into the case.
To finish up the night I installed the shim onto the top of the Front Differential as well as the shim between the Output Pinion gears outer race and the case. I then slid the middle case section on to avoid any contamination.
Do not forget the oil guides at this point.
This is all I had time for today and will have to finish it up sometime this week. I also have pieced the firewall back together and installed the subframe with new bushings. My bushings came out with a few wacks of a hammer and went in pretty easy too. I will keep this thing posted a little more often.
















