

robertbaxley03
Wow, it has been some time since I made a post. I was sent to a school for a month and now that I am back I have just been working to get this thing together. This post will be the finishing of the Transmission assembly. Here it goes. The last thing I posted the 1st case section was just installed.
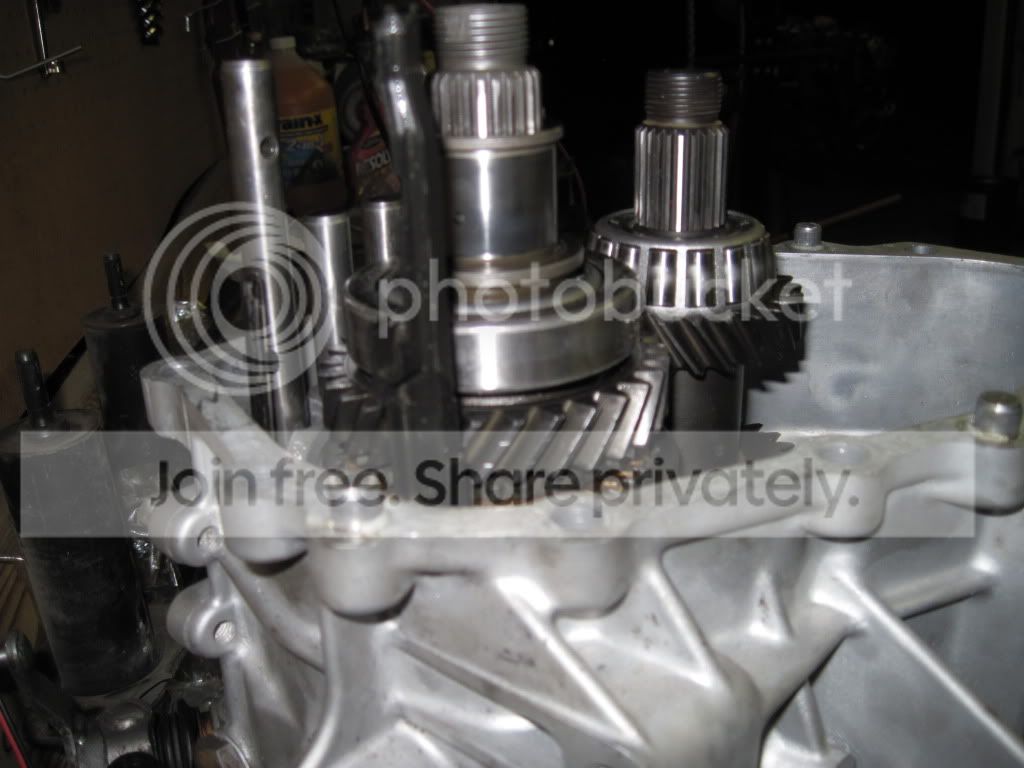
When I left off the shims where installed onto the front diff and output pinion gear, the gear sets and seals where installed and the case was placed on top to prevent contamination.
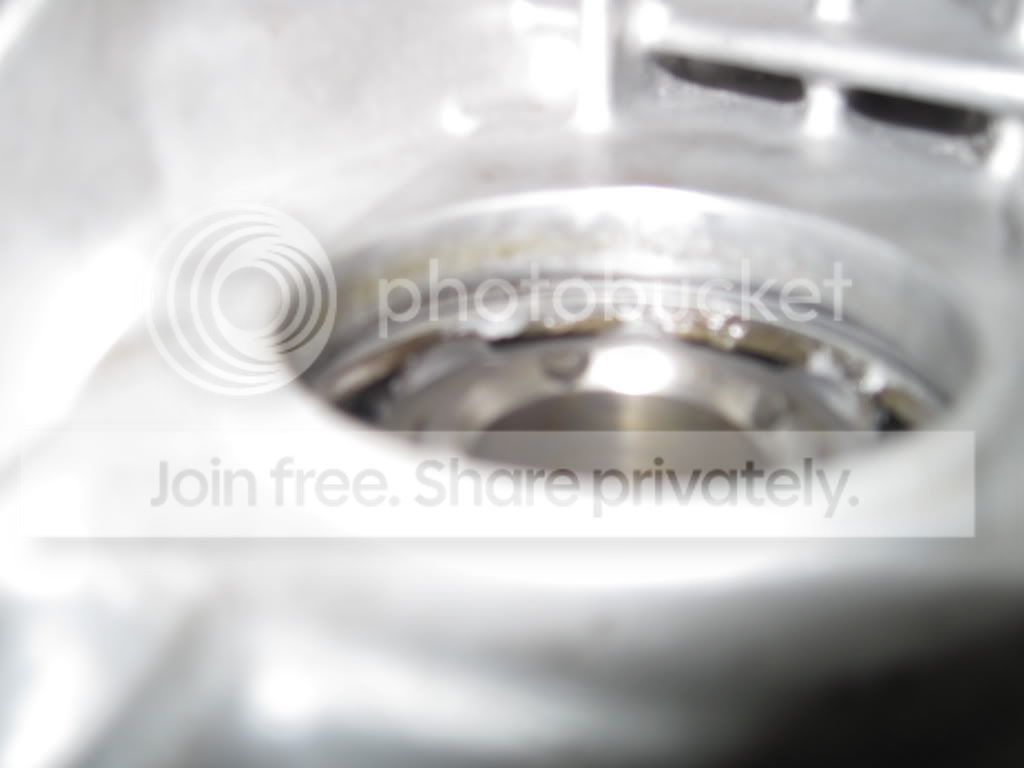
The next day I took the case off, clean the sealing surface squeaky clean and then apply a generous amount of Ultra Black RTV.
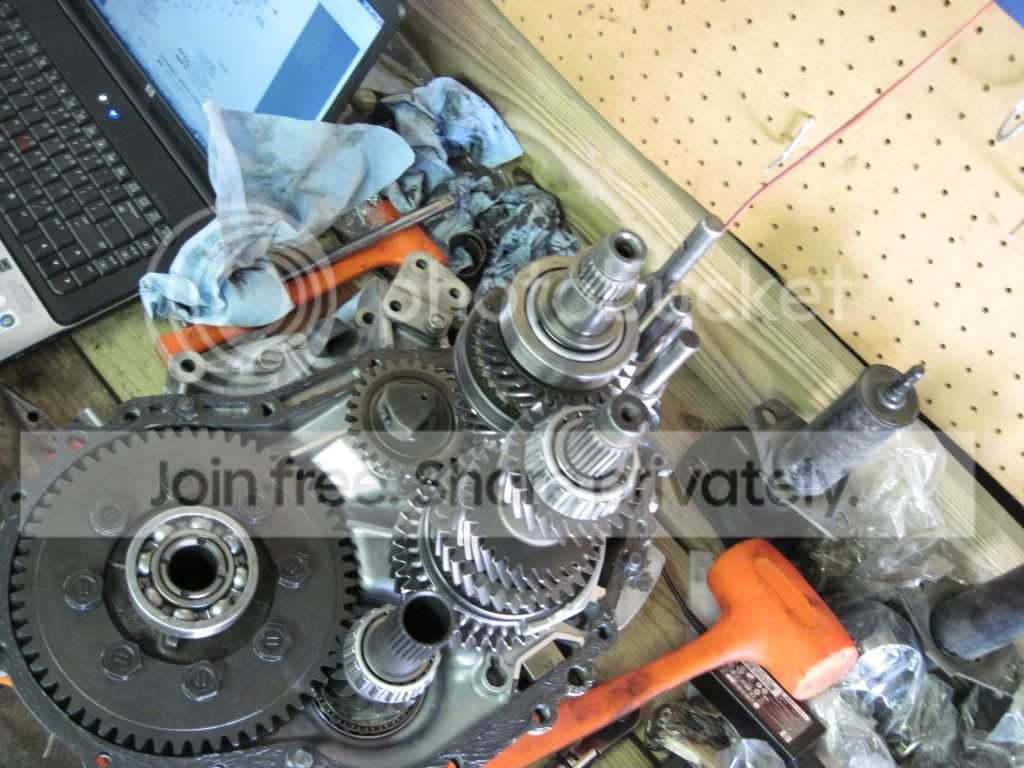
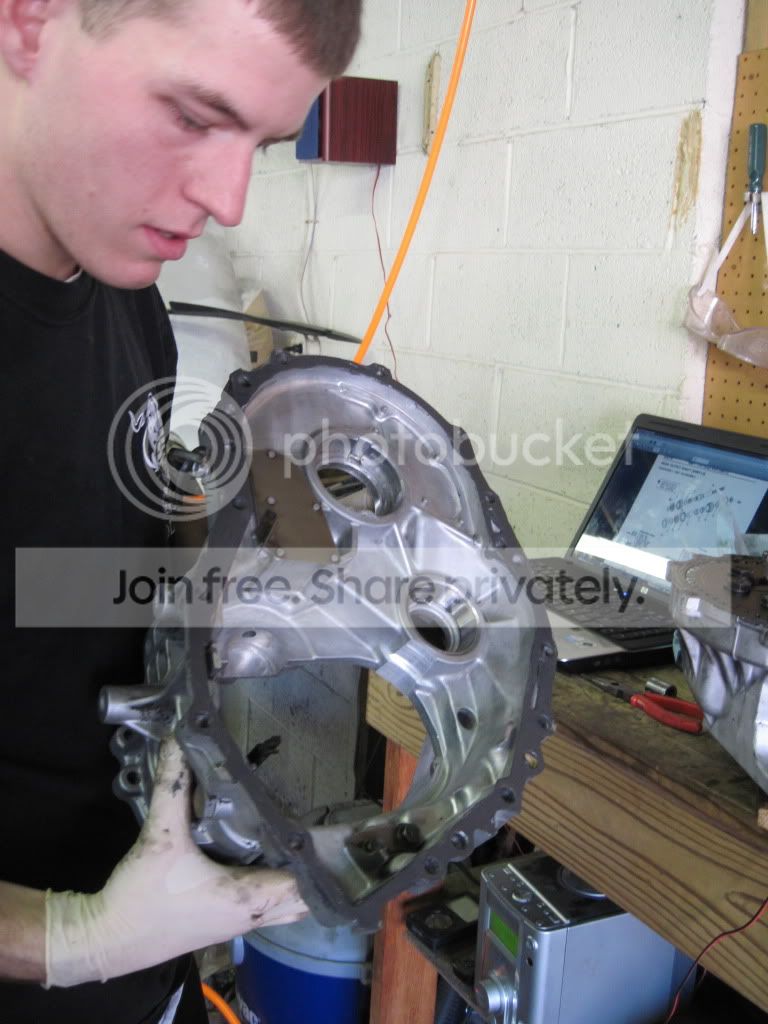
The case bolts where tightened until the RTV seeped out the side. Wait 1 hour and then make another 1/4 turn, then another hour torque to 29ft lbs. These are the instructions on the RTV.
Now that the first case section is on you will need to put the reverse gear bolt in. Torque the reverse bolt to spec.
This Pic is just for reference as I did not take a Pic of this bolt. It is the Bolt in the middle, halfway down the case.
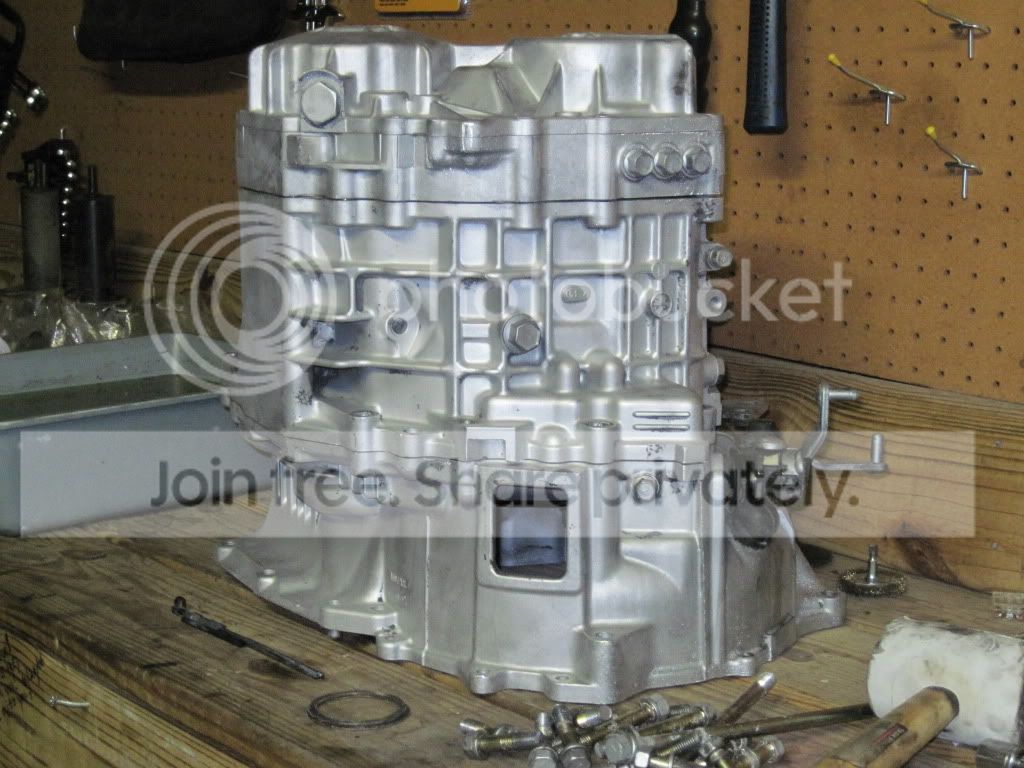
Next you need to slide the center diff into place. It slides right over the ouput pinion gear.
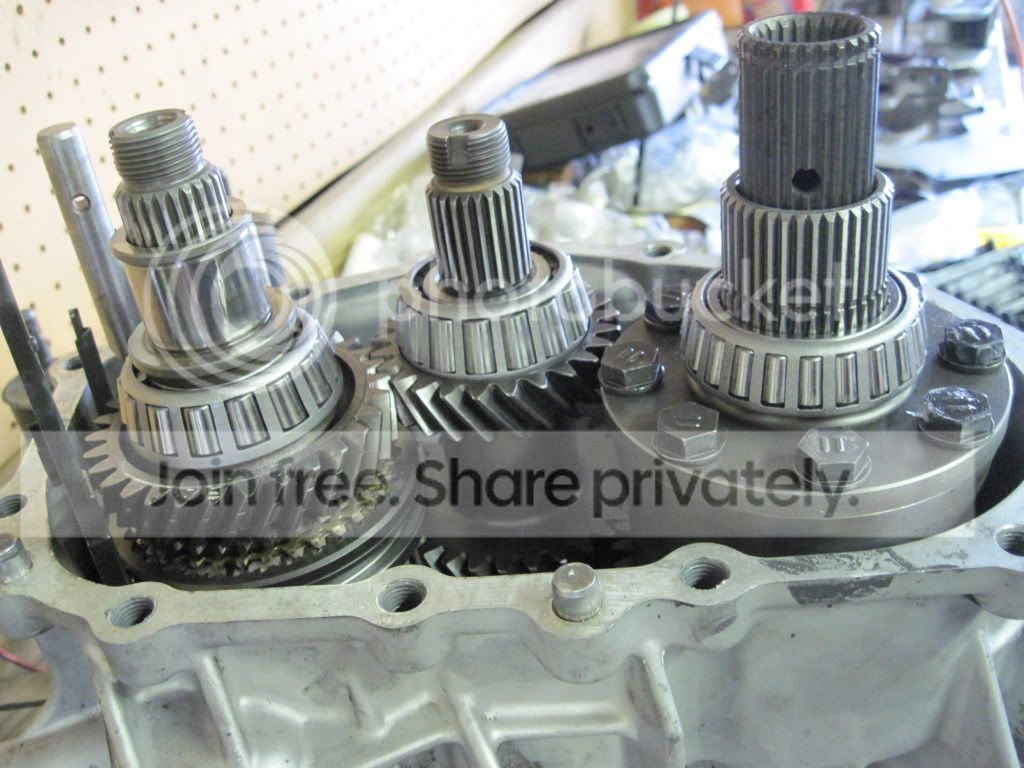
After the center diff is slid into place, get the outer races for the outer bearings of the intermediate shaft, Input shaft, and the center diff.
I then placed the shims inside the case and started the races into the case. (It is easier this way)
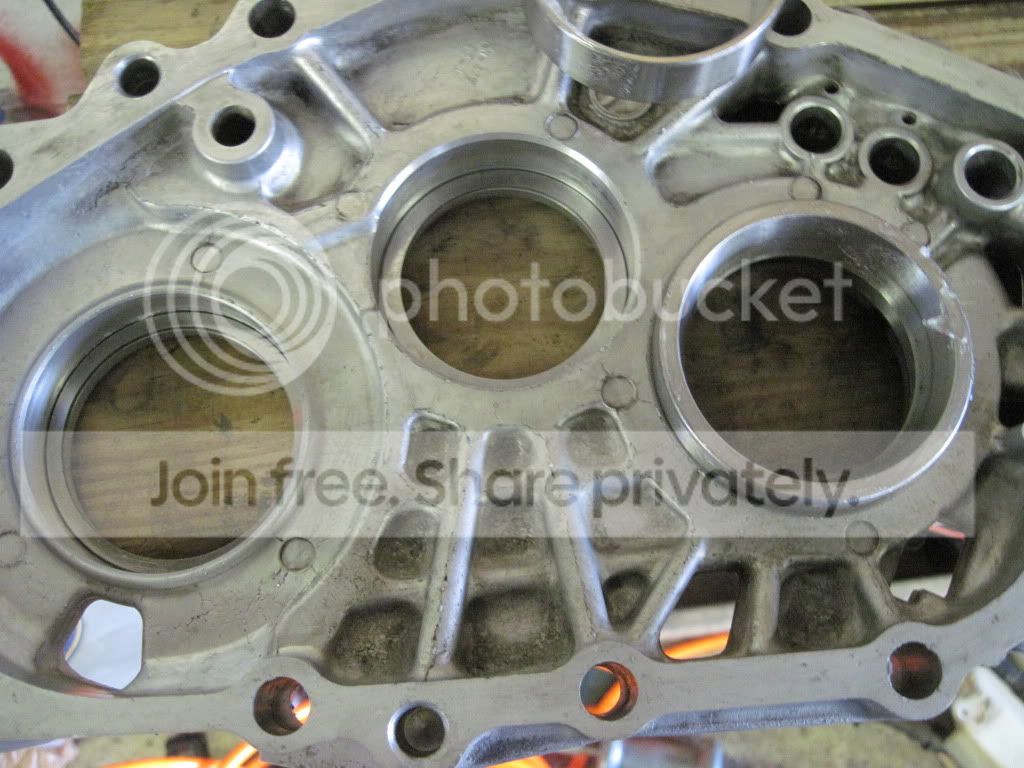
Again you will need to clean both sealing surfaces and apply RTV and follow the process.
I used the same bolts, without the outside cover on, that go through the cover to apply the RTV process while I assembled the upper half.
Note: All the parts seen in this pic will not yet be installed. This is just to show you the bolts are being used to hold the secound case piece and apply the RTV process
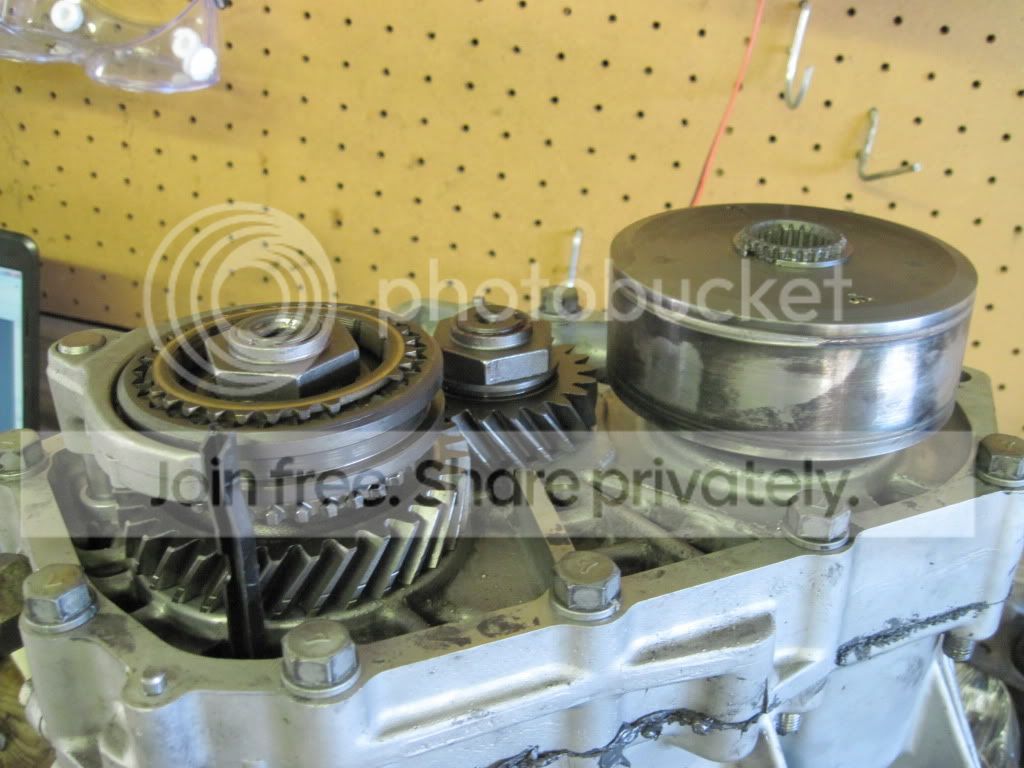
Next install the ball detents and springs and torque those bolts to spec.
Again this is being used as a reference since I did not take pics. The three bolts that are very close together on the top of the tranny in this pic
Now take the viscosis coupler and set it onto the center diff shaft. You should be looking at the part that is flat. Now you need to grab the output shaft (the shaft that goes into the transfer from the tranny) and slide it in from the bell housing side. Now get the one detent that was not the same size as the other three you put in the shift rails and place it in the center diff shaft to hold the output shaft in. Make sure the output shaft is locked into place and, Take a DEAD BLOW or other NON Metal hammer and finish hitting the vicosis coupler into place.
Far right piece is the Viscosis Coupler
Now this next part is a real pain as well and to be honest I cannot remember how I did it but you must install the C-clip to hold the viscousis coupler into place.
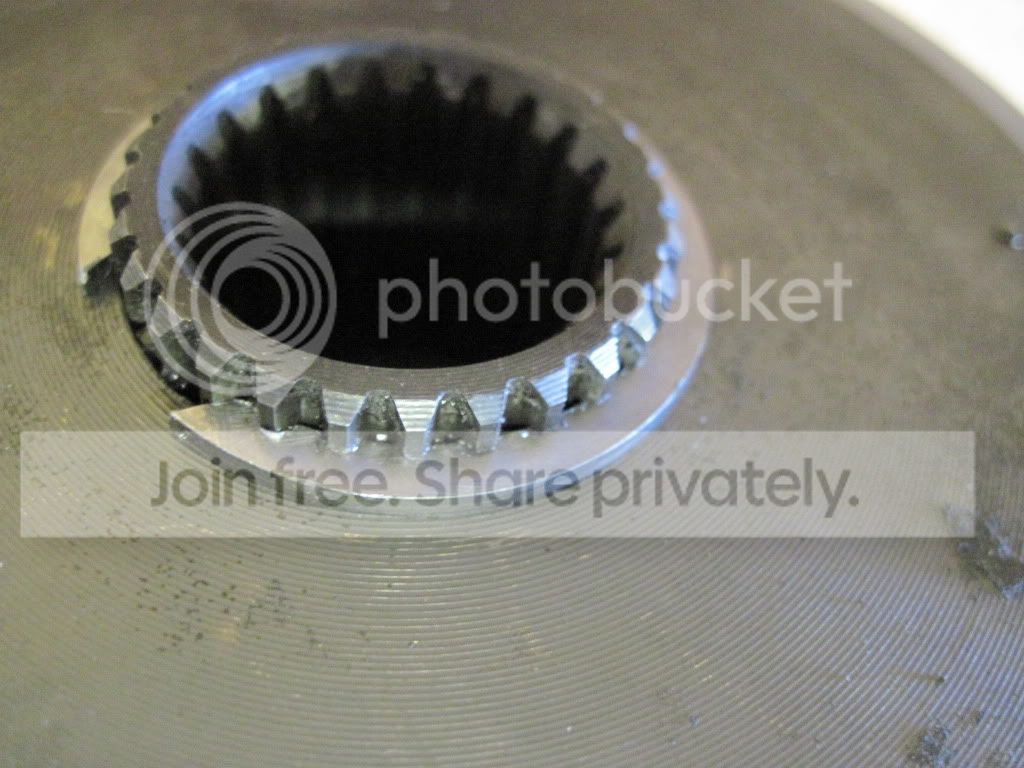
Now place the intermediate shaft gear onto the shaft. Mine slide right on.
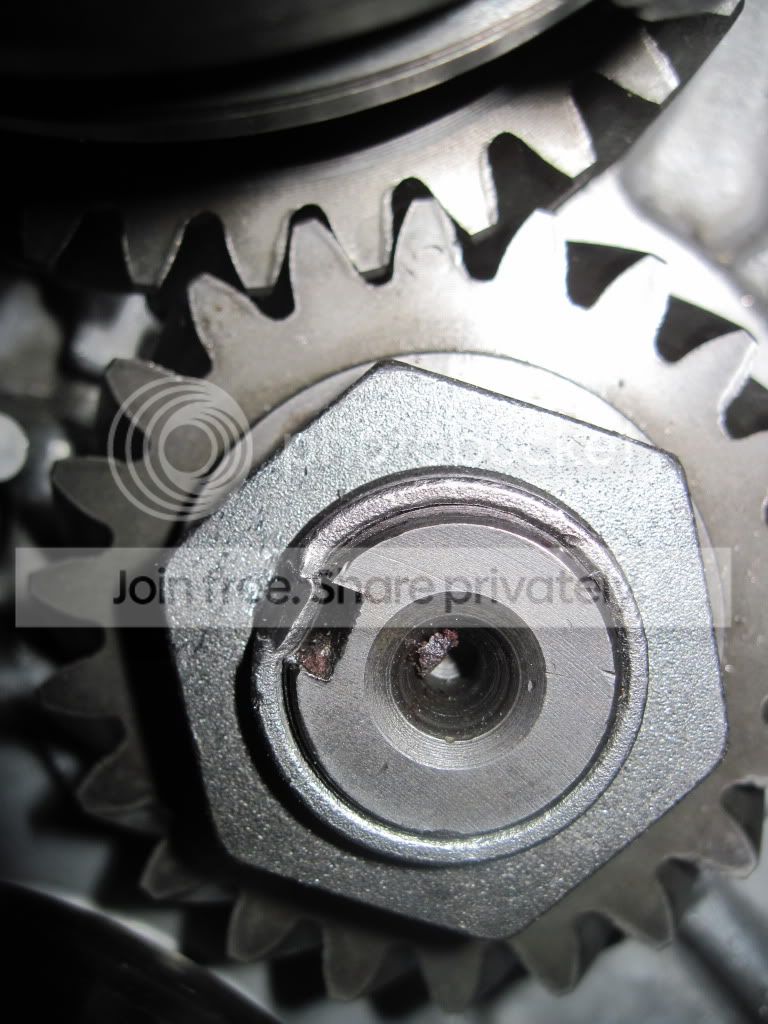
You will also need to slide on the 5th and reverse gear assembly onto the input shaft. At the same time slide the shift fork onto the shift rails and install the roll pin.
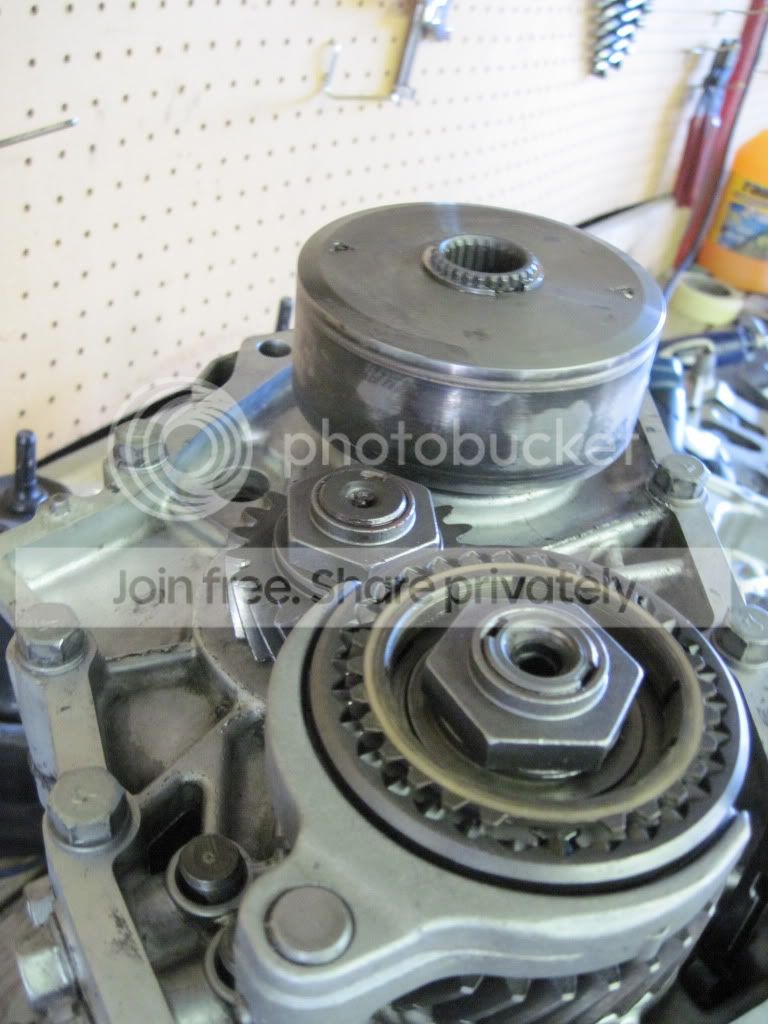
Install the reverse light switch.
Reverse light switch is at the very top right above the 5th-reverse gear assembly.
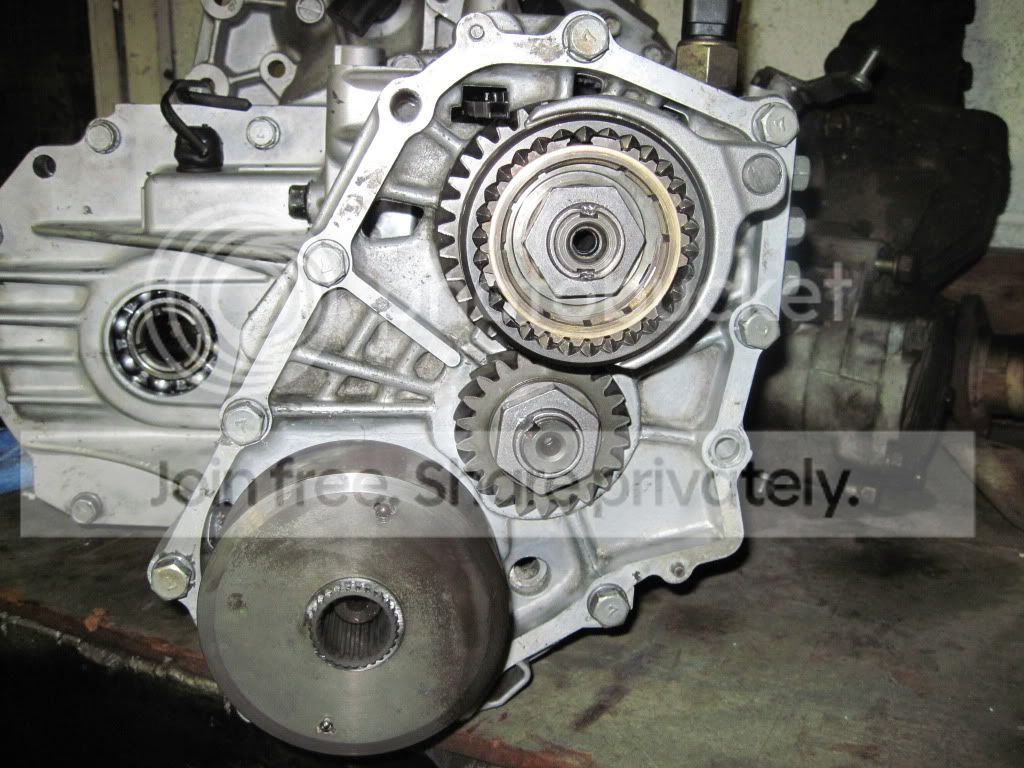
Take the two axle nuts and place a small amount of red thread locker onto the nut start the nuts onto the axle shafts finger tight. (This is already done in the above pics)
Put the reverse synchro into place and hold down on it to apply pressure to the keys and shift the tranny into reverse using the shift levers. This will aid in tightening the nuts.
Now get your special tool. Here is mine.
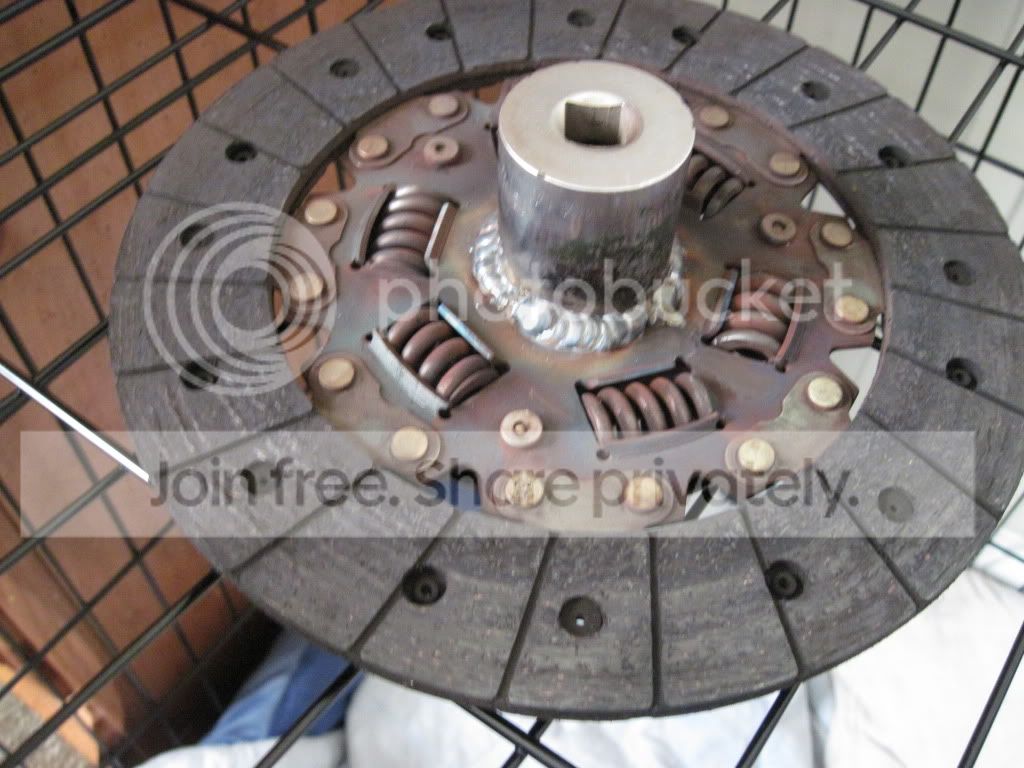
It is the old clutch disk with a large socket welded to it for a half inch pull bar. Place this over the input shaft splines and rest the bar on something solid.
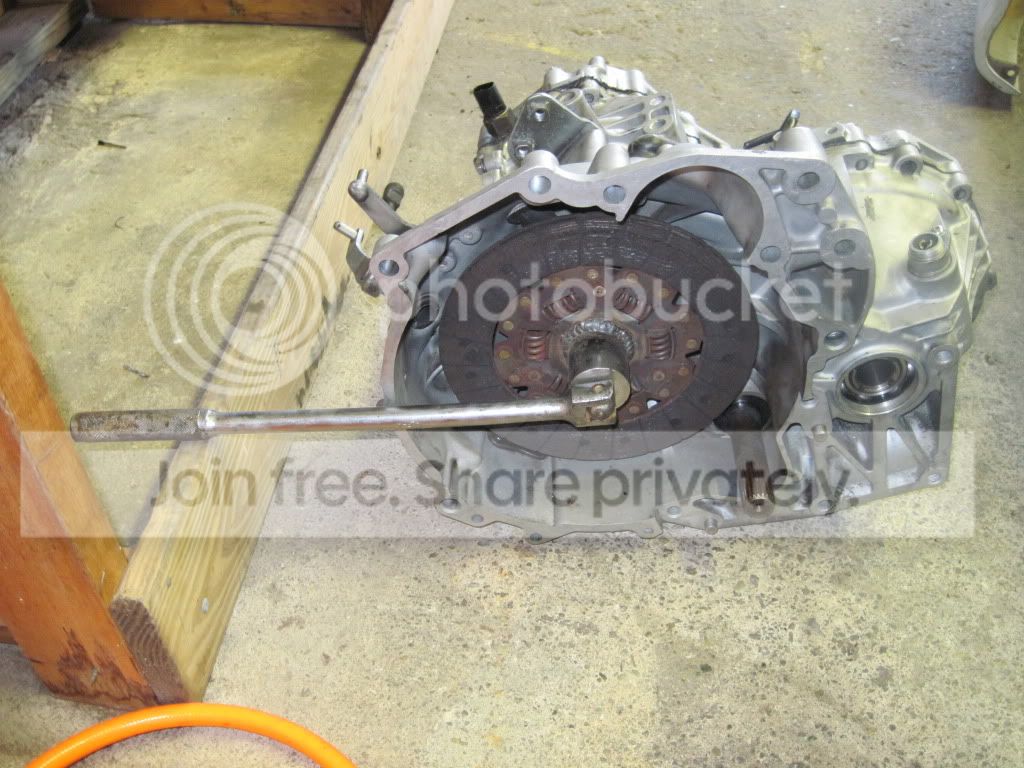
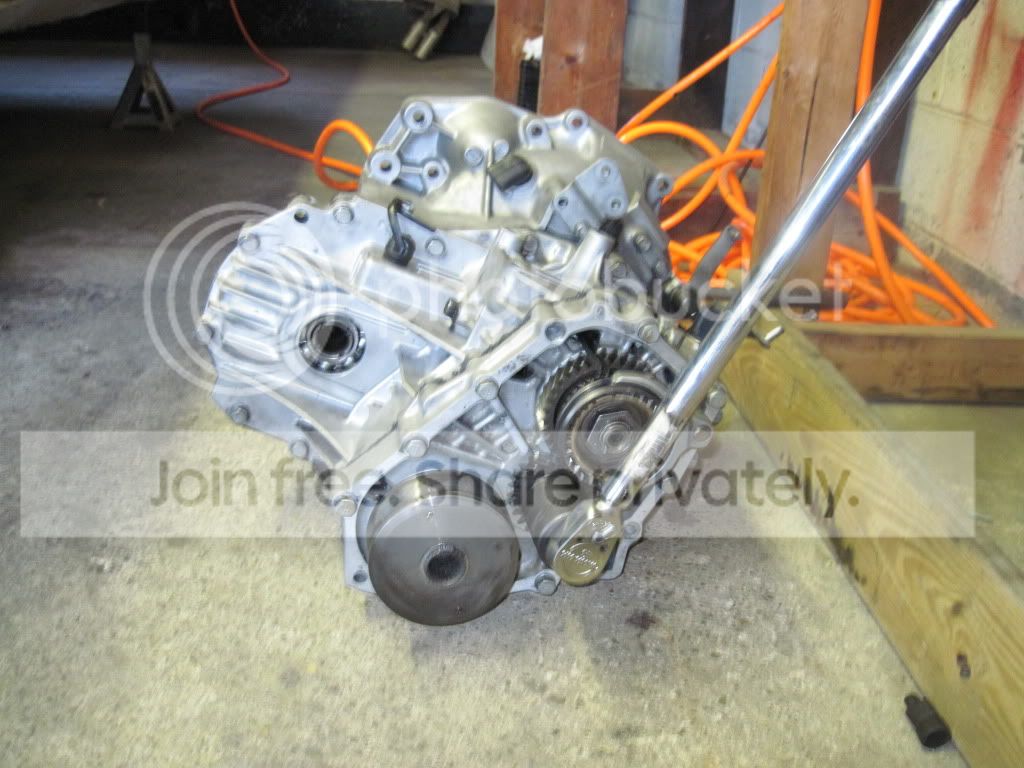
Now get your 36mm socket and 1/2 torque wrench and set it to 110ft lbs. Put on your big boy pants and torque these puppies down. The tranny will want to turn when you tighten the nuts so I put my foot on it to hold it down while torquing.
Make sure that when you put the tranny into reverse it is in there good. I did it the first time and it jumped out of gear on me and I was sure I broke something.
Be sure to do both NUTS....
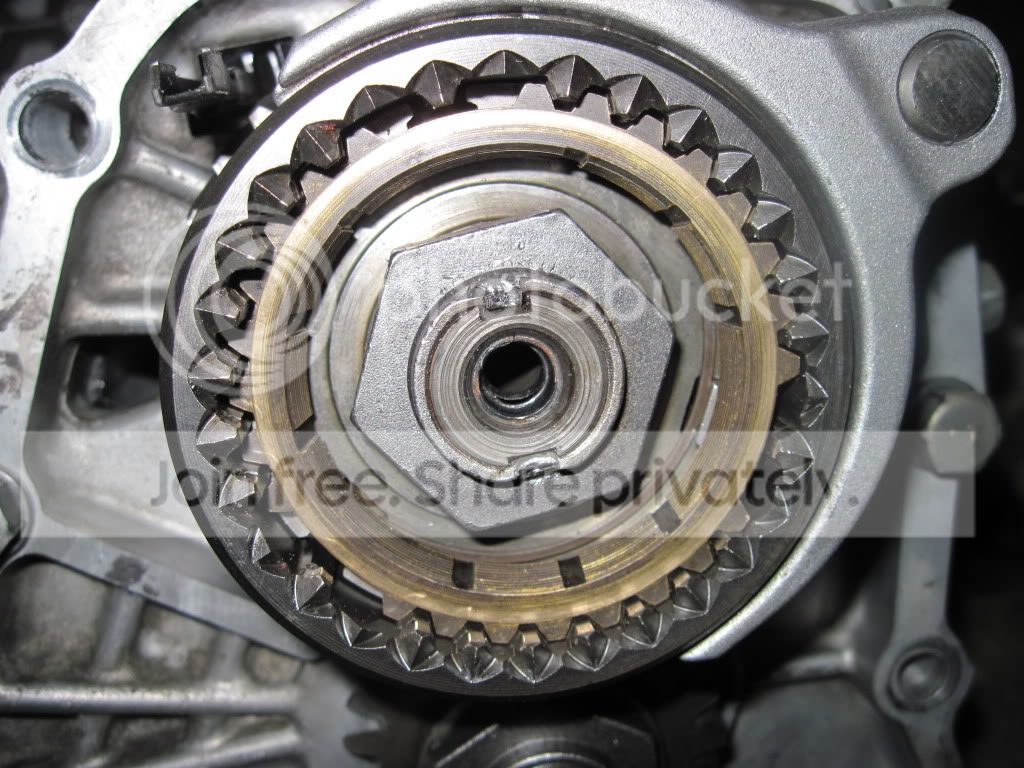
After these are done you have to dent the nuts to prevent from loosening. You can use a punch and hammer or an air hammer, but if you use the air hammer be careful the part of the nut that you are bending can and will break.
When I left off the shims where installed onto the front diff and output pinion gear, the gear sets and seals where installed and the case was placed on top to prevent contamination.
The next day I took the case off, clean the sealing surface squeaky clean and then apply a generous amount of Ultra Black RTV.
The case bolts where tightened until the RTV seeped out the side. Wait 1 hour and then make another 1/4 turn, then another hour torque to 29ft lbs. These are the instructions on the RTV.
Now that the first case section is on you will need to put the reverse gear bolt in. Torque the reverse bolt to spec.
This Pic is just for reference as I did not take a Pic of this bolt. It is the Bolt in the middle, halfway down the case.
Next you need to slide the center diff into place. It slides right over the ouput pinion gear.
After the center diff is slid into place, get the outer races for the outer bearings of the intermediate shaft, Input shaft, and the center diff.
I then placed the shims inside the case and started the races into the case. (It is easier this way)
Again you will need to clean both sealing surfaces and apply RTV and follow the process.
I used the same bolts, without the outside cover on, that go through the cover to apply the RTV process while I assembled the upper half.
Note: All the parts seen in this pic will not yet be installed. This is just to show you the bolts are being used to hold the secound case piece and apply the RTV process
Next install the ball detents and springs and torque those bolts to spec.
Again this is being used as a reference since I did not take pics. The three bolts that are very close together on the top of the tranny in this pic
Now take the viscosis coupler and set it onto the center diff shaft. You should be looking at the part that is flat. Now you need to grab the output shaft (the shaft that goes into the transfer from the tranny) and slide it in from the bell housing side. Now get the one detent that was not the same size as the other three you put in the shift rails and place it in the center diff shaft to hold the output shaft in. Make sure the output shaft is locked into place and, Take a DEAD BLOW or other NON Metal hammer and finish hitting the vicosis coupler into place.
Far right piece is the Viscosis Coupler
Now this next part is a real pain as well and to be honest I cannot remember how I did it but you must install the C-clip to hold the viscousis coupler into place.
Now place the intermediate shaft gear onto the shaft. Mine slide right on.
You will also need to slide on the 5th and reverse gear assembly onto the input shaft. At the same time slide the shift fork onto the shift rails and install the roll pin.
Install the reverse light switch.
Reverse light switch is at the very top right above the 5th-reverse gear assembly.
Take the two axle nuts and place a small amount of red thread locker onto the nut start the nuts onto the axle shafts finger tight. (This is already done in the above pics)
Put the reverse synchro into place and hold down on it to apply pressure to the keys and shift the tranny into reverse using the shift levers. This will aid in tightening the nuts.
Now get your special tool. Here is mine.
It is the old clutch disk with a large socket welded to it for a half inch pull bar. Place this over the input shaft splines and rest the bar on something solid.
Now get your 36mm socket and 1/2 torque wrench and set it to 110ft lbs. Put on your big boy pants and torque these puppies down. The tranny will want to turn when you tighten the nuts so I put my foot on it to hold it down while torquing.
Make sure that when you put the tranny into reverse it is in there good. I did it the first time and it jumped out of gear on me and I was sure I broke something.
Be sure to do both NUTS....
After these are done you have to dent the nuts to prevent from loosening. You can use a punch and hammer or an air hammer, but if you use the air hammer be careful the part of the nut that you are bending can and will break.
















