


blcknspo0ln
DSM Wiseman
- 7,772
- 101
- Jul 31, 2003
-
Central,
New Jersey
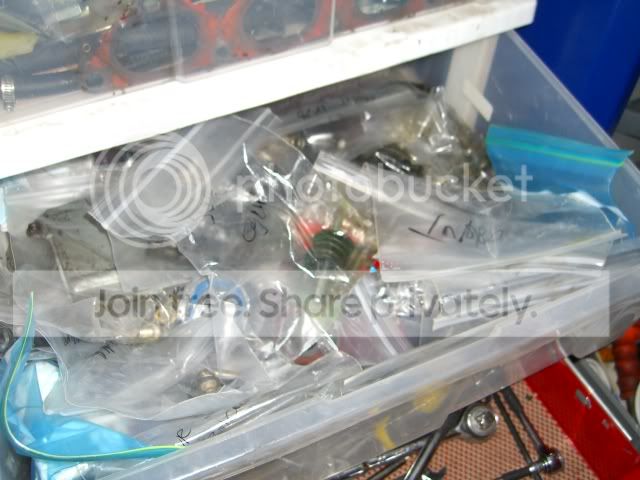
When disassembling anything, I like to make little baggies and use a sharpie to label all of my bags. You end up having a lot of baggies, but it makes things 1000x easier to find.
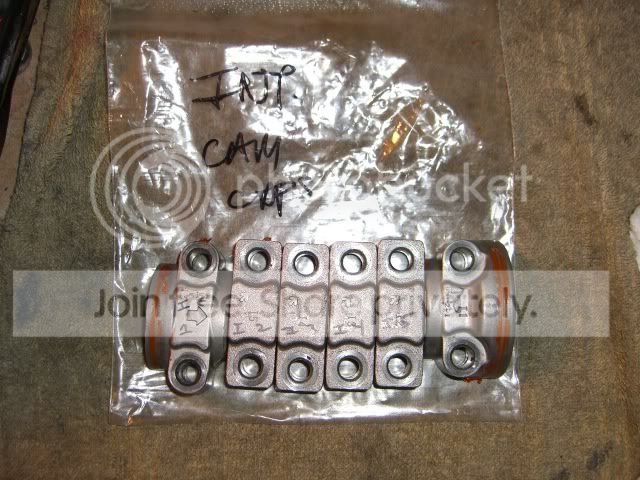
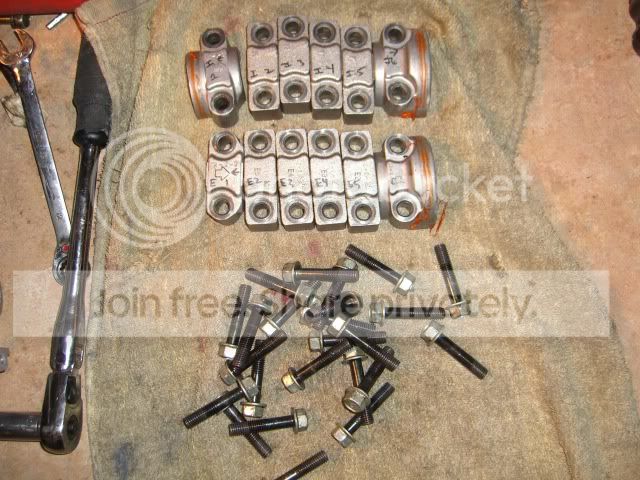
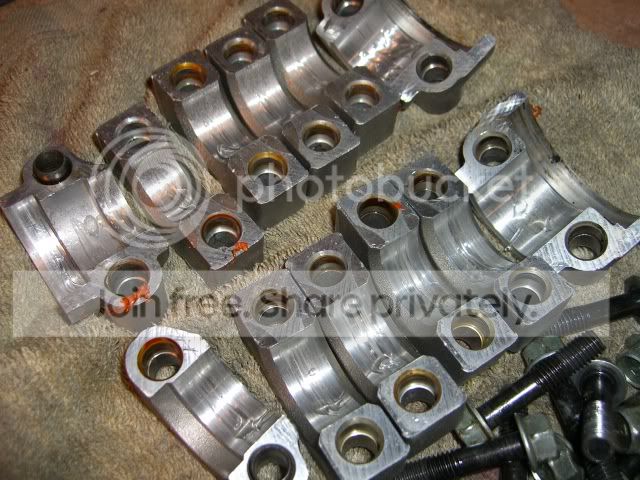
Cam caps. Please reuse the same cam caps on your head, if you mix and match, get the machinist to line bore your head; Otherwise you will have problems upon startup.
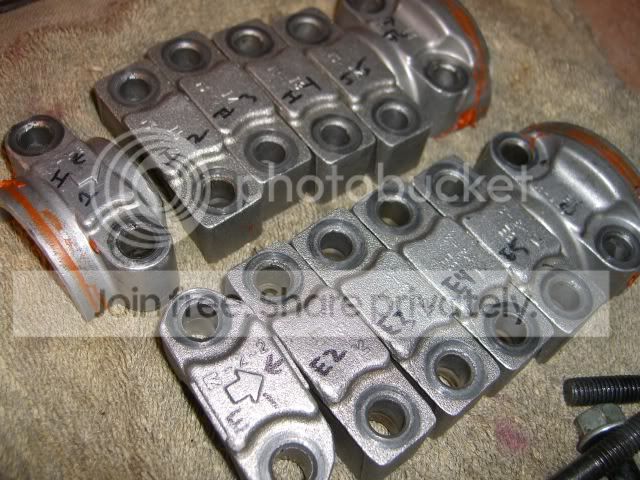
Before I took off the cam caps, I labeled them in a system that made sense to me. Do what you like, just make sure you understand it. If you mess up, Mitsubishi kindly casted cam directions on the caps

More lube (starting to see a trend here?)
Install this thing (sadly, I have no idea what it is):
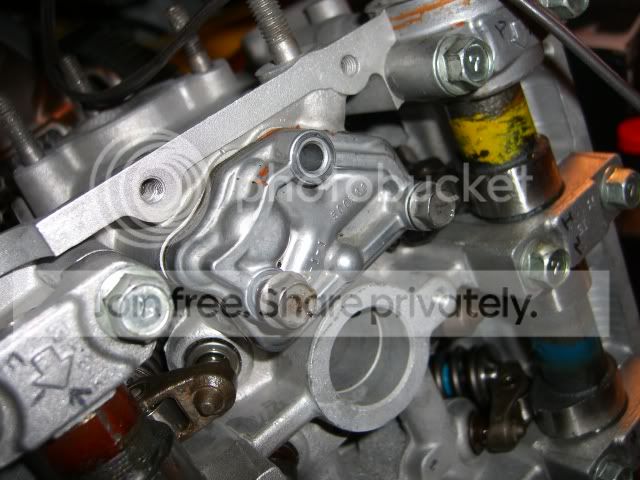
Install CAS, make sure the alignment tab is in line with the cam marks. Nuts for the studs are 8x1.25
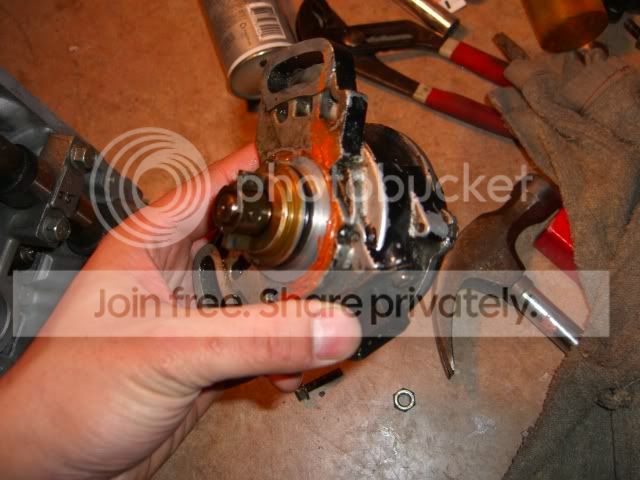
I don't have a pic of it, but get the cam gears on by using red loctite on the bolt and making sure that the step on the cam gear is aligned with the actual camshaft and the dowel pin inserted into the hole. Use an adjustable wrench on the hex portion of the cam shaft to hold it into place while you torque to 45 ft/lb. Torque the cam cap bolts to 18 ft/lb.
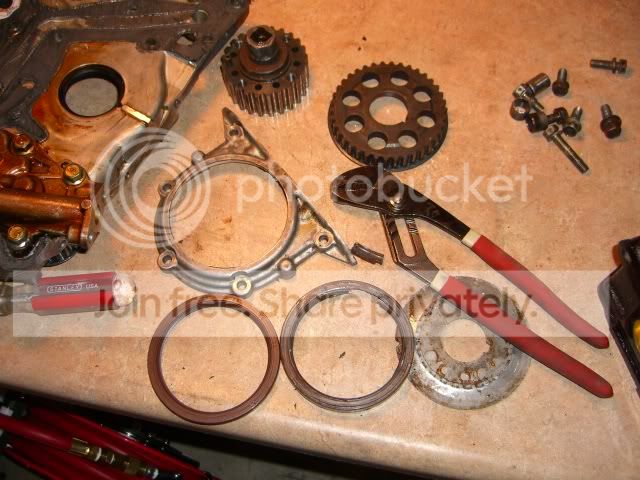
I didn't start too much on the block, but here's the rear main seal.
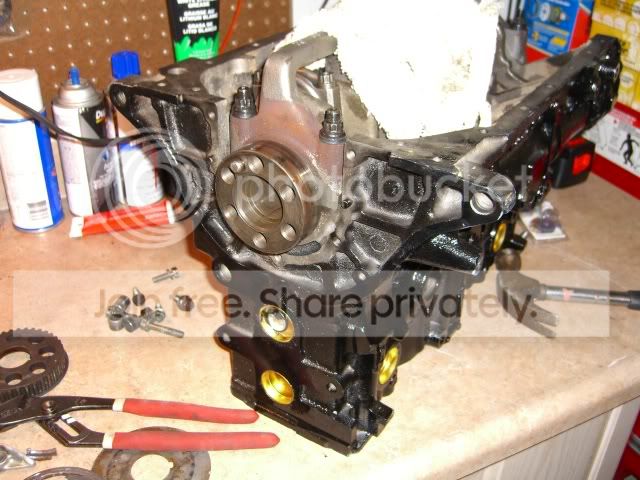
Take the plate and notice how the rear main seal is pushed in the plate. I took a socket (Like a 14mm deep) and place it against the inner ring of the seal. Since it'll be hard, just smack the socket onto the seal in a circular motion until the thing pops out. The one on the left is new and the old one on the right.
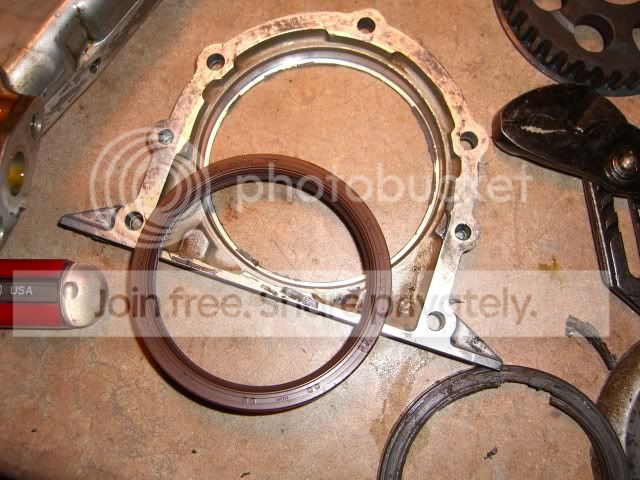
Note the orientation of the seal. The inside of it faces the inside of what would be the engine. The outside will be what you see once installed.
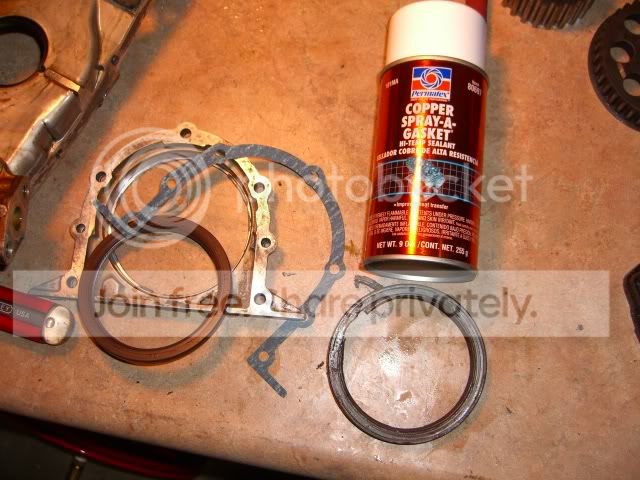
Here's the plate, rear main seal, gasket, and copper spray (permatex):
Use some engine oil or white lithium grease and grease the whole ring. The push the seal around the plate and gently hammer it into place with the mallet.
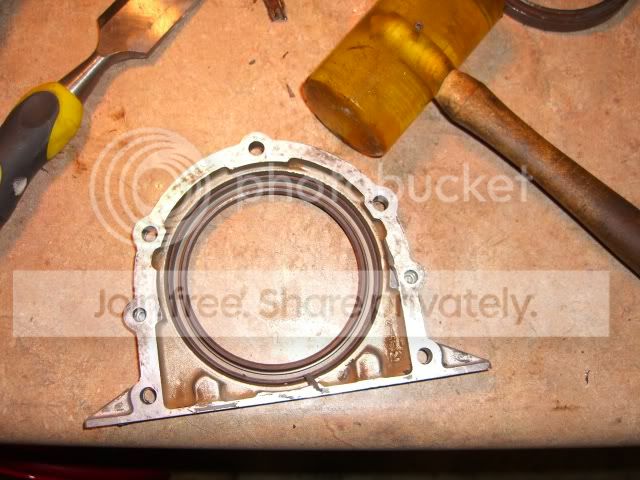
Use some copper spray and spray both sides of the gasket. Allow it to tack up before installing.
Torque to spec (I did 10 ft/lb) on these little bolts.
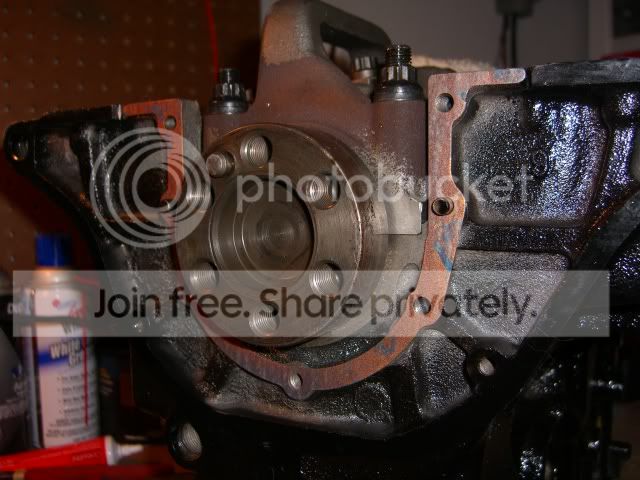
Oi, my fingers are getting tired already. I suspected the machine shop didn't torque to spec my ARP's, so I decided to redo it anyway. Torque specs with ARP Moly lube for the ARP rod bolts are 43-45 ft/lb and mains are 60 ft/lb. The trick to ARP fasteners is to torque it to spec once, loosen it, torque again to spec, etc; do this 5 times. It should get easier and easier to torque as you go along because now the threads are being broken in. This is what ARP wants you to do with their fasteners.
that said, I redid all of them. Someone on DSMLink stated (concerning how much moly to use) "like a kid with ketchup". Use generous portions. I only had one packet of moly, so I couldn't.
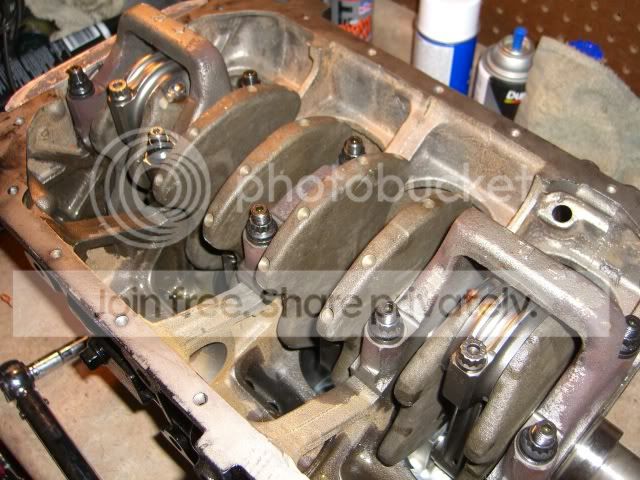
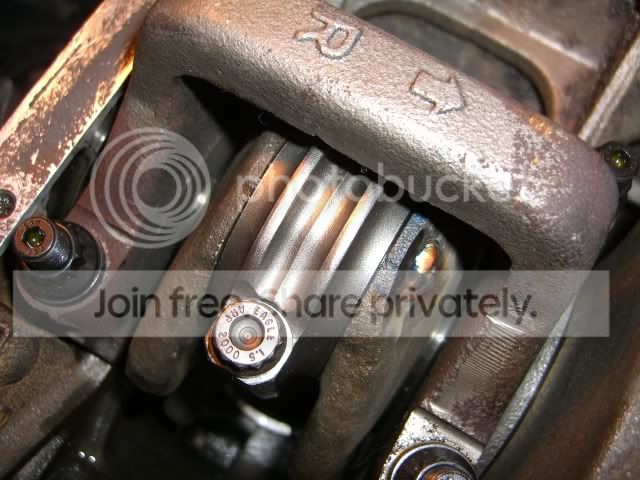
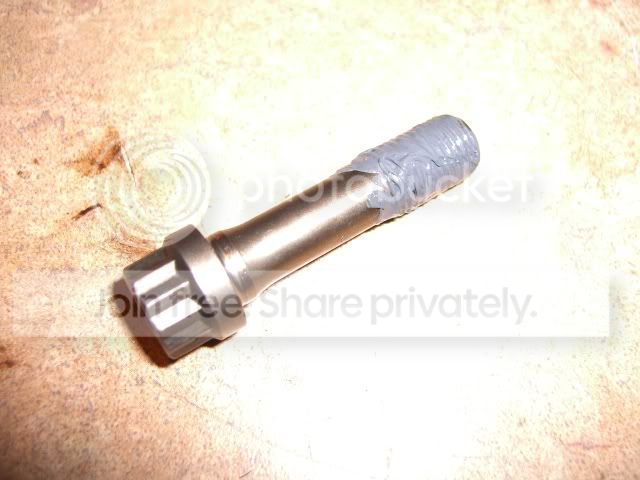
Cam caps. Please reuse the same cam caps on your head, if you mix and match, get the machinist to line bore your head; Otherwise you will have problems upon startup.
Before I took off the cam caps, I labeled them in a system that made sense to me. Do what you like, just make sure you understand it. If you mess up, Mitsubishi kindly casted cam directions on the caps
More lube (starting to see a trend here?)
Install this thing (sadly, I have no idea what it is):
Install CAS, make sure the alignment tab is in line with the cam marks. Nuts for the studs are 8x1.25
I don't have a pic of it, but get the cam gears on by using red loctite on the bolt and making sure that the step on the cam gear is aligned with the actual camshaft and the dowel pin inserted into the hole. Use an adjustable wrench on the hex portion of the cam shaft to hold it into place while you torque to 45 ft/lb. Torque the cam cap bolts to 18 ft/lb.
I didn't start too much on the block, but here's the rear main seal.
Take the plate and notice how the rear main seal is pushed in the plate. I took a socket (Like a 14mm deep) and place it against the inner ring of the seal. Since it'll be hard, just smack the socket onto the seal in a circular motion until the thing pops out. The one on the left is new and the old one on the right.
Note the orientation of the seal. The inside of it faces the inside of what would be the engine. The outside will be what you see once installed.
Here's the plate, rear main seal, gasket, and copper spray (permatex):
Use some engine oil or white lithium grease and grease the whole ring. The push the seal around the plate and gently hammer it into place with the mallet.
Use some copper spray and spray both sides of the gasket. Allow it to tack up before installing.
Torque to spec (I did 10 ft/lb) on these little bolts.
Oi, my fingers are getting tired already. I suspected the machine shop didn't torque to spec my ARP's, so I decided to redo it anyway. Torque specs with ARP Moly lube for the ARP rod bolts are 43-45 ft/lb and mains are 60 ft/lb. The trick to ARP fasteners is to torque it to spec once, loosen it, torque again to spec, etc; do this 5 times. It should get easier and easier to torque as you go along because now the threads are being broken in. This is what ARP wants you to do with their fasteners.
that said, I redid all of them. Someone on DSMLink stated (concerning how much moly to use) "like a kid with ketchup". Use generous portions. I only had one packet of moly, so I couldn't.
















