Calan
DSM Wiseman
- 7,250
- 399
- Jan 16, 2007
-
OKC,
Oklahoma
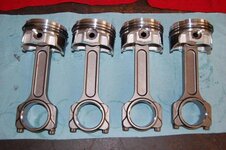
Well I finally got the motor torn all the way down and off to the machine shop for measurements and a thorough inspection. Over the next few weeks, it will be tanked, magnafluxed, and blueprinted. In the mean time, I'll be trying to decide exactly which direction I want to go with it and trying to come up with the funds to actually do it  .
.
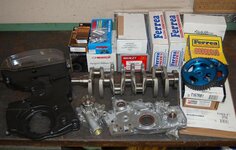
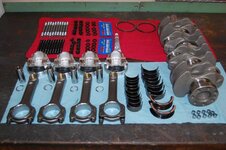
As of right now, I'm leaning towards a 2.3l stroker at 8.5:1 or 9:1, eventually running a Holset hx35 turbo. But that could change depending on what the final $$$ damage will be. Ok...enough daydreaming...
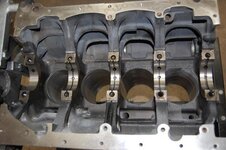
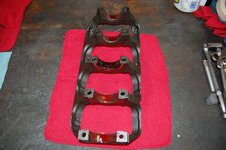
The bearings weren't horrible, but the front main cap shows a good bit of wear that can be slightly felt.
View attachment 317 View attachment 319
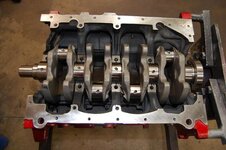
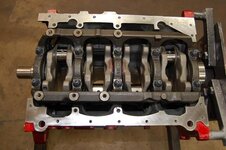
The crank also showed a little wear at the rear main seal, but it isn't all that much. The crank journals all look good.
View attachment 320
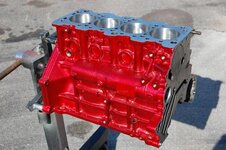
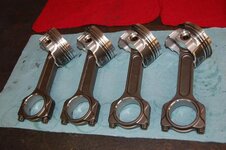
Other than that, the motor actually looks pretty good...except for the broken ring land of course. No matter...it will look MUCH better eventually
Next up was some more suspenson disassembly and cleaning. The sway bar came out, and I removed both knuckles and hubs. The wheel bearings, ball joints, and tie rod ends are still in good shape, so I'm not going to replace them. I will get new grease boots for the ball joints and tie rod ends though. I'm wanting some from Energy Suspension or Prothane, but I'm having a hard time finding them for the lower ball joints.
Update: I went ahead and bought new tie rod ends for $25 shipped from here, and have two new ball joint covers on order from Mitsu. (For anyone needing these, the p/n is MB176047... and thanks to chico904 for the TRE link ).
).
View attachment 321 View attachment 322
I also decided to test some some spray-on bed liner for the wheel wells. It's the stuff used to line pickup beds (not Rhino), made by Duplicolor. I sprayed a small area on the driver side wheel well as a test. We'll see how it looks after a day or two.
View attachment 323 View attachment 324
Other than that, it was just more cleaning and trying to figure out how I want to route the PS lines. I want them down lower instead of over the engine mount, if I can figure out how to keep them out of the motor. I think I'm going to fabricate a high pressure hard line to run next to the factory return line. Any other ideas welcome
View attachment 325 View attachment 326
That's about it for now. Next time I should have a better idea of what I'm going to do with the motor, and I "should" be ready to start moving in a positive direction instead of deconstruction
Stay tuned!
.As of right now, I'm leaning towards a 2.3l stroker at 8.5:1 or 9:1, eventually running a Holset hx35 turbo. But that could change depending on what the final $$$ damage will be. Ok...enough daydreaming...
The bearings weren't horrible, but the front main cap shows a good bit of wear that can be slightly felt.
View attachment 317 View attachment 319
The crank also showed a little wear at the rear main seal, but it isn't all that much. The crank journals all look good.
View attachment 320
Other than that, the motor actually looks pretty good...except for the broken ring land of course. No matter...it will look MUCH better eventually
Next up was some more suspenson disassembly and cleaning. The sway bar came out, and I removed both knuckles and hubs. The wheel bearings, ball joints, and tie rod ends are still in good shape, so I'm not going to replace them. I will get new grease boots for the ball joints and tie rod ends though. I'm wanting some from Energy Suspension or Prothane, but I'm having a hard time finding them for the lower ball joints.
Update: I went ahead and bought new tie rod ends for $25 shipped from here, and have two new ball joint covers on order from Mitsu. (For anyone needing these, the p/n is MB176047... and thanks to chico904 for the TRE link
).View attachment 321 View attachment 322
I also decided to test some some spray-on bed liner for the wheel wells. It's the stuff used to line pickup beds (not Rhino), made by Duplicolor. I sprayed a small area on the driver side wheel well as a test. We'll see how it looks after a day or two.
View attachment 323 View attachment 324
Other than that, it was just more cleaning and trying to figure out how I want to route the PS lines. I want them down lower instead of over the engine mount, if I can figure out how to keep them out of the motor. I think I'm going to fabricate a high pressure hard line to run next to the factory return line. Any other ideas welcome
View attachment 325 View attachment 326
That's about it for now. Next time I should have a better idea of what I'm going to do with the motor, and I "should" be ready to start moving in a positive direction instead of deconstruction
Stay tuned!