The Central Hub for DSM Community and Information

For 1990-1999 Mitsubishi Eclipse, Eagle Talon, Plymouth Laser, and Galant VR-4 Owners. This is where the DSM platform history is documented and archived. Log in to help us in our mission, and to remove most ads from the browsing experience.

onroad.jpg

Crash89s Spyder build!

This site may earn a commission from merchant affiliate links, including eBay, Amazon, and others.

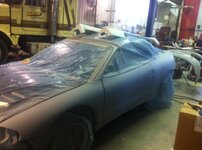
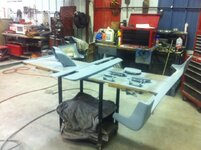
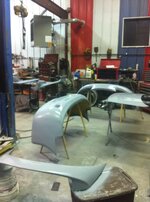
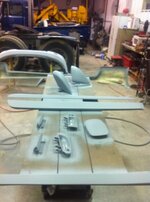
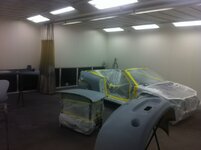
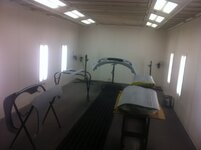
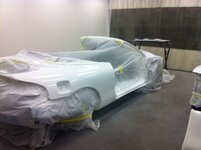
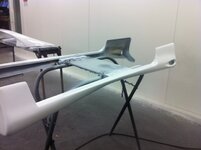
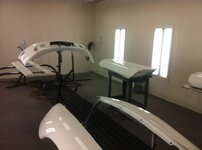
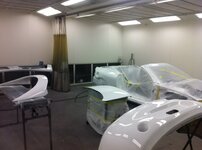
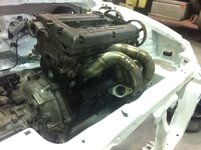
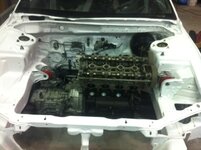
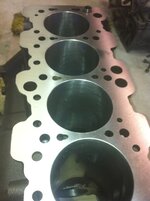
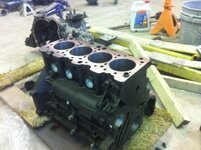
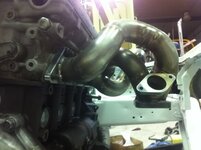
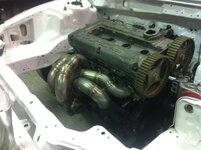
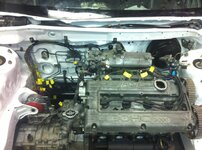
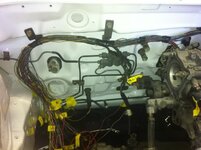
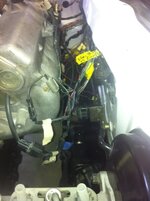
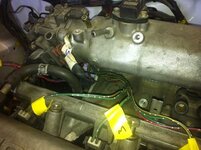
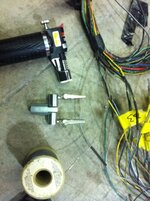
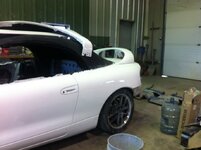
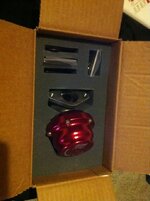
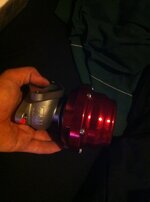
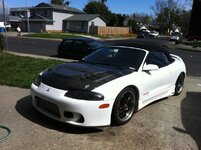
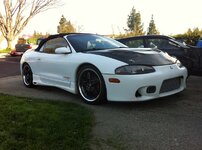
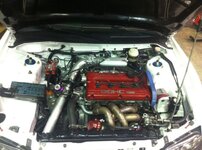
Ok I sanded the bumpers down and sprayed another coat of primer on them last night.. And we got the rest of the stuff primed.. We ran out of primer the first night.. I actually snapped some pics this time!

469292[/ATTACH]"]
primer25.jpg


469294[/ATTACH]"]
primer26.jpg


469296[/ATTACH]"]
primer27.jpg


469298[/ATTACH]"]
primer28.jpg


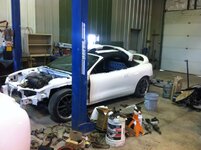
I know you guys are ###### getting sick of seeing primer updates, but its all for the better! Painting for real this saturday. So the next update will be around then and the car will be white!!!
 

Attachments

Finally got the car ready for paint. Took it to my Dads work yesterday (which was my birtchday btw!) and got it set up. We had the body shop painter actually spray the car. Im going back to the shop tomorrow to actually pic it up. I cant wait to see this thing put together!

paint3.jpg

paint2.jpg

paint4.jpg

paint5.jpg

paint6.jpg

paint8.jpg


I also was able to pick up my block from the machinist yesterday as well. Everything went so well yesterday it was amazing.
 

Attachments

Thanks for the comments guys as well as the bday wishes. Now I can finally get a start with the motor and wiring of this thing. Ive recently been thinking of not even running my 20g set up this summer just ### it will give me more down time while making that swap. Might as well start fresh with a new set up and progress through the summer!!
 
Very Neat...I see how far you have come in just a short time, a lot of folks take awhile to build..haha....great work!....going to stick on this build for awhile to see the thing finished! Super! :thumb:
 
I love that your putting the 2gb wing on this. Looks sooo good. Keep up the good work buddy.
 
Picked up my block from the machine shop last week and finally decided I should start doing the rest of my wiring.. FML.. So, I bolted the trans to the block and bolted up a couple motor mounts and laid the head on. Now, mind you this is ALL TEMPORARY!! No need to tell me I should clean the trans or paint the valve cover blah blah. Itll all be done when my wiring harness is finished. This is just so I can bolt up the necessary things to run the wires how I want. PICs!!

469979[/ATTACH]"]
block.jpg


469981[/ATTACH]"]
block2.jpg


469983[/ATTACH]"]
block3.jpg


Oh, and for kicks I put a couple nuts on the Redjack Manifold just to see!! :D
469985[/ATTACH]"]
redjack3.jpg


469987[/ATTACH]"]
redjack5.jpg


469989[/ATTACH]"]
redjack4.jpg
 

Attachments

Heres what I got done today with the wiring. Ive previously eliminated numerous sensors and cut the harness in half so I could run the wires the way I wanted. In this pic every necessary sensor is plugged in except the coolant sensors, back up lights and the front o2.

470030[/ATTACH]"]
wiring.jpg
 

Attachments

Hey fellas, since my spare tire well was pretty rusty and gross looking I decided to cut it out!

470402[/ATTACH]"]
trunk.jpg


Believe it or not, this shit weighs about 45 pounds.
470404[/ATTACH]"]
trunk2.jpg


470406[/ATTACH]"]
trunk3.jpg


Then, I got some sheet metal and made me a new bottom for the trunk. With supports underneath.
470408[/ATTACH]"]
trunk4.jpg


NWHtanK Sorry it took so long to get these pics for you, I hope they help!
470410[/ATTACH]"]
wiring2.jpg


470412[/ATTACH]"]
wiring3.jpg


470414[/ATTACH]"]
wiring4.jpg


470416[/ATTACH]"]
wiring5.jpg
 

Attachments

Whats goin on guys. Been doing some wiring since my new battery came in the other day.. All in all I cut out about a foot or so on average of each wire. Check em out!!

470790[/ATTACH]"]
stmbatt.jpg


Bottom of the bracket!
470792[/ATTACH]"]
stmbatt2.jpg


Doing some soldering.
470794[/ATTACH]"]
wiring6.jpg


Just a couple more sensors to get done!!
470796[/ATTACH]"]
wiring7.jpg


Finally put the wing and deck lid on!
470798[/ATTACH]"]
2gb.jpg


470800[/ATTACH]"]
2gb2.jpg
 

Attachments

Looking good tom! I forgot to ask you but does pakes have a torque plate when they did the machining?
 
Umm.. Im not sure Kenny.. Youd have to ask them..

So, I havent gotten "much" done on the car recently.. Been waiting on parts and things to come in the mail. I ordered the same wire loom that Turbosax used in his fusebox relocation here >> http://www.dsmtuners.com/forums/hangout/298569-my-fuse-box-relocation-project-log-17.html#post152051160 annnd the loom, >> Techflex cable wrap (7) sizes / per Foot / 1/8 inch to 2 inch

So, I got 98% of the wiring harness finished and started to loom it up! Take a looksie!
471895[/ATTACH]"]
newloom.jpg


471897[/ATTACH]"]
newloom2.jpg


OH, and my new wastegates came today too!! Wooooo!
471899[/ATTACH]"]
newwg.jpg


471901[/ATTACH]"]
newwg2.jpg
 

Attachments

Last edited by a moderator:
Add Value - Be Respectful - No Trolling - No Misinformation - Participate Often!
Support Vendors who Support the DSM Community

Latest Classifieds

  • For sale 2g 2G DSM Link V3
    2G DSM Link V3 $600 + shipping and paypal fees* no cable included * cables are 75 on the...
    • jersygsx
    • Updated:
    • Expires
  • Wanted 2g Shot in the dark (2g Pass strut cut out)
    Need 2g strut tower to save time.
    • frosh29
    • Updated:
    • Expires
  • For sale 2g 2G Mishimoto Radiator & Fan Shroud
    2G Mishimoto Radiator & Fan Shroud $200 + shipping and paypal feesYou must be registered to...
    • jersygsx
    • Updated:
    • Expires
  • For sale VIRGIN 4G63 6-BOLT TURBO HEAD
    Came off a virgin stock AWD Auto 1G DMS (91), also have matching block and crank which are also...
    • The_Partout_Spot
    • Updated:
    • Expires
  • For sale 1G DSM 4G63 6-BOLT TIMING COVER
    Used, see condition in photos. Buyer covers shipping / fees.
    • The_Partout_Spot
    • Updated:
    • Expires
Back
Top