


Blurred Talon
15+ Year Contributor
- 2,307
- 44
- Jan 2, 2004
-
Paradise,
NL, Canada
've got almost all the parts to start on my first ever retro fit. I've got some cool things planned for this.
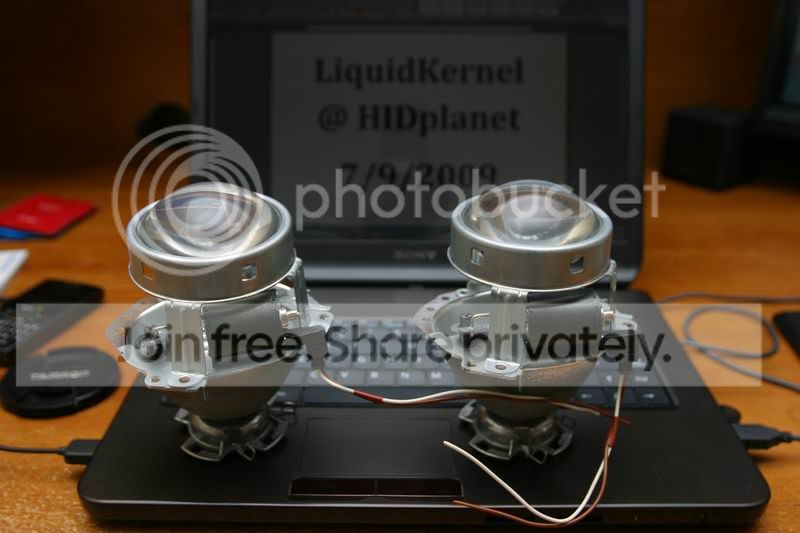
E55 Bi-Xenon Projectors
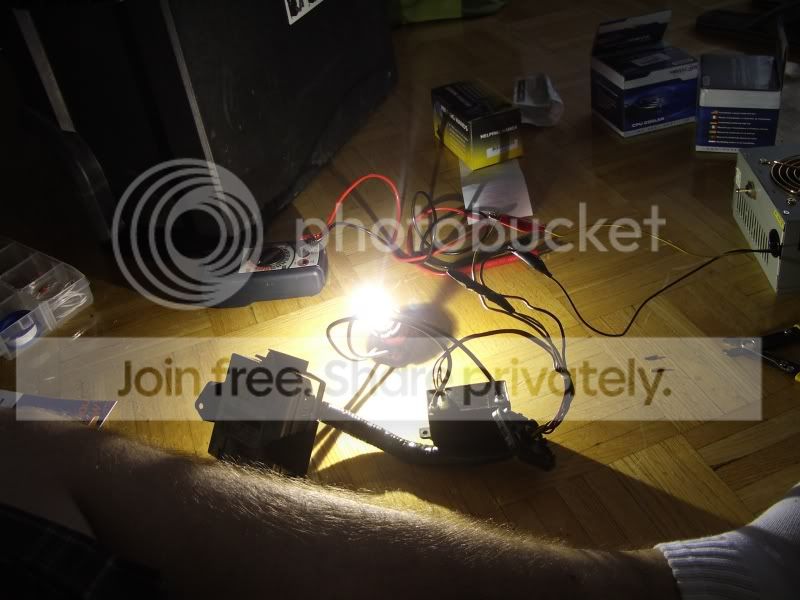
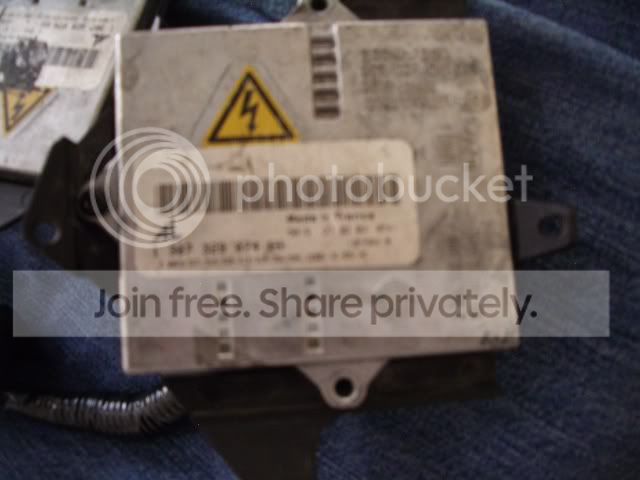
Bosch AL Gen 2 Ballasts
Osram Bulbs
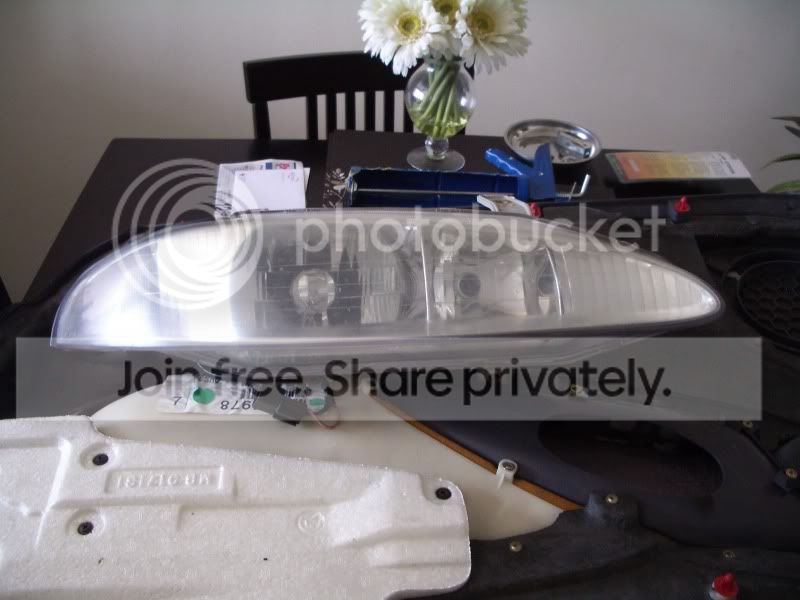
OEM Talon Headlights
Pictures:
Now for a bit of tech.
Opening Headlights With an Oven
Mechanics Gloves (to handle the lights)
Paint Scraper
Exacto Knife
Oven
Baking Sheet
Damp Towel
1. Grab your baking sheet and cover it with a damp towel. Wet things won't burn and you don't want to melt your headlight.
2. Remove the bulbs and metal clips from your headlights.
3. Place the head light on the baking sheet and put it all in the oven. Don't let the head light touch the sides of the oven.
4. Turn the oven to 210* and set the timer for 8 minutes.
5. Put on your Mechanics Gloves and wait.
6. When the timer goes off pull the light out and use the paint scraper to start prying the light apart. I use the scraper because it's flexable so it shouldn't break anything. Use the Exacto knife to cut the sealant. (Careful the sealant is some sticky shit!)
7. Your headlights are now apart.
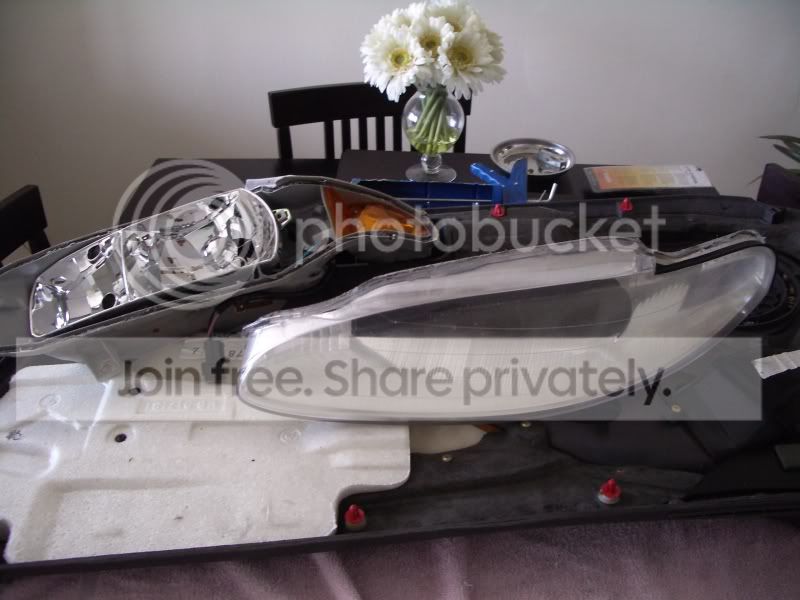
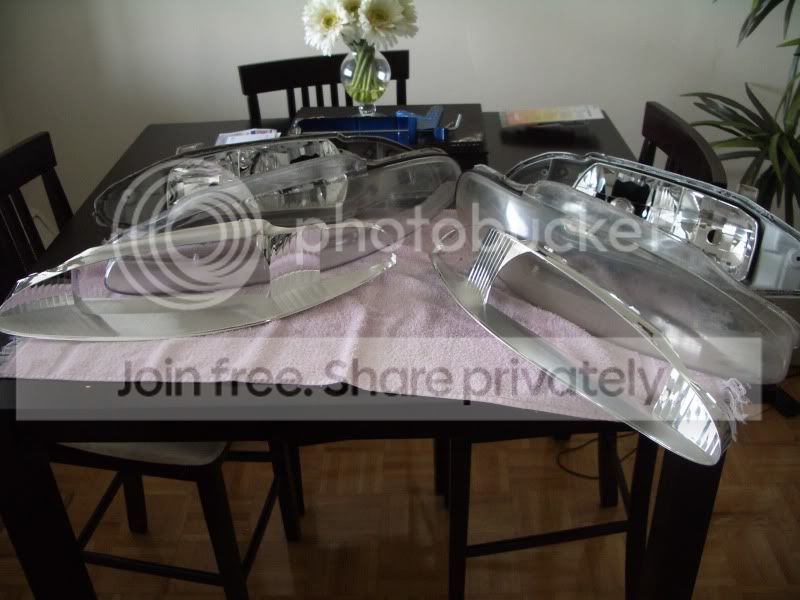
Both headlights separated with all there pieces removed. I likely will not be putting the amber corners back in, remember I want to use LEDs. The lenses need to be cleaned up/restored and have the flutes removed, I'll likely do that tonight and maybe even paint the chrome bezels. Need to see what paint I have sitting around.
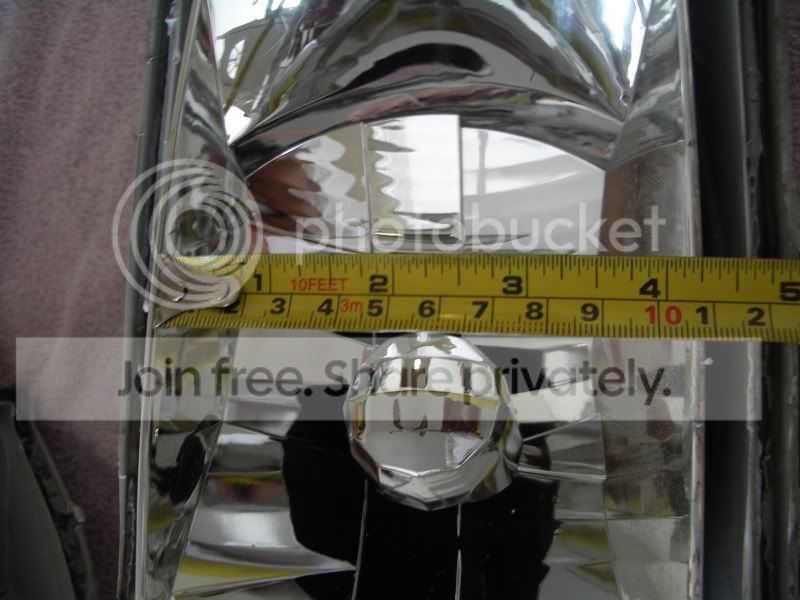
Also took some measurements since I had them all apart.
Low beam section:
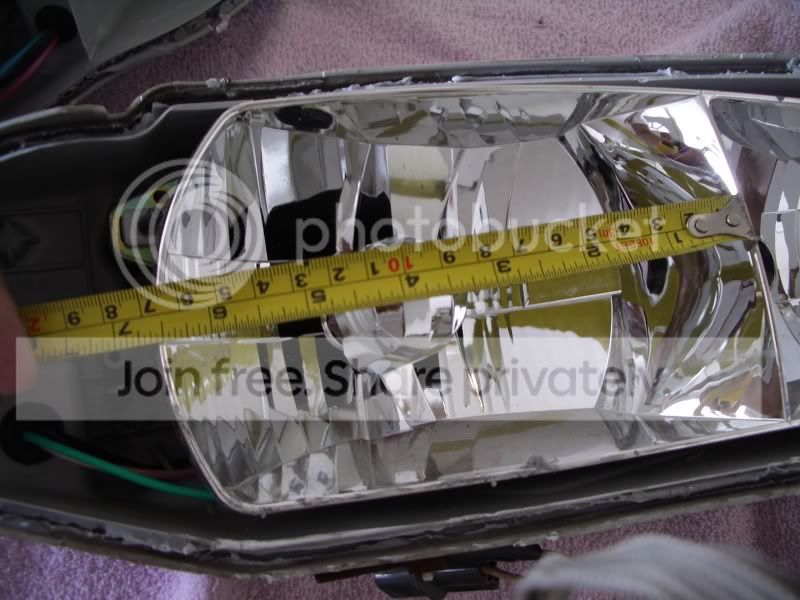
High beam section:
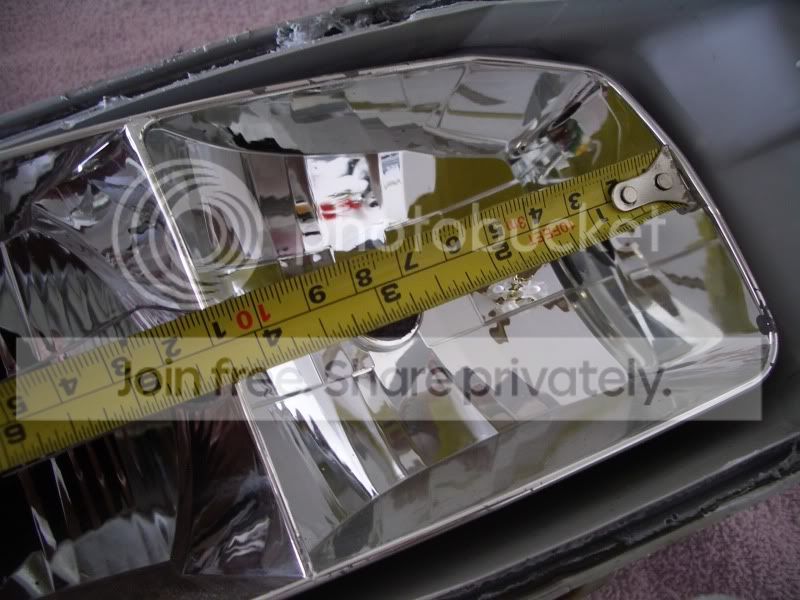
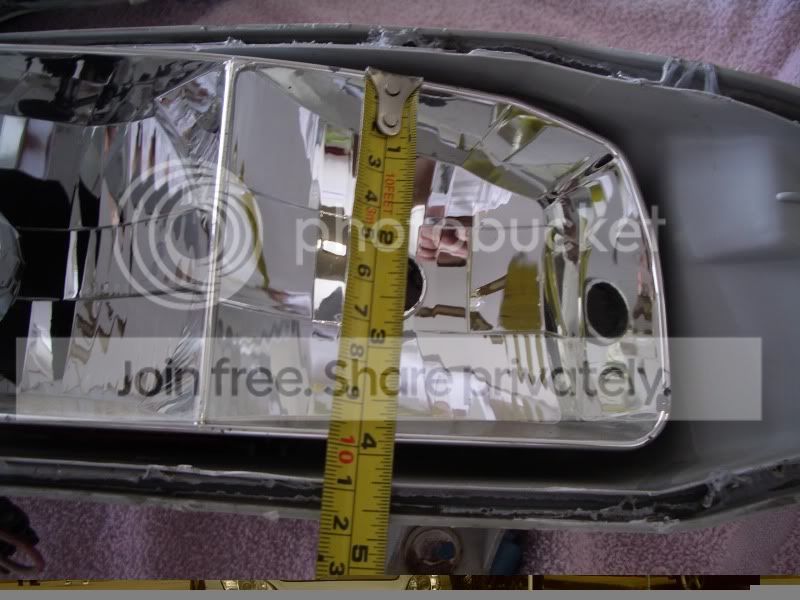
The E55s will fit no problem in the low beam side.
I've decided to run FX-R projectors from The Retrofit Source in the high beam section.

I'll be using Phillips bulbs and 55w digital ballasts. Should be awesome
My E55 projectors left Cali at 1:15am, I should hopefully have them in another few days.
Pictures!
I started to sand and polish the lenses. Here's some shots of the sanding progress, I sanded the flutes out of the inside.

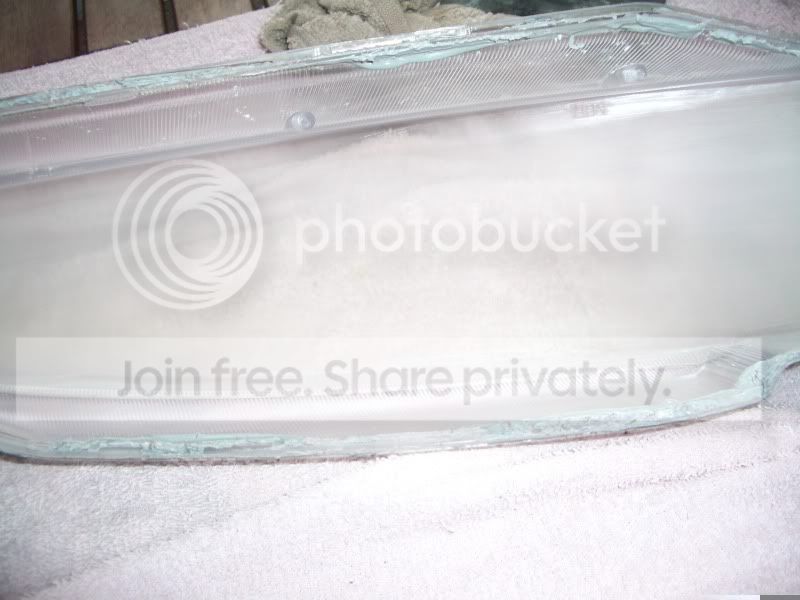
I then started to polish them but I'm not pleased with the results yet. The flutes are still sort of visible and the my arms/hands are sore. I'm going to grab a Power Ball Mini and give that a shot. Should do a beater/quicker job then my hands. I might have to sand the inside more to get the flutes out.
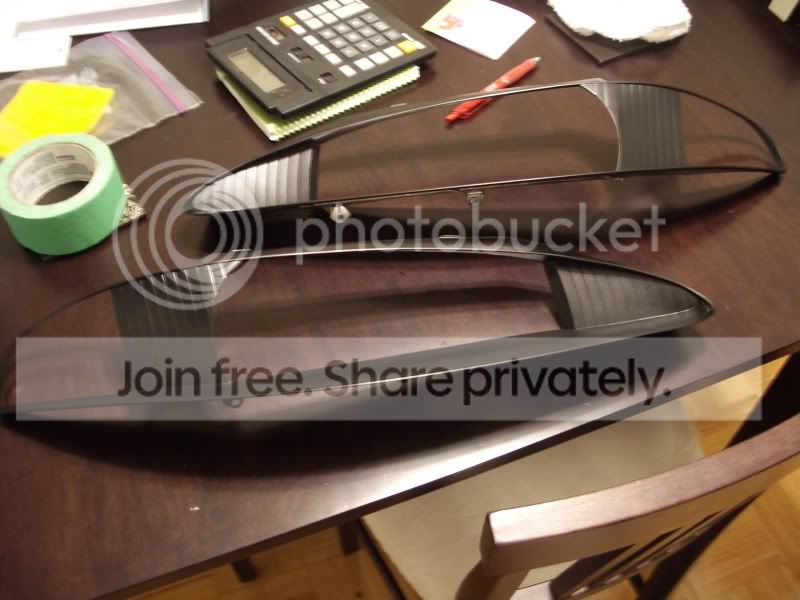
Also painted the chrome shrouds flat black. This is after the first coat, too dark to get more pictures.
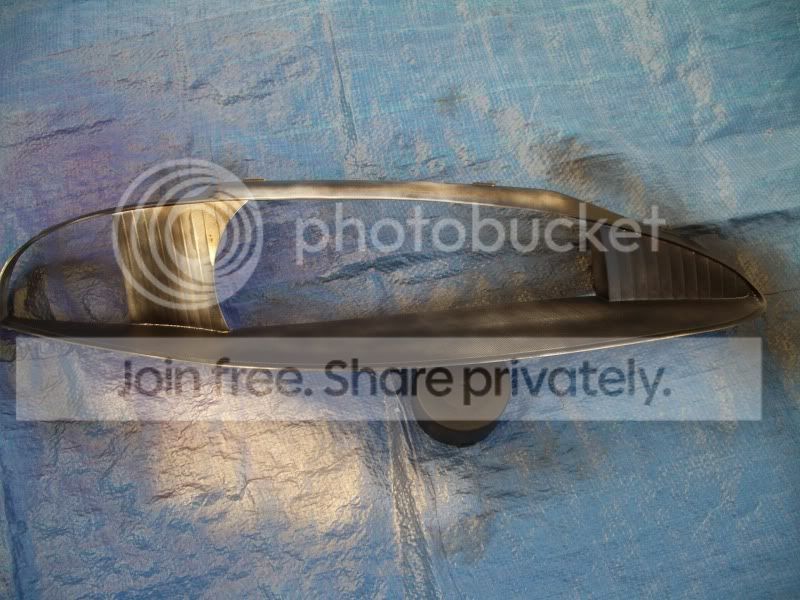
After 3 coats each.
E55 Bi-Xenon Projectors
Bosch AL Gen 2 Ballasts
Osram Bulbs
OEM Talon Headlights
Pictures:
Now for a bit of tech.
Opening Headlights With an Oven
Mechanics Gloves (to handle the lights)
Paint Scraper
Exacto Knife
Oven
Baking Sheet
Damp Towel
1. Grab your baking sheet and cover it with a damp towel. Wet things won't burn and you don't want to melt your headlight.
2. Remove the bulbs and metal clips from your headlights.
3. Place the head light on the baking sheet and put it all in the oven. Don't let the head light touch the sides of the oven.
4. Turn the oven to 210* and set the timer for 8 minutes.
5. Put on your Mechanics Gloves and wait.
6. When the timer goes off pull the light out and use the paint scraper to start prying the light apart. I use the scraper because it's flexable so it shouldn't break anything. Use the Exacto knife to cut the sealant. (Careful the sealant is some sticky shit!)
7. Your headlights are now apart.
Both headlights separated with all there pieces removed. I likely will not be putting the amber corners back in, remember I want to use LEDs. The lenses need to be cleaned up/restored and have the flutes removed, I'll likely do that tonight and maybe even paint the chrome bezels. Need to see what paint I have sitting around.
Also took some measurements since I had them all apart.
Low beam section:
High beam section:
The E55s will fit no problem in the low beam side.
I've decided to run FX-R projectors from The Retrofit Source in the high beam section.
I'll be using Phillips bulbs and 55w digital ballasts. Should be awesome
My E55 projectors left Cali at 1:15am, I should hopefully have them in another few days.
Pictures!
I started to sand and polish the lenses. Here's some shots of the sanding progress, I sanded the flutes out of the inside.
I then started to polish them but I'm not pleased with the results yet. The flutes are still sort of visible and the my arms/hands are sore. I'm going to grab a Power Ball Mini and give that a shot. Should do a beater/quicker job then my hands. I might have to sand the inside more to get the flutes out.
Also painted the chrome shrouds flat black. This is after the first coat, too dark to get more pictures.
After 3 coats each.
















