http://www.dsmtuners.com/forums/attachment.php?attachmentid=88725&stc=1&d=1224992487
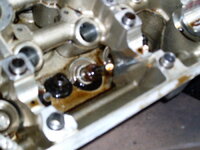
Once it starts getting compressed some the valve and the keepers holding the valve in place will pop up. Grab the keepers with a magnet and set them aside. Unscrew the bolt and decompress the valve spring. Go ahead and move the compressor bolt over to the other valve on the cylinder you have rope in. Repeat this process for that valve and move the compressor tool out of the way. Now grab the retainer and valve spring and move them out of the way. Here is the valve stem seal exposed.
http://www.dsmtuners.com/forums/attachment.php?attachmentid=88721&stc=1&d=1224992487
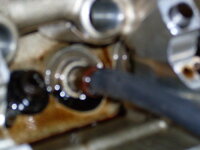
Now you need to remove the valve stem seal. First take a piece of vacuum hose and place over the valve so you do not scratch the valve trying to get the old seal off.
http://www.dsmtuners.com/forums/attachment.php?attachmentid=88722&stc=1&d=1224992487
Next take some needle nose pliers and twist the old seal left and right, then up and out. It can be a somewhat difficult but be sure to keep pressure on the vacuum hose to keep it over the valve. If you scratch the valve it will destroy your new seal very quickly.
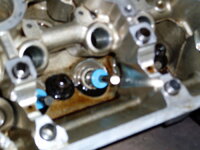
Now take your new valve stem seal and put some oil on the inside lip. Press it over the valve and set it into place. Make sure the metal spring on top doesnt pop loose. Then take a deep well 7/16 socket and or equivalent and press the seal into place. It does not take much pressure.
http://www.dsmtuners.com/forums/attachment.php?attachmentid=88723&stc=1&d=1224992487
http://www.dsmtuners.com/forums/attachment.php?attachmentid=88724&stc=1&d=1224992487
Now that the new seal is in we need to reinstall the valve spring. Slide the valve spring and retainer over the valve and put the compressor tool back on the head. Place the socket looking piece over the retainer and screw the compressor bolt down until the valve spring is compressed enough to slide the keepers back into place.
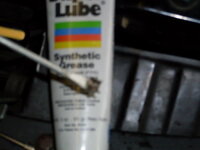
Now this can be the tedious part. You need to have some sort of grease handy to do this. I used super lube silicone grease. Take a small flathead screwdriver and use it to put a small amount of grease on the inside of one of the keepers. Then get a small amount of grease on the end of the screwdriver and place the keeper on the end of it.
http://www.dsmtuners.com/forums/attachment.php?attachmentid=88726&stc=1&d=1224993004
Now with the valve spring compressed, take the screwdriver and place the keeper back on the valve. With the grease on it you can slide and maneuver the keeper over and make room for the other keeper to go on. Do this for the other keeper as well. Now slowly unscrew the compressor bolt holding the valve spring down. Watch carefully to make sure the keepers slide in between the retainer. If they dont screw the bolt down some and push the keepers closer to the valve and possibly put pressure on the keeper that was not inside the retainer and loosen the compressor bolt again, watching to make sure the keepers slide in as they should.
Now just repeat this process for all the valves. You will want to do the intake and exhaust valves for cylinders 1 and 4 first. Then pull the rope out of those cylinders and turn the crank until cylinders 2 and 3 are at their peak. I put a screwdriver in cylinder one to see how high it stood while it was at it peak, then placed the screwdriver in cylinder 2 and watched as I turned the crankshaft sprocket clockwise to see when the screwdriver was at the same height as it was when it was in the first cylinder. Then put your rope in cylinders 2 and 3 and change out the corresponding seals in those cylinders.
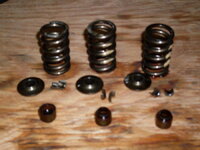
Once you have all the valve stem seals replaced, take the lifters and put them back in place in the head. Push them in slowly and have a towel handy as oil will shoot out at you if you push them in too fast. Then place the rockers back on the tops of the lifters and the valves. There isnt anything holding them in place-they just sit there. Next set the cams back in place with the dowel pin on the cam gears pointing up, and place the cam caps back in their corresponding order. They wont fit perfectly at first because all the valve springs are all the way up. Tighten them up in several stages and follow chiltons order for final torque (~14 lbs).
http://www.dsmtuners.com/forums/attachment.php?attachmentid=88727&stc=1&d=1224993004


