


rghamilton3
Probationary Member
- 1
- 1
- Jan 11, 2012
-
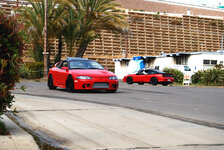
Sharana,
Asia
Honestly one of the best build threads I've ever read. I can't wait to get back from the sand box and start building mine!
For 1990-1999 Mitsubishi Eclipse, Eagle Talon, Plymouth Laser, and Galant VR-4 Owners. This is where the DSM platform history is documented and archived. Log in to help us in our mission, and to remove most ads from the browsing experience.

This site may earn a commission from merchant affiliate links, including eBay, Amazon, and others.


 , but i will learn. im going to start one of the build threads soon i htink

") . Im thinking about doing a AWD conversion now I just dont want to see how much it'll cost
. Im thinking about doing a AWD conversion now I just dont want to see how much it'll cost 
")
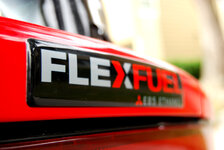
 Not a big deal but if you haven't noticed I HATE CHROME, which is what color those GM E85 badges are, so I couldn't justify buying a $35 Ethanol badge that I hated. After doing some research I found a place that would take a PS'd version of the badge I wanted and turn it into a real badge for my car. Amazing. Below I have the PS'd version I sent them, then the actual badge on my hatch.

 )
)