This Tech Article is for those that need to replace their foglight bulbs wheter they are blown, or just looking for an upgraded unit....
On a further note, my foglights were off the car when I recieved it, so I do not know the procedure on how to remove them from your car...
Tools required are a small-medium sized phillips head screwdriver and an optional tool would be a small flat head screwdriver....
The bulb for 2GB fogs is an H3 bulb with a wattage rating of 55 watts.
I recommend that you DO NOT remove the new bulb from the package at this point...
Before we begin the only tool that you should need is a small-medium sized phillips screwdriver.
Pictures are in corresponding order....
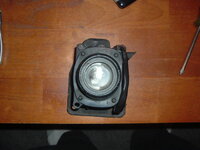
Place the Foglight in front of you so that the projector faces you....
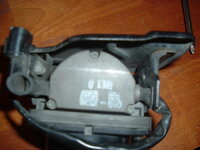
On 1 of the sides you will see a metal plate with 3 screws holding it down...
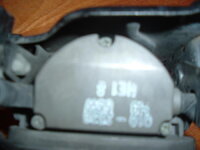
Closeup of the three screws....
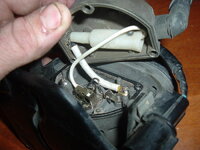
Now remove the three screws and very gently lift up on on the plate.
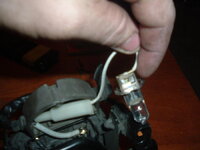
You will see a metal clip that is holding down the bulb itself, but I highly recommend that you wait til you disconnect the power wire for the bulb....I did not which made it a bit more difficult...
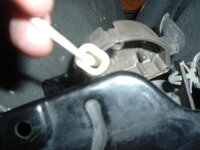
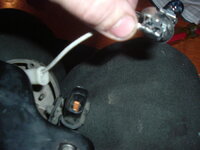
This is the sleeve that the power wire connects to the foglight harness....What I did was grab a set of pliers and hold onto the harness end while pulling on the bulbs power wire...It worked well for me...may break for you...Take your time with this...
Now you can push the clip down and flip it to remove the foglight bulb....Make sure that you remember the orientation to which way the wire was facing....
Now before you go any further make sure that you DO NOT TOUCH THE NEW BULB itself.....I repeat DO NOT TOUCH THE NEW BULB...
Installation is the opposite of removal, and put everything back together in reverse order of this article....


