
- Thread starter
- #26
Detail
Supporting VIP
- 524
- 134
- May 28, 2003
-
Marietta,
Georgia
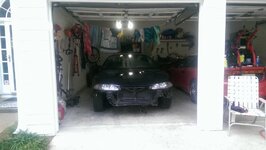
Both front axles boots were nuked. Also found the front rear trailing arms were toasted. Front axles from rockauto.
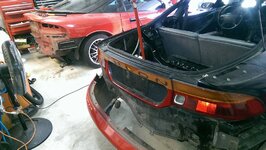
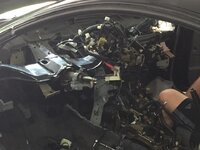
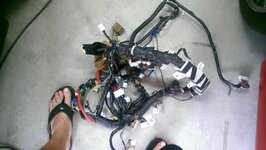
Look at these things.


Look at these things.
Last edited:


