
robertbaxley03
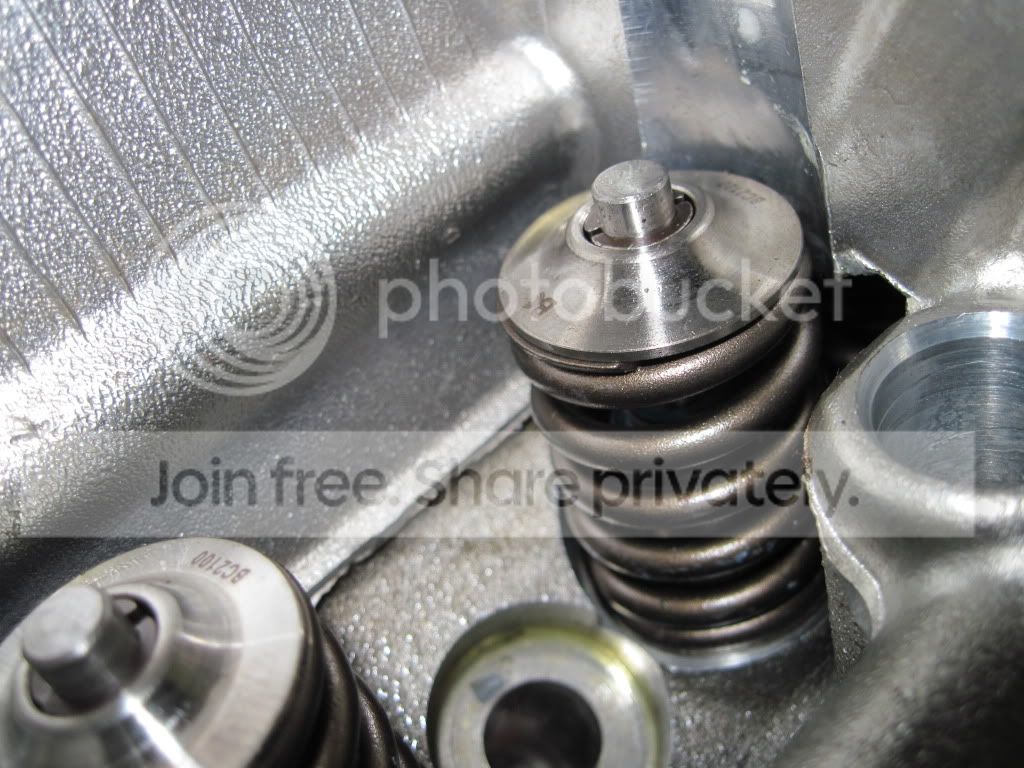
I started with a head that was milled and had the oil port mod done. The head got new engnbldr valves and guides with some BC springs and retainers. All of this was assembled from the machine shop. All install heights and spring pressures where checked.
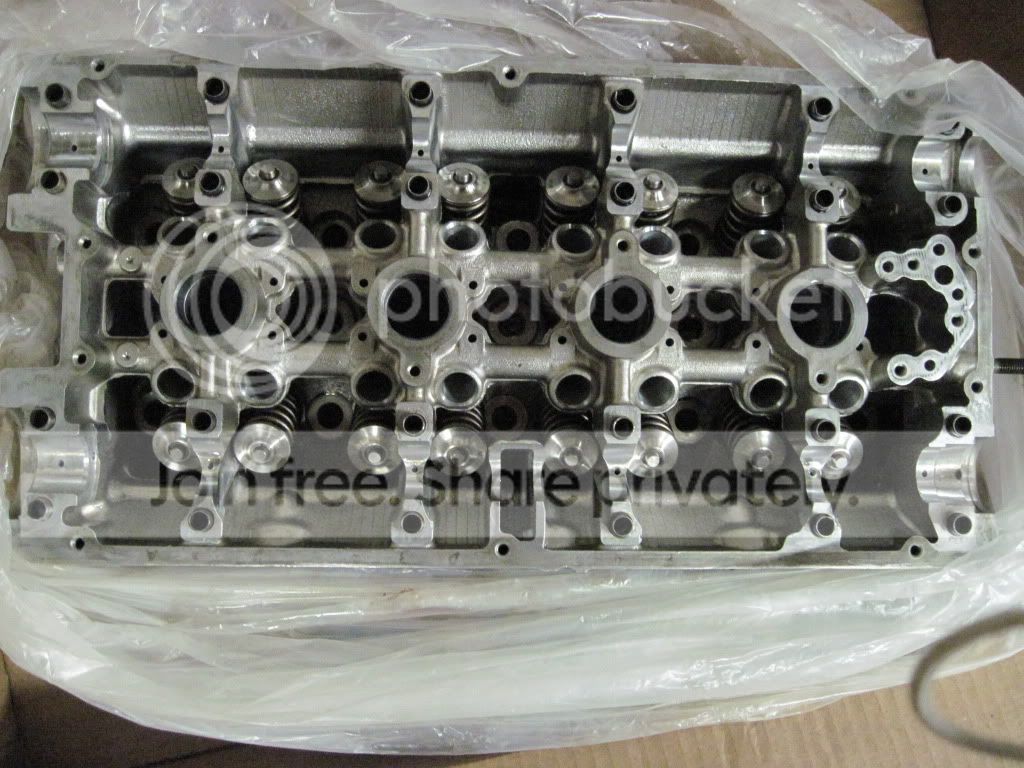
I took out all the oil galley plugs to ensure a thorough cleaning so those plugs where put back in with a dab of loc-tite.
Next the lifters where installed. The lifters where bled according to the VFAQ and the Rely on Ability thread. I am using Delta regrind cams, so one #10 shim (supplied by delta with the cams) was installed into each lifter hole. The lifters where then dabbed with a bit of assembly lube and installed into each hole.
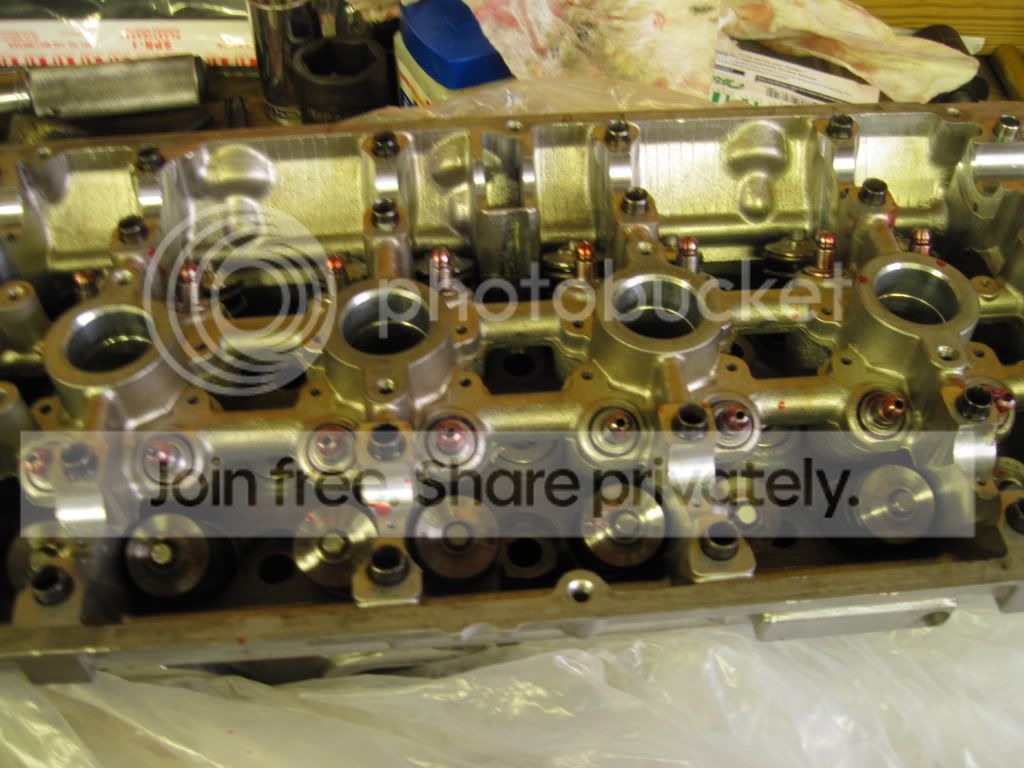
Make sure after bleeding all of the lifters that you can compress them by hand like so.
Sorry for the music, I normally turn it off.

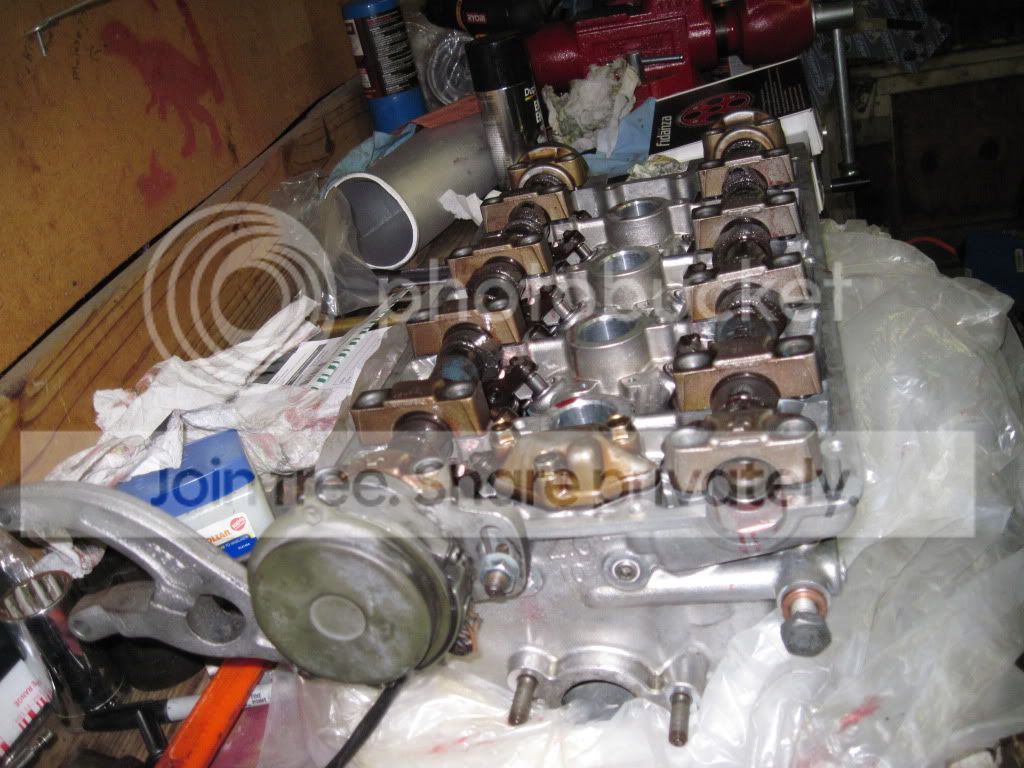
Next the rockers where cleaned. Then they received a dab of assembly lube on all contact surfaces. They were then rested on top of the valve stem and lifter.
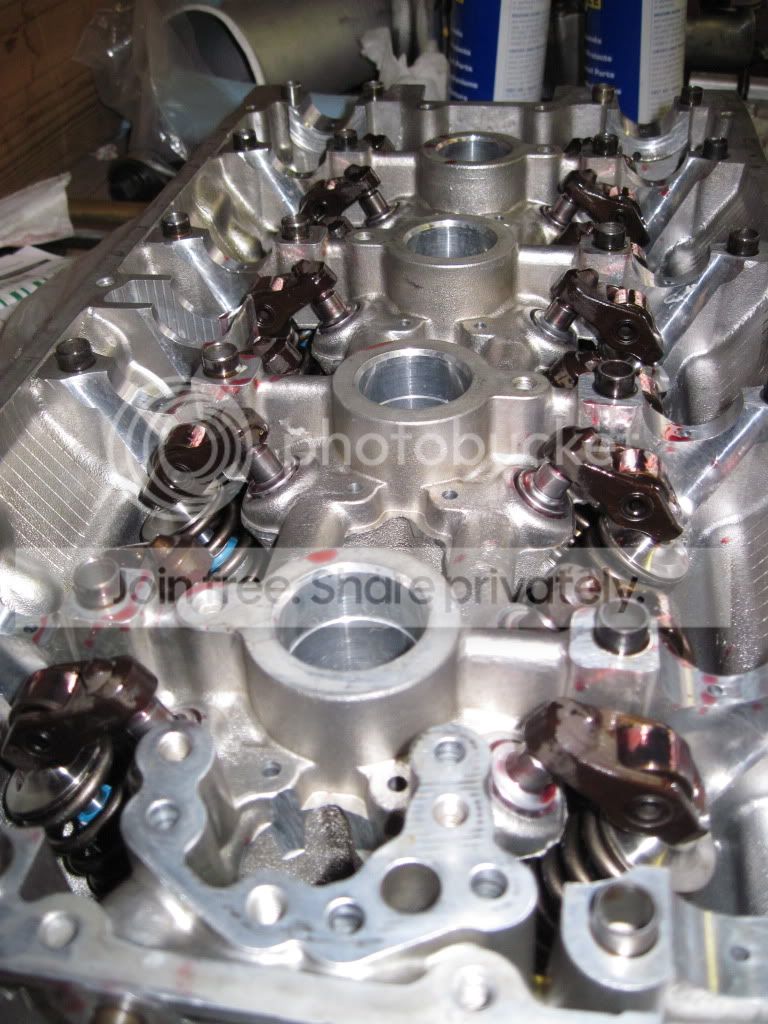
Time for the cams. Make sure that when you place the cams into the cam journals the dowel pins are facing 12O'clock. These are Delta h272. They were cleaned and each individual lobe was lubed. Keep in mind the intake cam has the provision for the cam angle sensor so make sure that one goes on the intake side. The cam caps where lubed and installed. Before torquing the cam cap bolts, install your cam seals into the head around the cam ends. I used some white lithium grease to lube these puppies up. The cam cap bolts where torqued to spec.
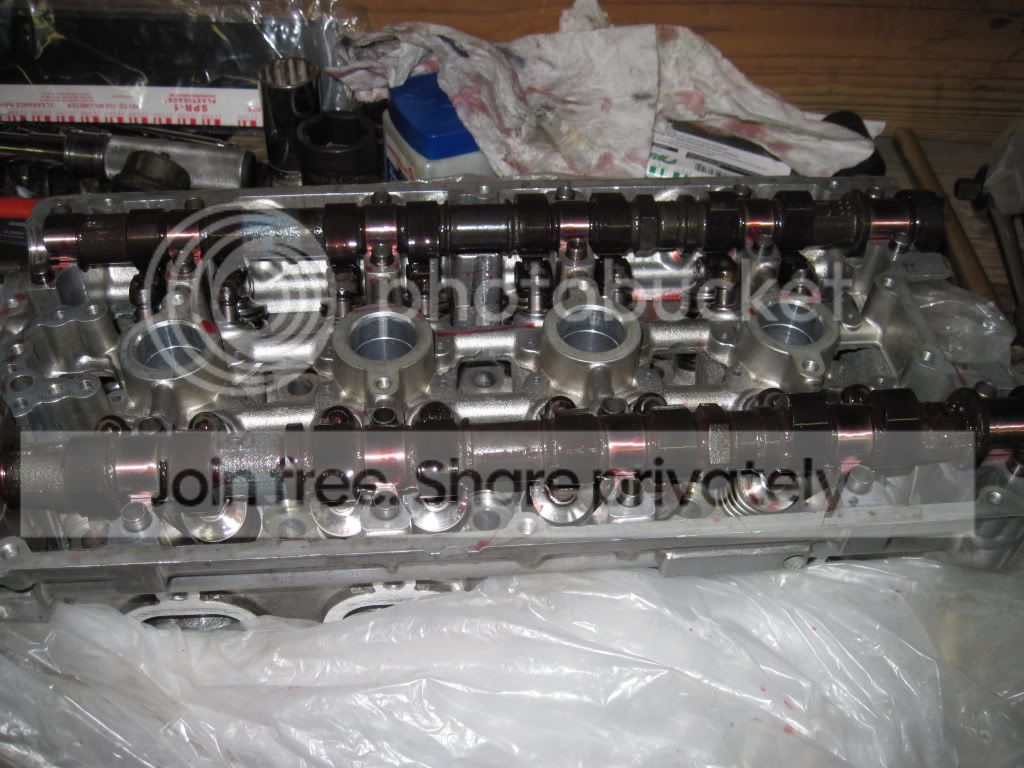
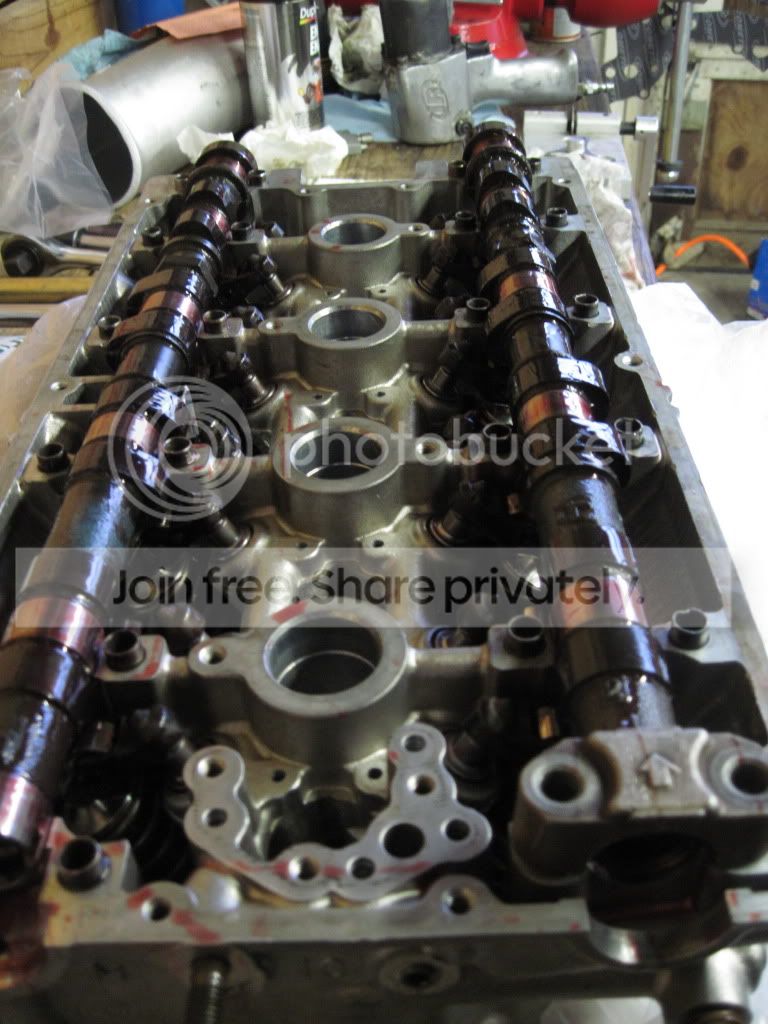
Next the Fidanza cam gears where placed onto the cams. The dowel pin was located on the non evo hole. The cam bolts where started and then torque to spec by using a wrench to hold the cam.
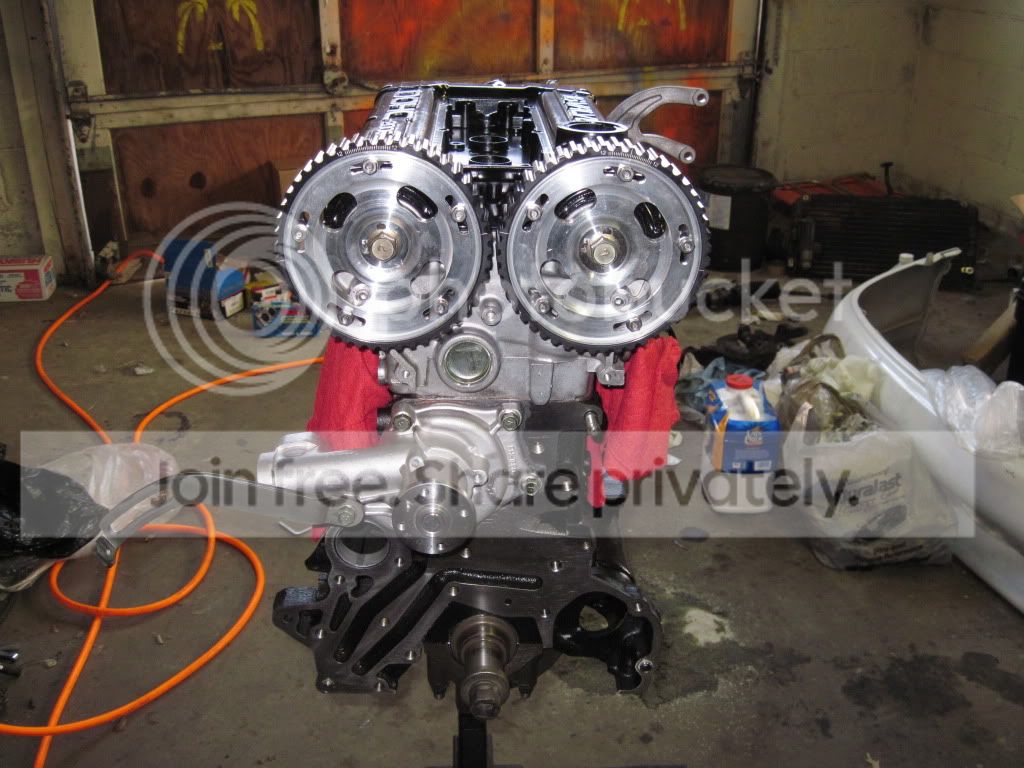
The Cam angle sensor got a new o-ring and was installed into the cam. I forget the exact step but look in your manual and you will see what I am talking about. There is a notch that must be lined up or you will be out of time. Do not torque the bottom nut on the cam angle sensor. Later you will have to remove this nut to install the throttle body and throttle body elbow.
Do not forget to reinstall the oil regulator thingy onto the head and torque to spec.
Next I put in an OEM mistu PCV valve and set the valve cover on top. I will not bolt the valve cover down until it is in the car to avoid dings in the paint.
Do not forget that when you torque down the head for the final time you will need to install the half moon seal with some red RTV and torque the valve cover down to create a good seal.
I took out all the oil galley plugs to ensure a thorough cleaning so those plugs where put back in with a dab of loc-tite.
Next the lifters where installed. The lifters where bled according to the VFAQ and the Rely on Ability thread. I am using Delta regrind cams, so one #10 shim (supplied by delta with the cams) was installed into each lifter hole. The lifters where then dabbed with a bit of assembly lube and installed into each hole.
Make sure after bleeding all of the lifters that you can compress them by hand like so.
Sorry for the music, I normally turn it off.
Next the rockers where cleaned. Then they received a dab of assembly lube on all contact surfaces. They were then rested on top of the valve stem and lifter.
Time for the cams. Make sure that when you place the cams into the cam journals the dowel pins are facing 12O'clock. These are Delta h272. They were cleaned and each individual lobe was lubed. Keep in mind the intake cam has the provision for the cam angle sensor so make sure that one goes on the intake side. The cam caps where lubed and installed. Before torquing the cam cap bolts, install your cam seals into the head around the cam ends. I used some white lithium grease to lube these puppies up. The cam cap bolts where torqued to spec.
Next the Fidanza cam gears where placed onto the cams. The dowel pin was located on the non evo hole. The cam bolts where started and then torque to spec by using a wrench to hold the cam.
The Cam angle sensor got a new o-ring and was installed into the cam. I forget the exact step but look in your manual and you will see what I am talking about. There is a notch that must be lined up or you will be out of time. Do not torque the bottom nut on the cam angle sensor. Later you will have to remove this nut to install the throttle body and throttle body elbow.
Do not forget to reinstall the oil regulator thingy onto the head and torque to spec.
Next I put in an OEM mistu PCV valve and set the valve cover on top. I will not bolt the valve cover down until it is in the car to avoid dings in the paint.
Do not forget that when you torque down the head for the final time you will need to install the half moon seal with some red RTV and torque the valve cover down to create a good seal.

