

tay97gst
10+ Year Contributor
- 476
- 34
- Dec 20, 2011
-
Plaistow,
New Hampshire
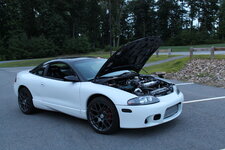
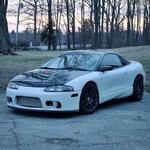
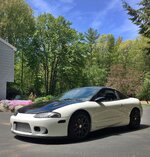
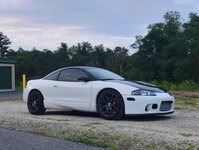
Hey everyone, my name is Taylor and this will be the build thread of my 95 Talon AWD. This is the second DSM I have owned, with my GST being the first and I have loved every second of owning a DSM. My goals for the Talon is to make it a CLEAN 450hp DD on pump gas. This is going to be an ongoing build that will hopefully continue for years to come! Some of these updates may not be exactly upgrades every post but I will always use this to show my progress in even the little things I do. I want this car to represent myself and the pride I take in my cars, with that being said the motto of this build will be Do it once, do it right. Anyways, with introductions out of the way, I introduce you to my panda!
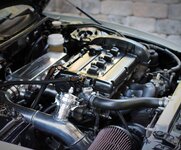
A little background on the car; it has a production date of September 1994 and is originally from NC so no rust :thumb; , was originally black but the PO spray painted the bottom half of it white (actually doesnt look terrible for spray paint haha) but that really doesnt matter because its getting new paint anyway. As it sits right now there is no engine but I will be replacing it with a built one once I find the right one. The rest you can probably see from the pictures. This will be quite some work but I know Im going to love it when its finished.

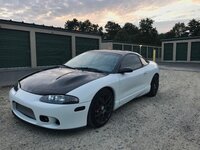
Not me BTW, thats the tow guys grandson. Oh... and thats a 3" straightpiped thermal R&D Exhaust


I think those are all the pics I have of when I first got it and will conclude the first post, from now on we shall see what I've done to it!
A little background on the car; it has a production date of September 1994 and is originally from NC so no rust :thumb; , was originally black but the PO spray painted the bottom half of it white (actually doesnt look terrible for spray paint haha) but that really doesnt matter because its getting new paint anyway. As it sits right now there is no engine but I will be replacing it with a built one once I find the right one. The rest you can probably see from the pictures. This will be quite some work but I know Im going to love it when its finished.
Not me BTW, thats the tow guys grandson. Oh... and thats a 3" straightpiped thermal R&D Exhaust
I think those are all the pics I have of when I first got it and will conclude the first post, from now on we shall see what I've done to it!
Last edited:
 First line of business was ripping out the whole interior and cleaning it the best I could.
  it was that ugly.
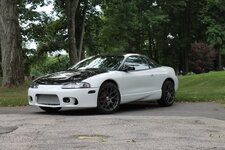
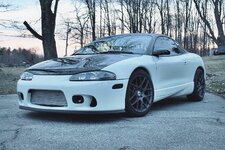
 but the 2GB talon bumper thats on it is cracked and I think the 2GB eclipse bumper looks way better so...
 .
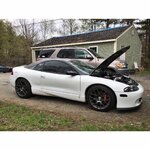
. You can see how extensive the seperation on the weld is between the tip and the barrel part of the muffler. Im going to bring it to the local exhaust shop to hopefully have it rewelded because I really want a thermal exhaust
")

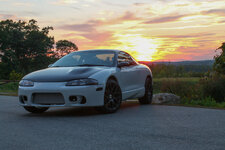
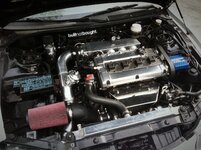
 After the paint was scraped off I sanded it down and painted it with aluminum paint. I wanted to polish the aluminum but it would not have turned out nearly as good, there were too many imperfections. Overall I'm happy with the outcome.
 just hoping the eclipse bumper looks as mean
 I'm also planning on painting some of the engine bay to make it look better. So stay tuned for the next update!
")
 )
)


