The Central Hub for DSM Community and Information

For 1990-1999 Mitsubishi Eclipse, Eagle Talon, Plymouth Laser, and Galant VR-4 Owners. This is where the DSM platform history is documented and archived. Log in to help us in our mission, and to remove most ads from the browsing experience.

IMG_2267.jpeg

Street Build Red5.

Build

This site may earn a commission from merchant affiliate links, including eBay, Amazon, and others.

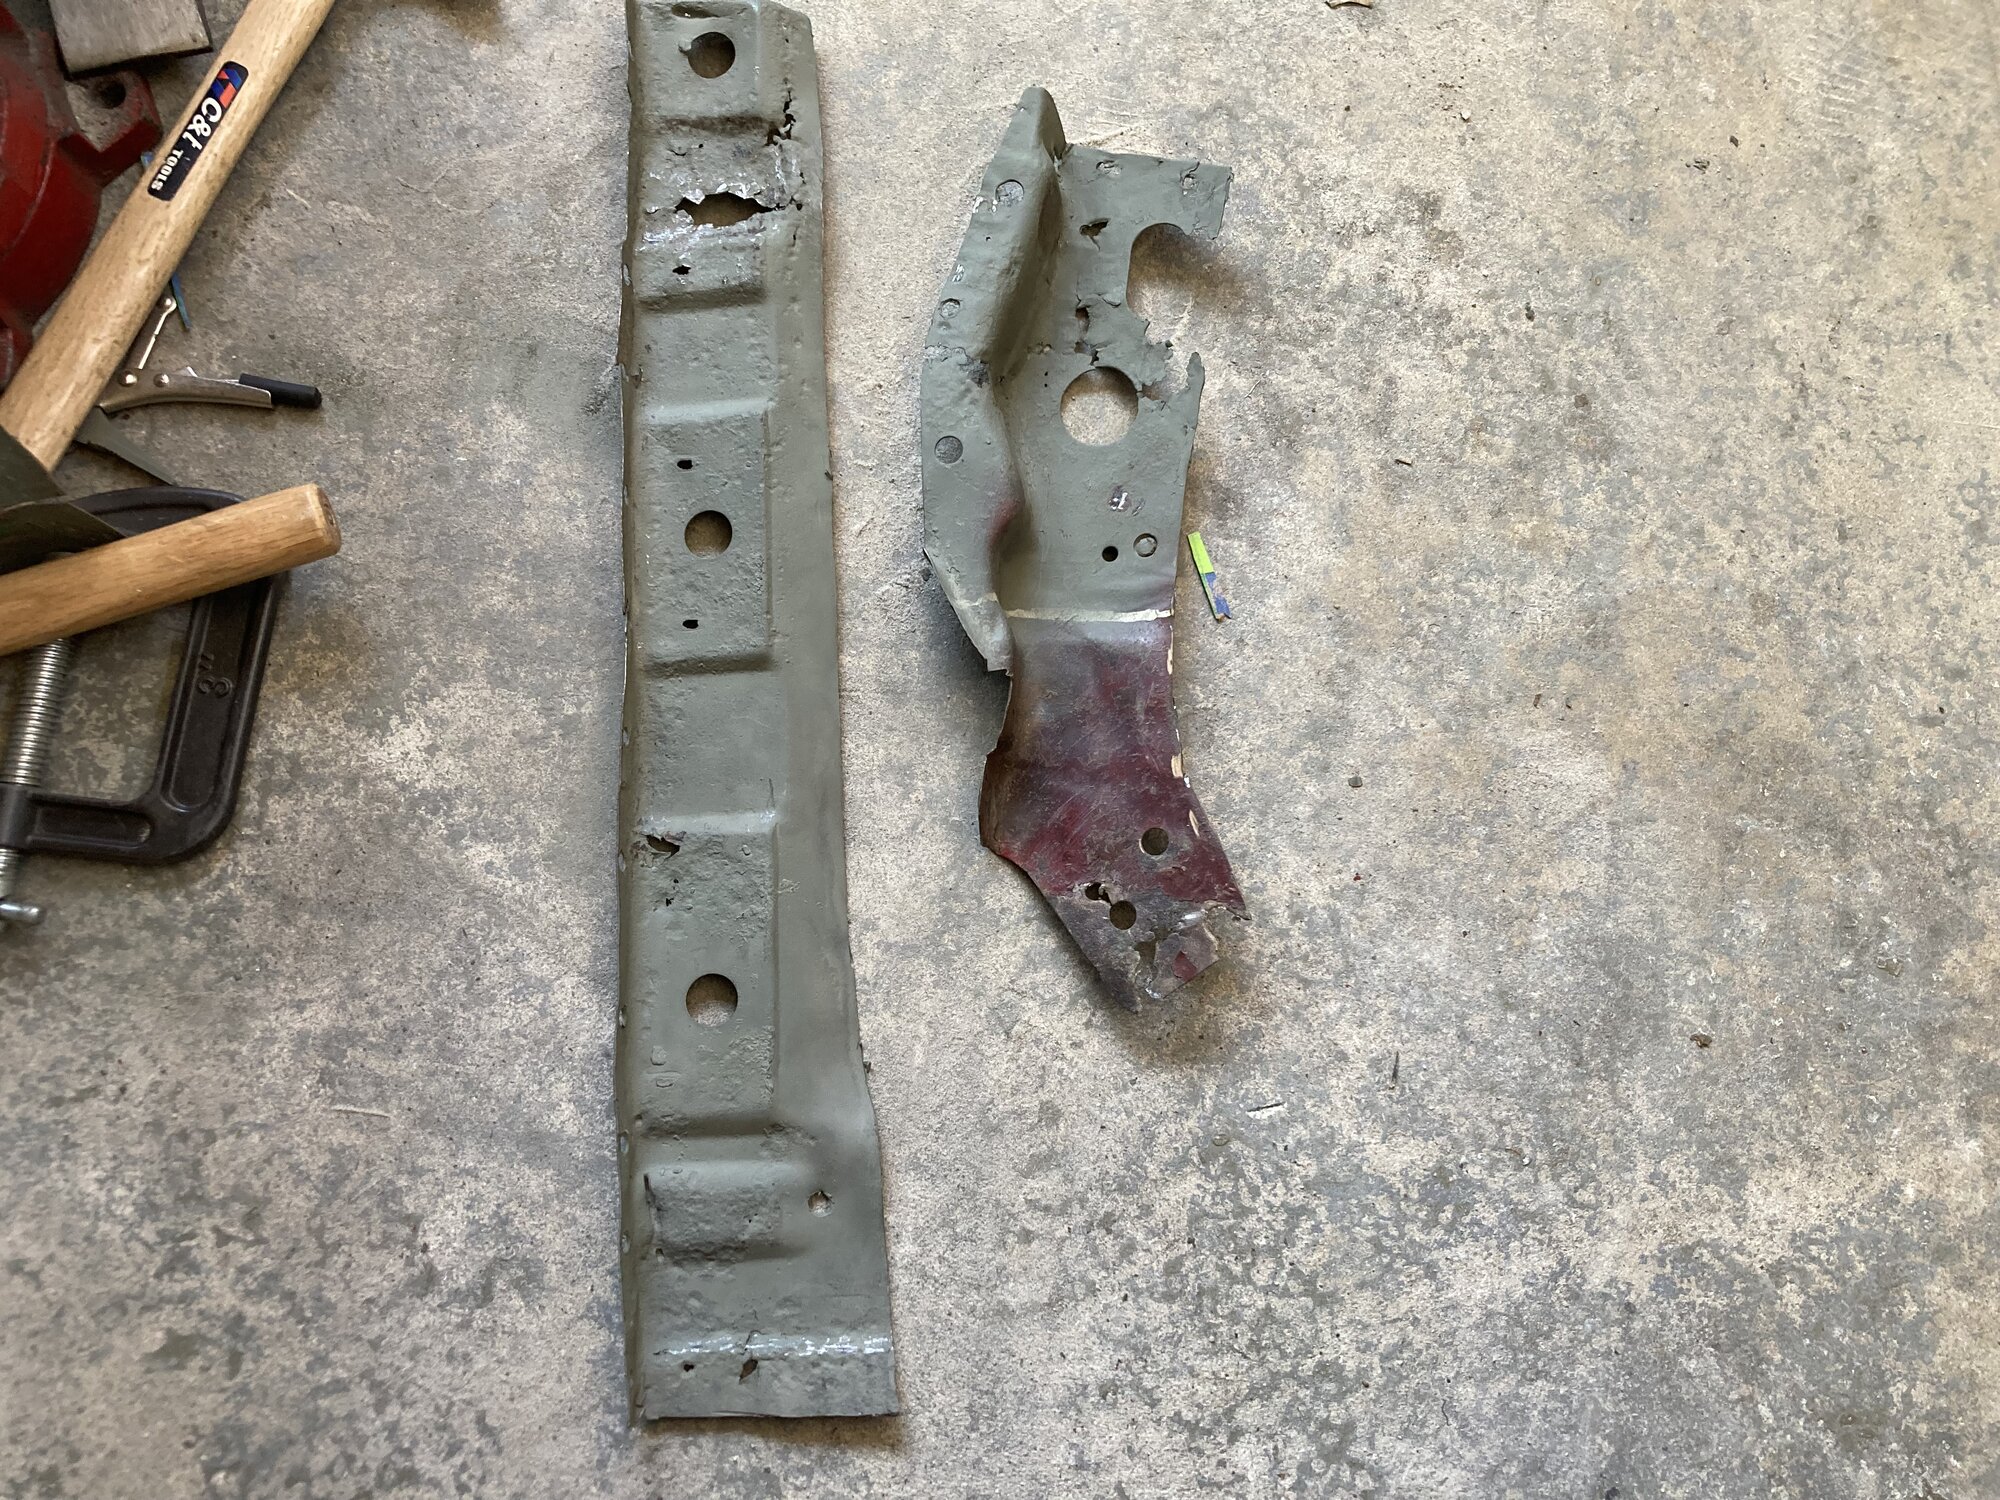
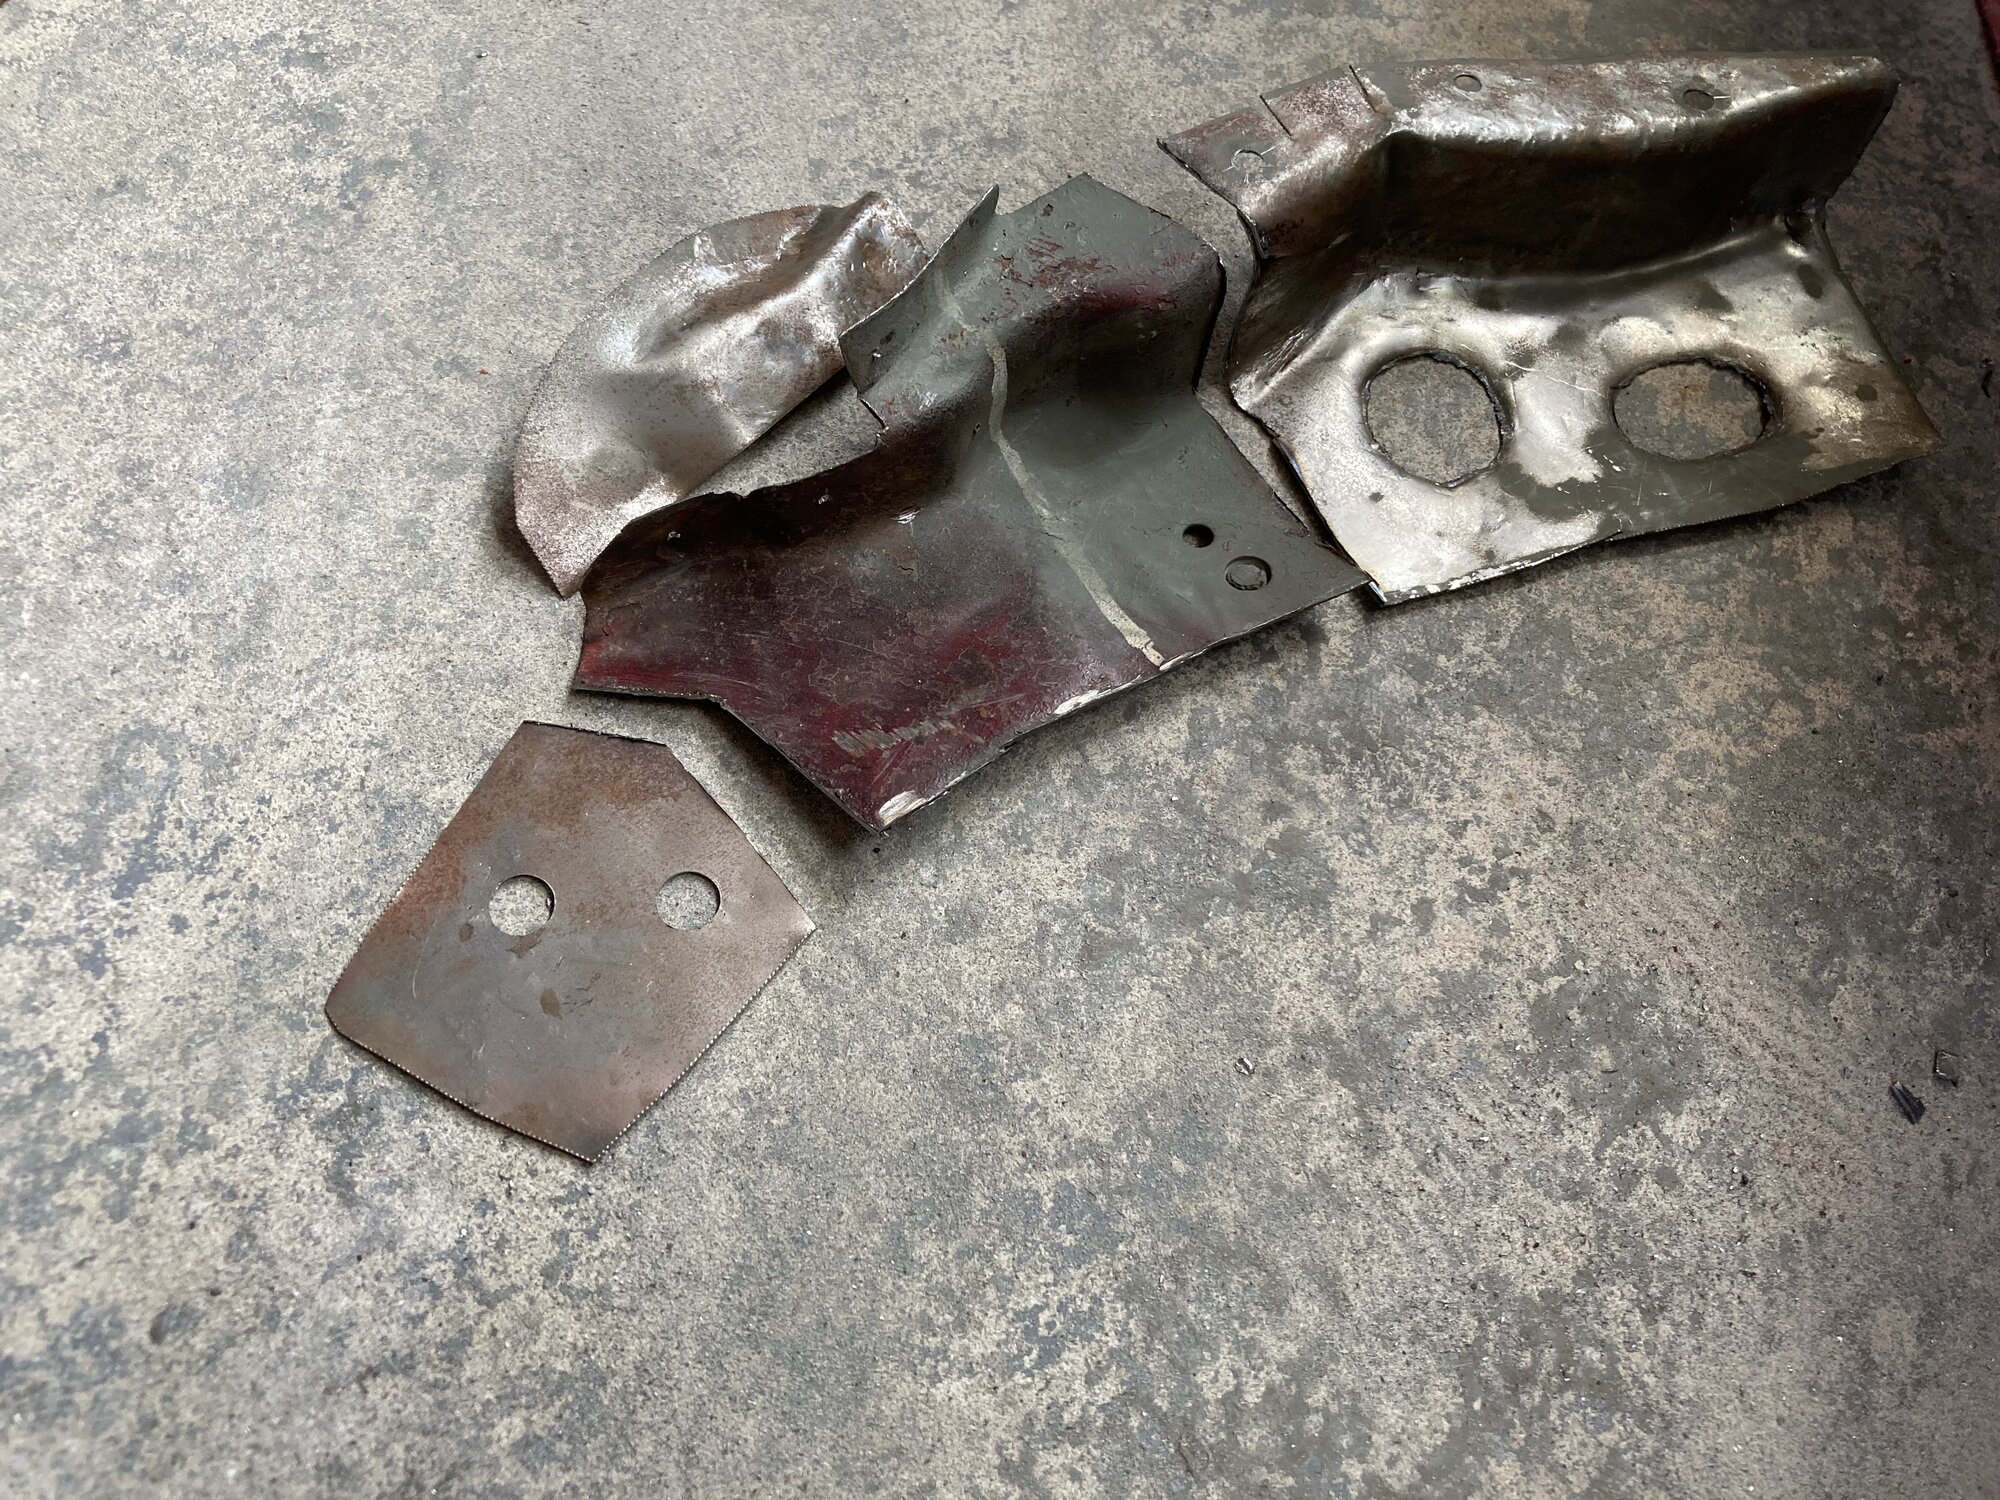
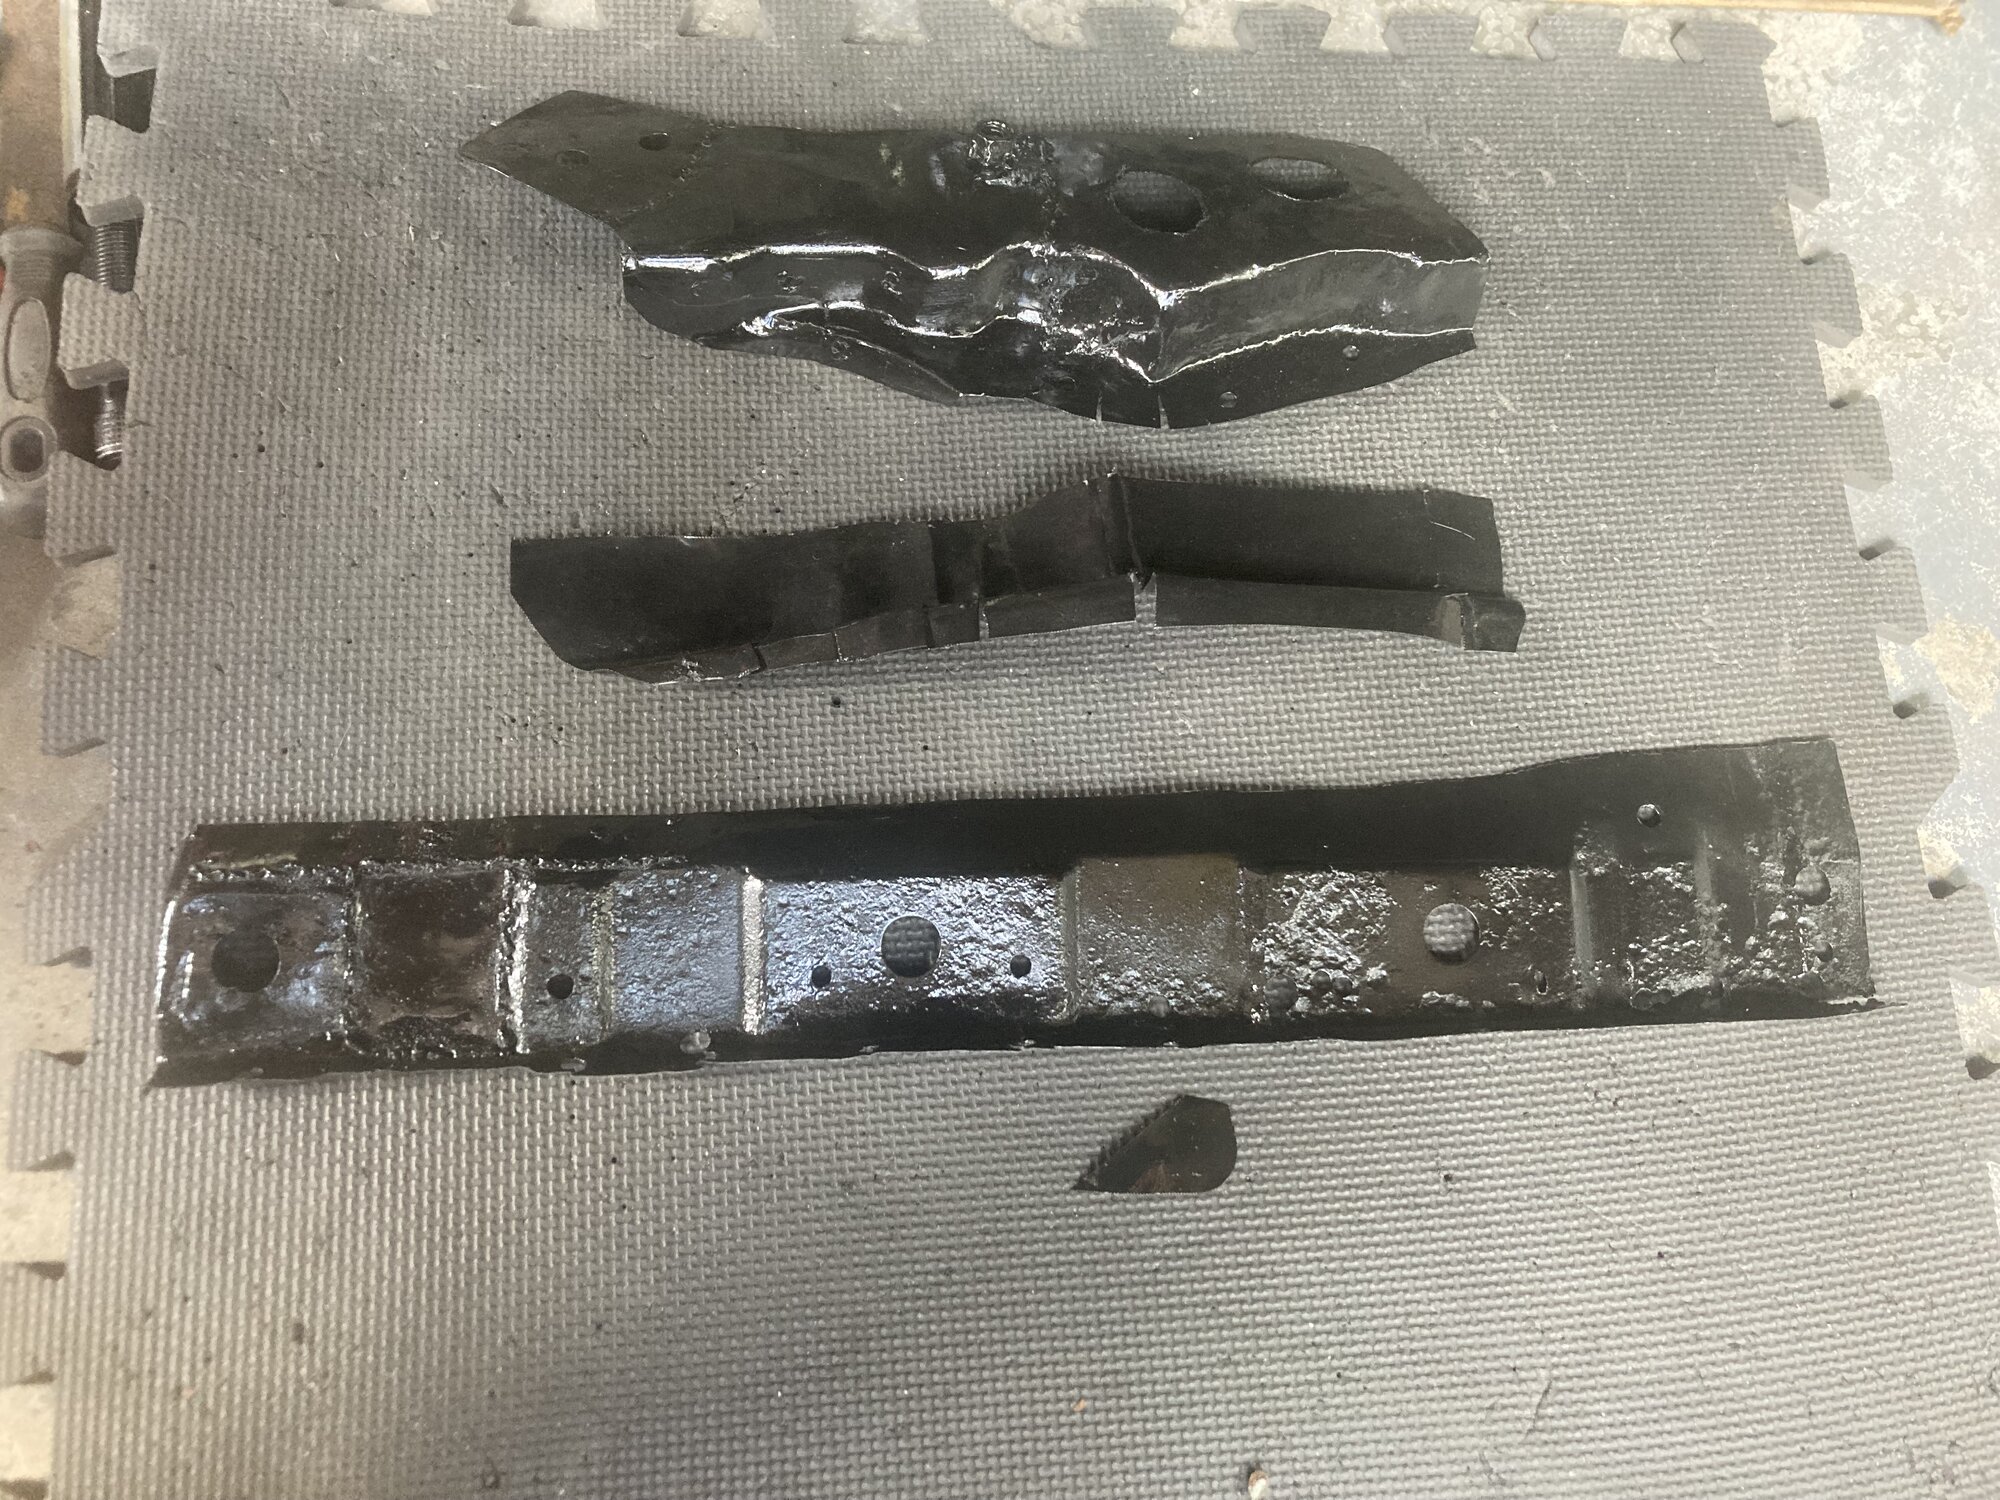
Some of the sections removed needed some patch work, or complete reconstruction, 1st time using shaping hammers 🔨 .

IMG_1476.jpeg
IMG_1481.jpeg
IMG_1492.jpeg
IMG_1505.jpeg
IMG_1507.jpeg

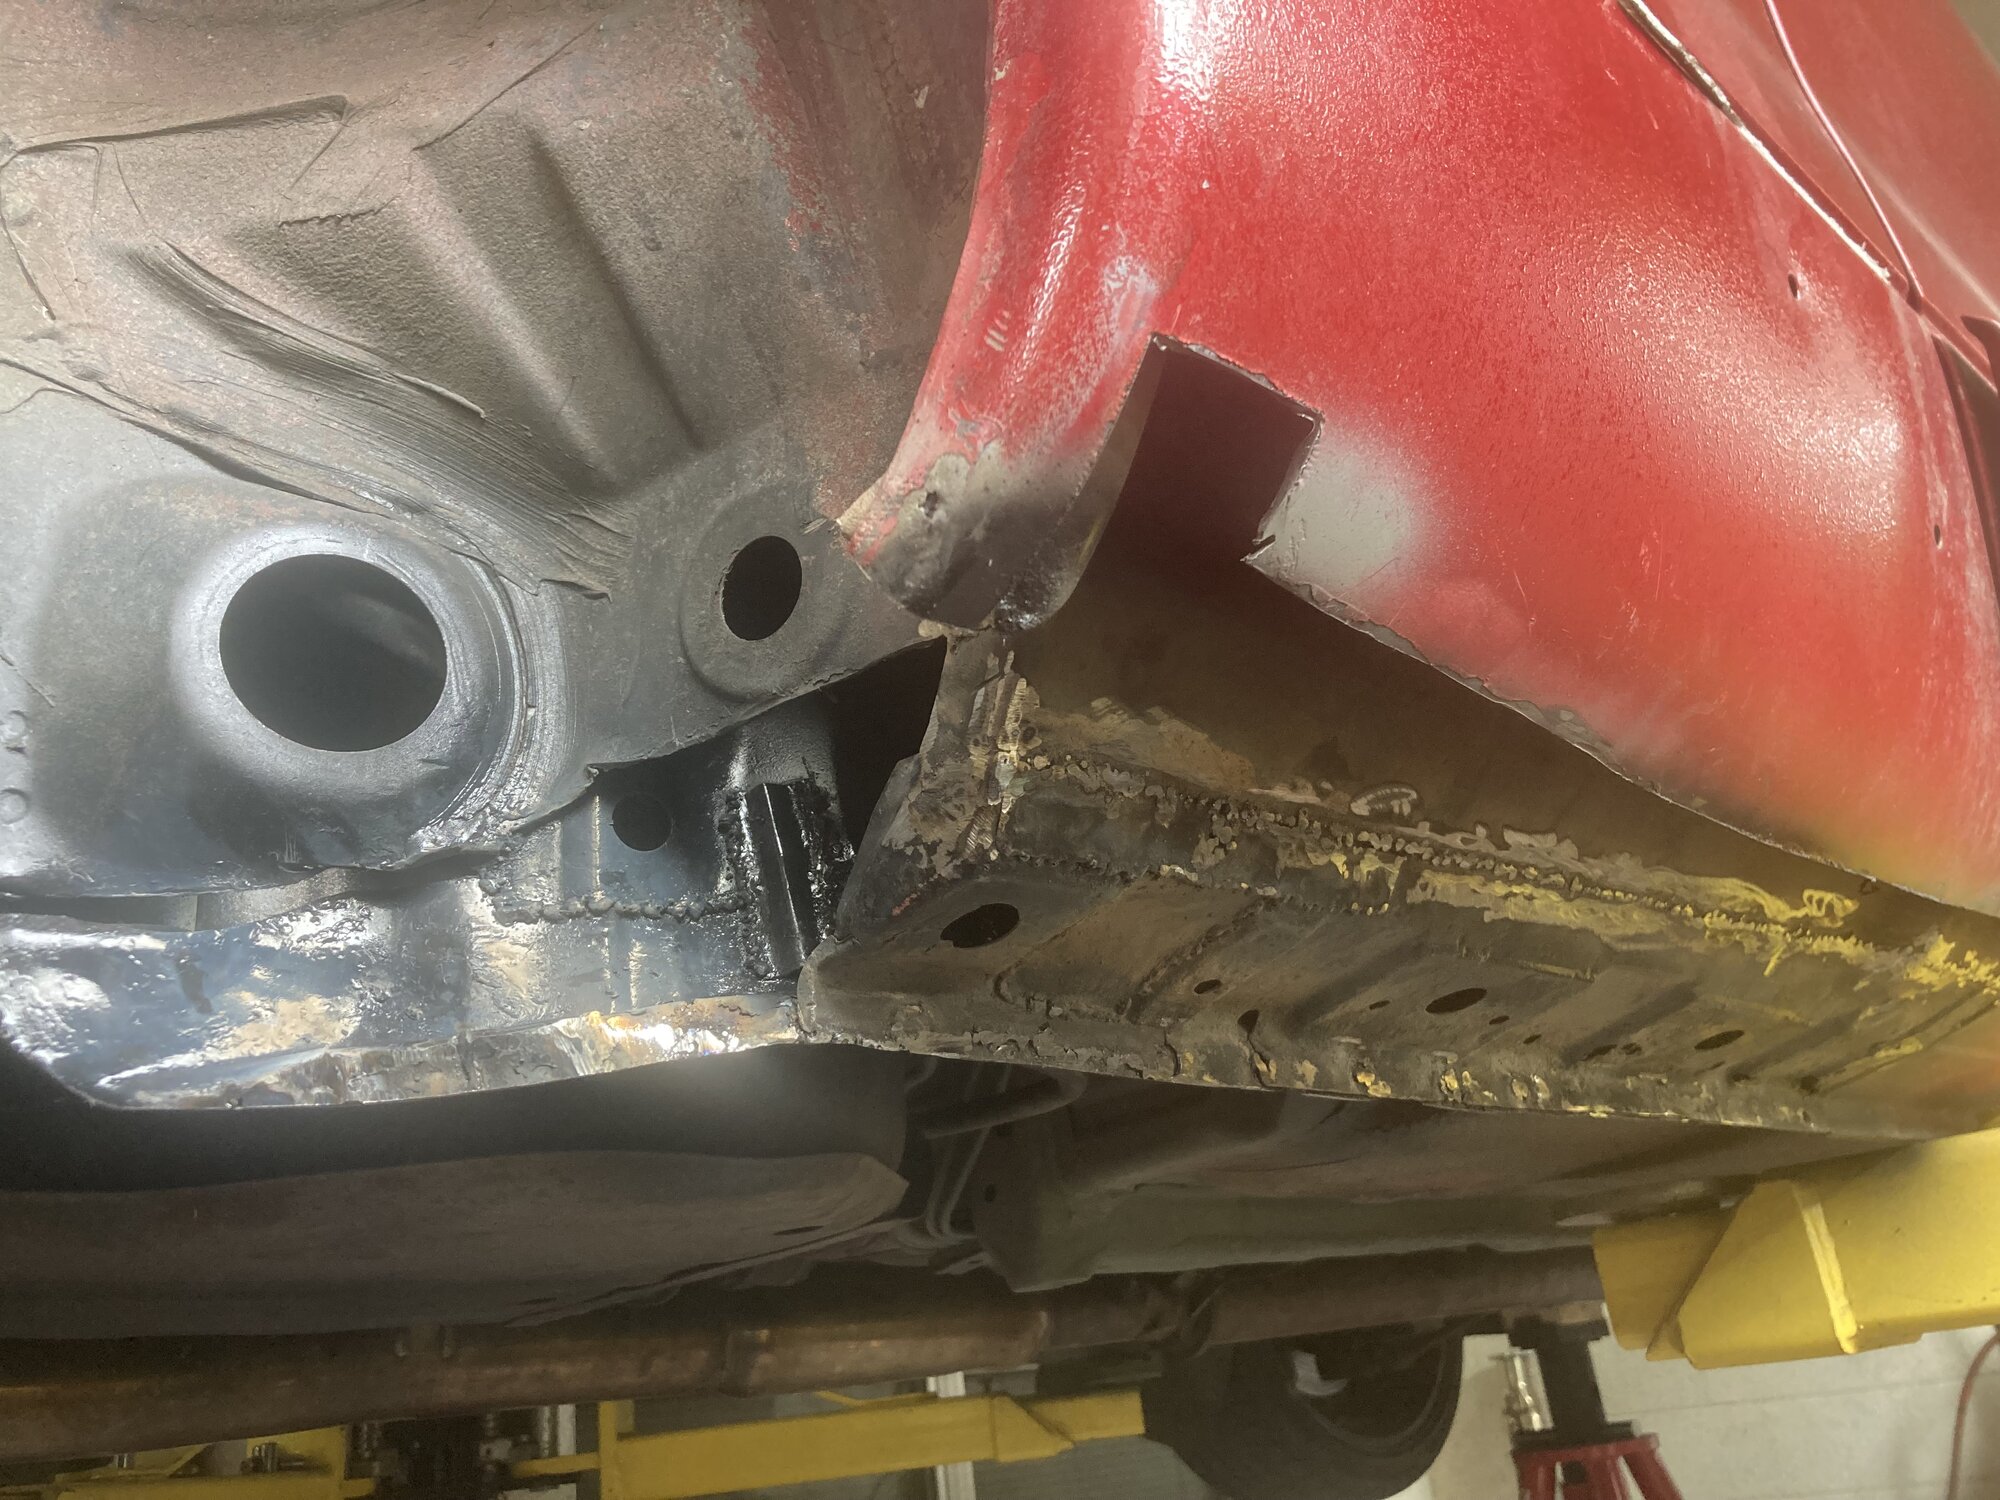
Made some small lill support vertical brackets hard to see in pics (below)
Really helps when lifting car I no longer see any flexing on that side.
IMG_1510.jpeg
IMG_1513.jpeg


All the rust is removed 🥳

And I restore my destroyed pinch weld seem , finally after 15 yrs I was able to care take of this.
 
Last edited:
Great job on the repair! I'm still staring at mine waiting for it to just disappear on its own.
Luckily I have my rust free parts car so I don't have to be Mr shape shifter.
Absolutely zero time to work on it which has been depressing.
 
Great job on the repair! I'm still staring at mine waiting for it to just disappear on its own.
Luckily I have my rust free parts car so I don't have to be Mr shape shifter.
Absolutely zero time to work on it which has been depressing.
So envious, I noticed that’s what many do chop a donor up, I decided I wanted to try and learn how to shape metal 🤘 🎸 so it was a nice experience.

Looking forward to seeing your progress as well.
 
Small moves…

Scrubbed / scuffed the belly - factory red came off easy leaving a clean 🧼 primer’d
surface.
IMG_1548.jpeg
IMG_1549.jpeg


Painted


IMG_1551.jpeg

IMG_1552.jpeg

Sanded the exhaust system clean, added a high flow kitty 🐱 and a ultra- quiet resonator, and gave the exhaust shield a new look.
IMG_1534.jpeg
IMG_1537.jpeg
IMG_1538.jpeg

IMG_1555.jpeg
 
Last edited:
unfortunately I lost a few weeks, old injuries had me bed ridden for some time. But I’m still working on it
IMG_1595.jpeg

I used this stuff it’s great 👍 did the rear frame, drive shaft and axels. It’s not satin at all but w/e, I also sprayed this in the cavities that I sand blasted

IMG_1569.jpeg
IMG_1575.jpeg
IMG_1590.jpeg
IMG_1591.jpeg
IMG_1592.jpeg

I’m still working on shaping the last outer layer of skin on the rockers
IMG_1593.jpeg
IMG_1594.jpeg


I found some surface rust UNDER the factory rubber coating on the wheel wells, so it’s looking like she is gonna stay on stands a lill longer …………all of this just so I can go back to slaving on the interior/exterior once she comes back down.

—————————————————————

In more pleasant news, look at how cute !!!! My lill peaches 🍑 are - they started growing after the last Florida winter ❄️ that killed my garden 🪴!!!
IMG_1366.jpeg
IMG_1453.jpeg
IMG_1587.jpeg
 
Last edited:
A teany tiny post

Been moving alot slower now that all the Florida pest are in full bloom

IMG_1616.jpeg
IMG_1615.jpeg


I wear overalls and protective gear and I either let them murder me or die from heat stroke 🥵

Circled back to the removeable trunk added more latches and tried to match the interior paint with duplicolor ……….. terrible idea, I decided to use bolts and gaskets vs re -welding the center brace / windshield wiper tank mount also added some rubber coating to aid with sound proofing under neath the trunk rustoleum also disappointed ☹️ as it seems to remain wet and sticky days after even with several light coats .
IMG_1613.jpeg
IMG_1614.jpeg
 
Having a hot day here today but temp just dropped to 85 so I'm going to finish off the day with a nice little mountain bike ride LOL.
Want to get a good look at Mt Rainier. I'm reading that snowpack there is well below normal for this time of year. Trails at mid-elevations are melting out a month or more ahead of schedule. Stuff like that. We had a "snow drought" this year. Rain up there when there should have been snow.
 
Having a hot day here today but temp just dropped to 85 so I'm going to finish off the day with a nice little mountain bike ride LOL.
Want to get a good look at Mt Rainier. I'm reading that snowpack there is well below normal for this time of year. Trails at mid-elevations are melting out a month or more ahead of schedule. Stuff like that. We had a "snow drought" this year. Rain up there when there should have been snow.
Jelly 🫩

IMG_1617.jpeg
 
Now that I’m finally done working under the belly and the rear end, I’ve moved to the front

And unknowingly stood face height to a swarm of hornets 🐝 that made a home in my front bumper waste gate exit hole.

I was viciously attacked and it hurts in ways I haven’t experienced pain…. In some time.

Anyway i notice the rust under the factory rubber coating appears to be only along the seem.
IMG_1736.jpeg
IMG_1743.jpeg
IMG_1745.jpeg

You can see the pitting is only an inch from that seem.

And additional I was able to confirm that am I am leaking bewteen the mating surface of the rear to middle case for the transfer case.
IMG_1663.jpeg

IMG_1718.jpeg

IMG_1720.jpeg

But wait : theres more - I also found that I am leaking from the mating surface of the transmissions rear case
IMG_1709.jpeg
IMG_1726.jpeg

previously i thought it was leaking from this one bolt, but I realized that’s just were the oil would pool.
IMG_1668.jpeg


If not for the lift/ tall jacks, i really would have never really been able to diagnose this.

I always had a sweaty 😓 drivetrain … 😢

My goal is to just address any and all issues related to being under the car- I hope to never have to come back so Im still looking for things to resolve.

Just a lill more and she can come back down.
 
Last edited:
OCD got a grip on me 😮
Other side - some areas look fine but theres subtle hints, some areas i just do at random , pays off sometimes.

IMG_1749.jpeg
IMG_1750.jpeg
IMG_1748.jpeg
IMG_1747.jpeg

IMG_1746.jpeg

Im purdy sure this is how struct tower rust gets started, it has to be coming in from the wheel well.

The thing is all of this is hidden and looks perfectly normal with the factory coating / sealant…

Not bad though easy to primer- paint , reseal and …… idk 🤷 maybe re rubberize ????
 
IMG_1760.jpeg
Split the Tcase up to add new RTV to prevent leak - no more leaks.
IMG_1772.jpeg

And added RTV around the AN fitting to finally stop the last tiny engine leak.
IMG_1777.jpeg

Exhaust finally back up - interested to hear how she shounds with the Cat 🐱 and Resonator
IMG_1779.jpeg
IMG_1780.jpeg

IMG_1783.jpeg

IMG_1786.jpeg

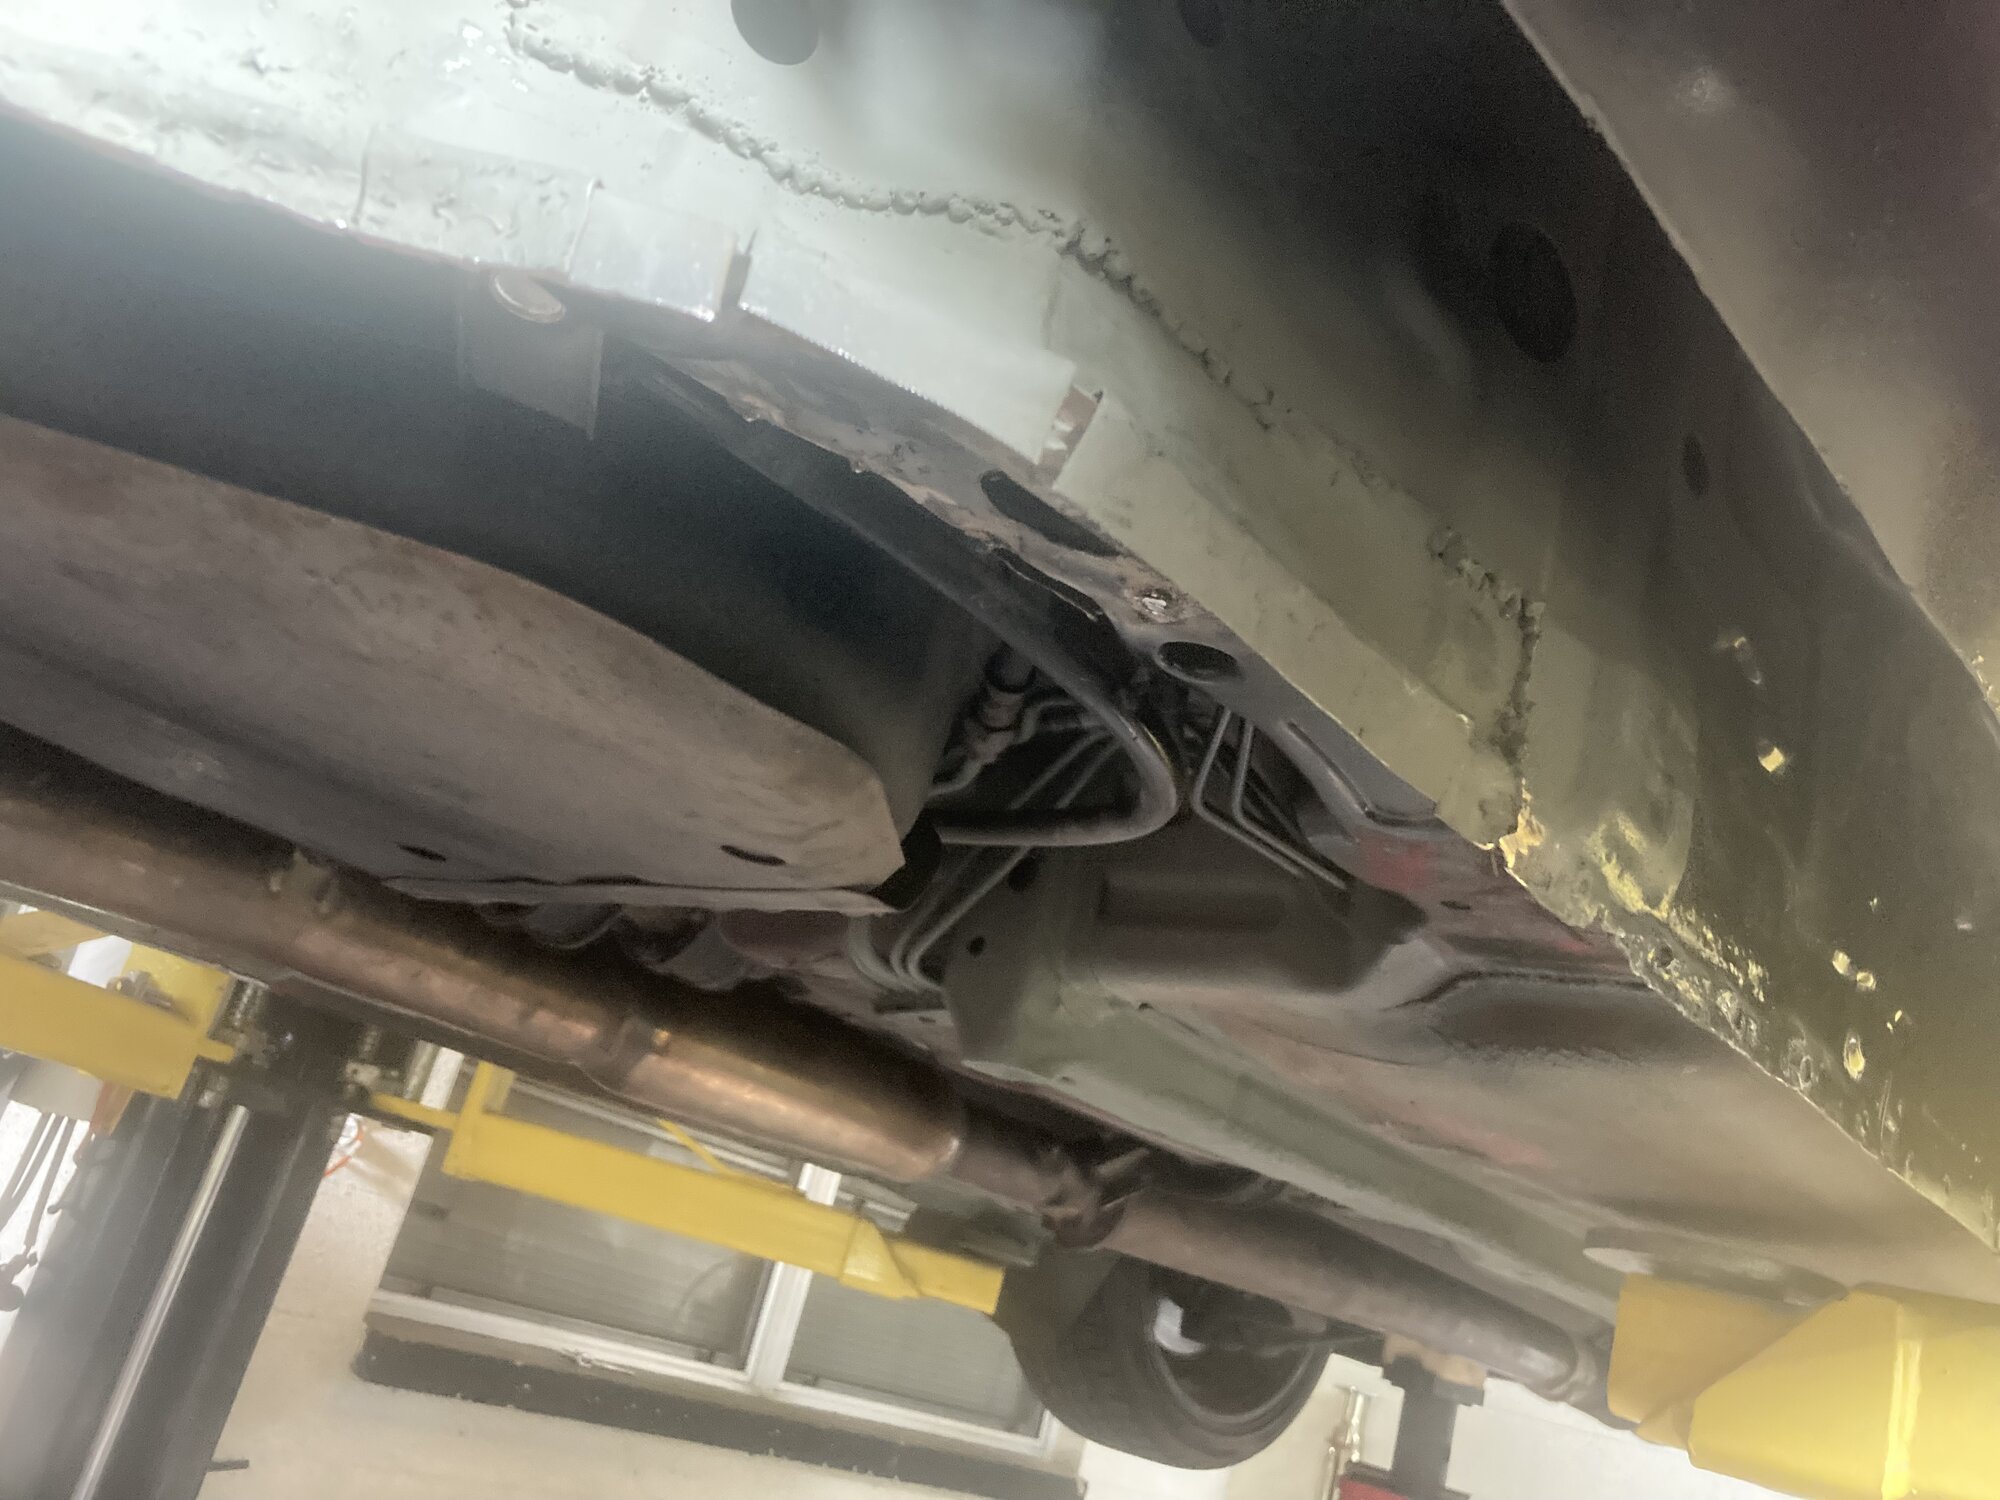
From this view we can see the rockers have been fully repaired and restored and all the rust has been removed- saving the chassis. You can’t even tell it was all gutted chopped and blended back.
IMG_1787.jpeg

Painted the tow hitch as well
IMG_1822.jpeg

And fished out these bolts I bought in 2014
It only took me 12 yrs to get around to fixing the broken cross member bolt!!!
After some drilling i finally got it out, to be fair this is the first time she has been up in the lift so it makes sence I never had a chance to get underneath.
IMG_1817.jpeg


IMG_1823.jpeg

Finally I can add the sub cross member bracket.

( mostly because I mistakenly thought that bolt needed repair to add this, this could have been installed the whole time)


Finally the undercarriage is restored and the leaks in the Tcase and engine are fixed.
 
Last edited:
I finished up the wheel wells, painted and resealed . So I thought it might be a good time to freshen up the brakes a lill.

Rather then brembo stickers, I wanted something more unique so I got these.
IMG_1828.jpeg

This is what i thought as soon as I read the lill sticker on the bag full of stickers.

IMG_1841.jpeg

“ Hey guy “

But I really liked the way these look on the listing so I was willing to try
IMG_1842.jpeg

IMG_1829.jpeg


IMG_1831.jpeg
IMG_1832.jpeg
IMG_1834.jpeg
IMG_1836.jpeg
IMG_1837.jpeg

Before and after - went from a gun metal grey to a dark grey metallic.
IMG_0418.jpeg


IMG_1840.jpeg


Also bought new fender liners from “fisher “ AND new upper control arms
On eBay for cheap
IMG_1827.jpeg
 
Last edited:
It’s been about 6 months now she has been in the air with this restoration.


Finally !! - ready to drop her back to the ground…after so many times of removing installing re removing and re installing things ect………………………………….


IMG_1843.jpeg

IMG_1844.jpeg
IMG_1845.jpeg


IMG_1797.jpeg
IMG_1798.jpeg

IMG_1794.jpeg

IMG_1804.jpeg

Right at the 90* bend on the bellhousing 🔔
Were cracks love to propagate ⚡

So much for getting of the jacks……..
I was hoping this could be repaired in the car, seen so many successful videos on YT doing the same. But unfortunately I have to drop the tranny now.

Another thing that happened during the 8 years of sleeping 😴- idk maybe before that , maybe partly due to shot rear diff bushings, aiding in stress, maybe it’s the insane amount of torque. Does look like Tcase was tearing away from tranny.

I looked at images from 2010 the same crack, same length was visible then

:/
 
Last edited:
Add Value - Be Respectful - No Trolling - No Misinformation - Participate Often!
Support Vendors who Support the DSM Community

Build Thread Updates

Latest Classifieds

  • For sale S90 TB 70mm
    Purchased this month from STM. Comes with the FIAV block off plate that was already installed...
    • Bedicine
    • Updated:
    • Expires
  • Wanted 1g Need 1g AC tensioner bracket
    I am in need of 1g AC tensioner bracket - looking for complete with bolts. Recently bought 92...
    • JLavetsky
    • Updated:
    • Expires
  • Wanted 1g Pop-up light button
    Looking for a 1ga pop up light button / switch
    • steelcurtaindsm
    • Updated:
    • Expires
  • Wanted Anyone selling Plymouth laser wheels can bring to the shootout?
    I'm looking to purchase a full set of Plymouth laser wheels if someone can bring to the shootout I
    • Syclone#334
    • Updated:
    • Expires
  • For sale DeatschWerks fuel pump
    DeatschWerks DW200 fuel pump. Probably has less than 1000 miles on it. Was keeping it as a...
    • RamenPride
    • Updated:
    • Expires
Back
Top