

robertbaxley03
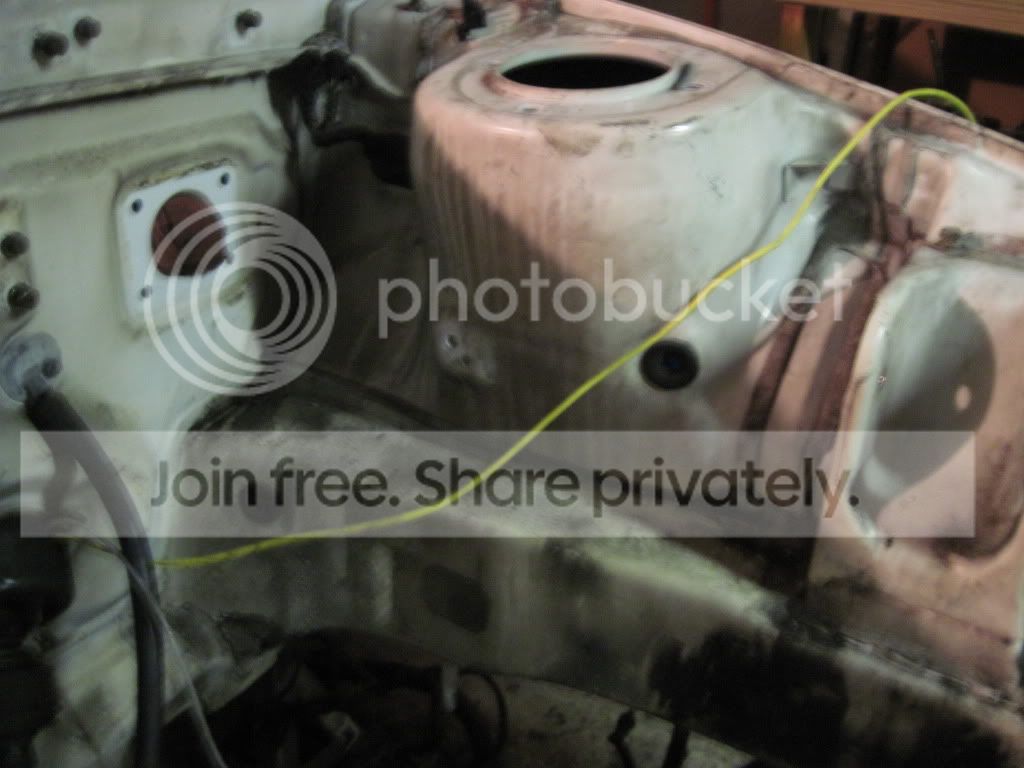
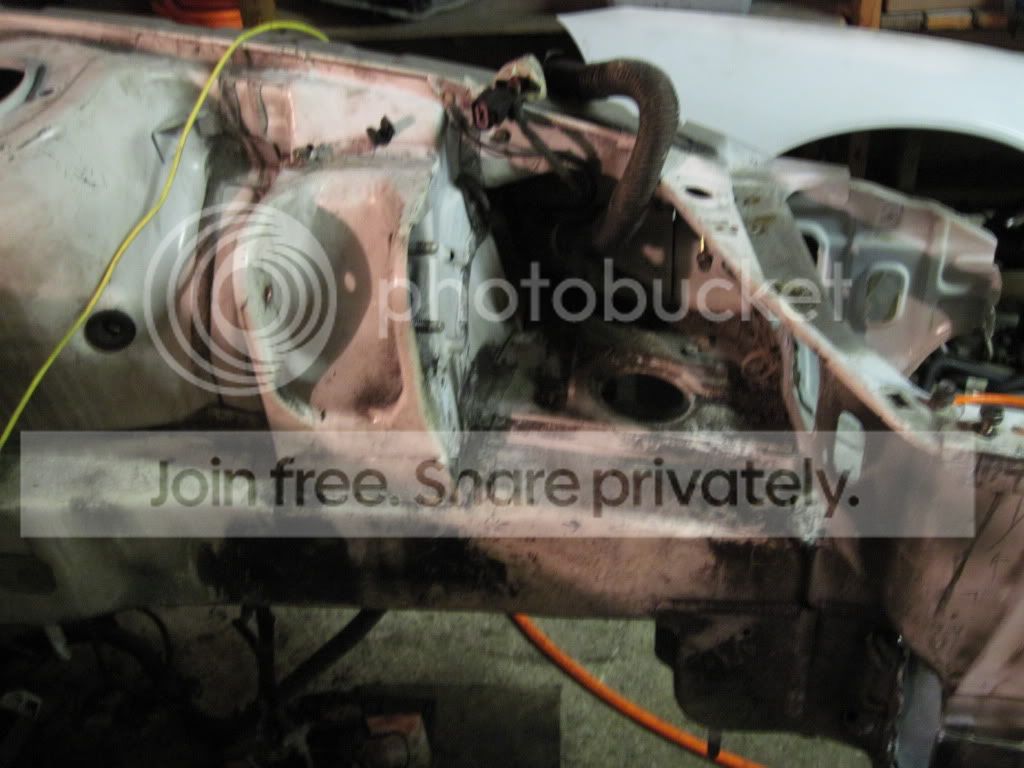
So over the past week or two I have gotten the last pieces taken off and the bay clean. To Clean the bay I used simply green and a roll of paper towels to get all the grease and grim off that I could see. I thought that this was good! I went to the paint shop to pick up some more parts I had media blasted and he gave me some Wax and Grease remover made by PPG. It was the 440 grade. Let me say that if you think something is clean and ready for paint, go pick up some Wax and Grease remover (many people make it) and wet one cloth wipe and right behind it use a Dry cloth. You will be amazed at what else will come off of what you thought was clean so after I cleaned the whole bay inside and out I started to paint. It did not take to long and I was done about a hour and a half or so. The paint that I used was Dupli-color Semi-Gloss for the bay. The fender wells got undercoating from rustolium. The under coating turned out to be a dark brown so I painted the undercoating as well with the semi-gloss. I put down three coats and it took four cans of semi-gloss and one undercoating. Earlier I had painted a section of the drivers fender and fender well with the paints mentioned above to test their duribility. After two days the paint would come right off. I left it alone and let a week pass and tested again and what do you know it no longer peals off. This is why I choose these paints.
The Start of it all
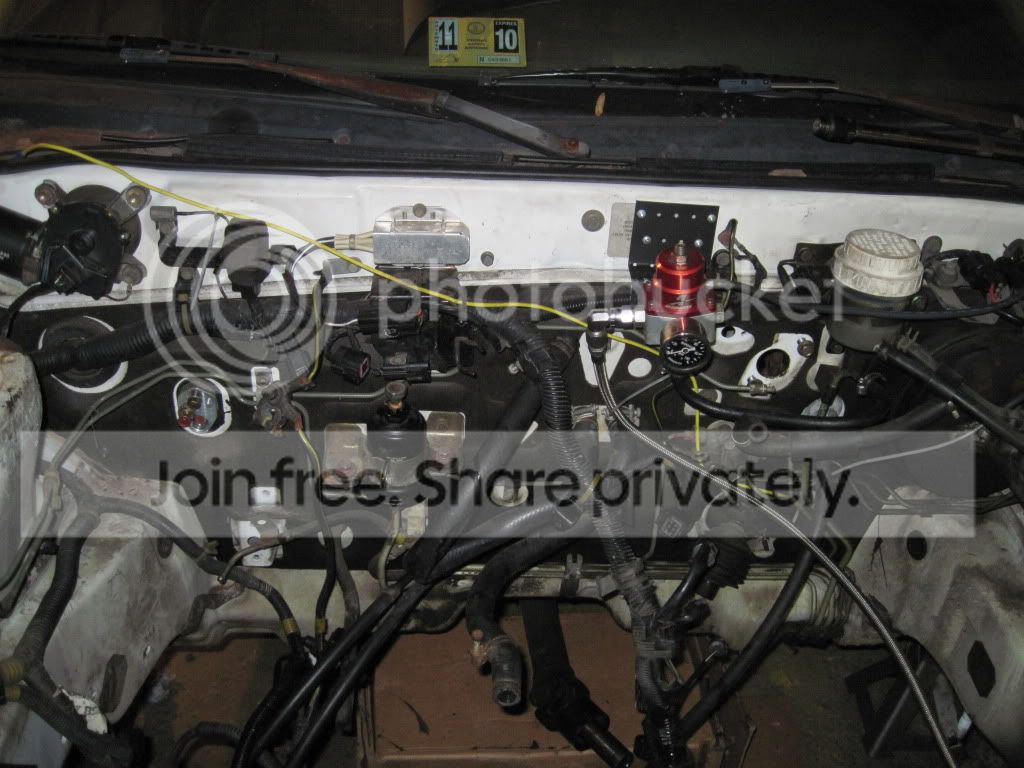
The dirty bay I had to clean
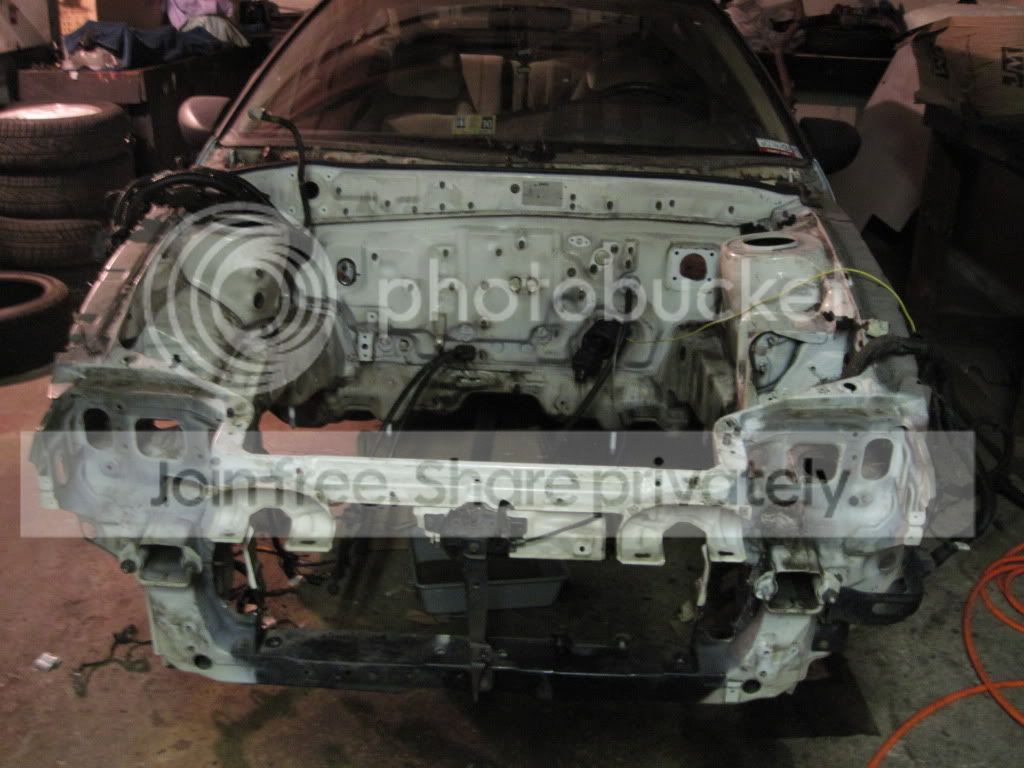
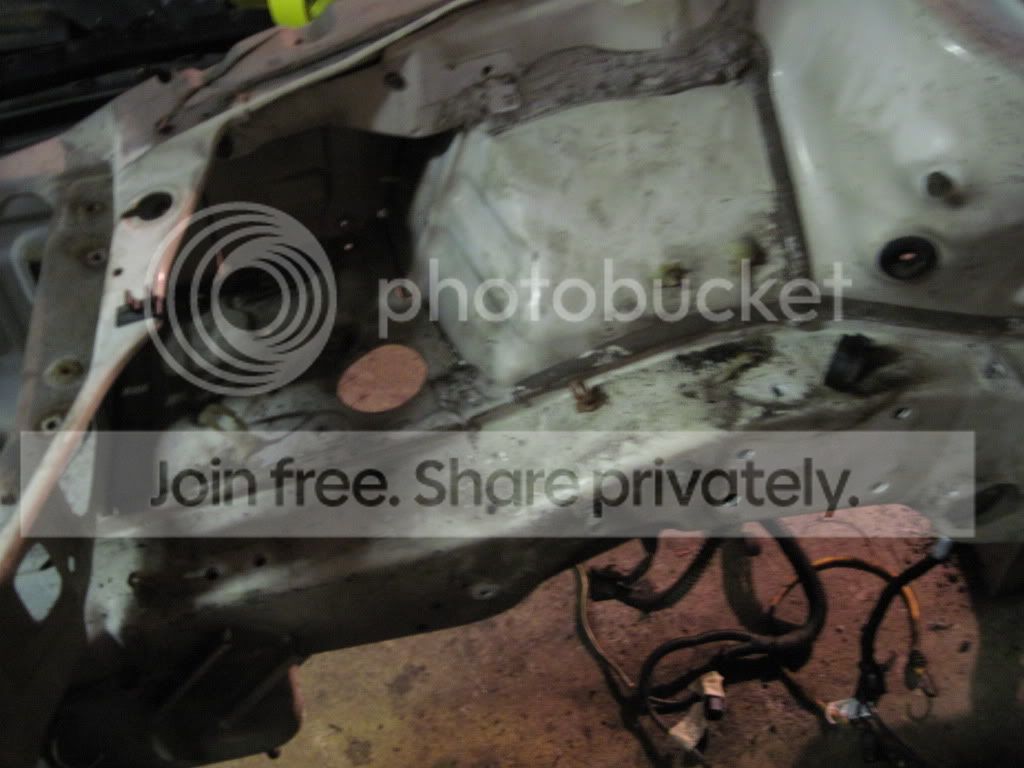
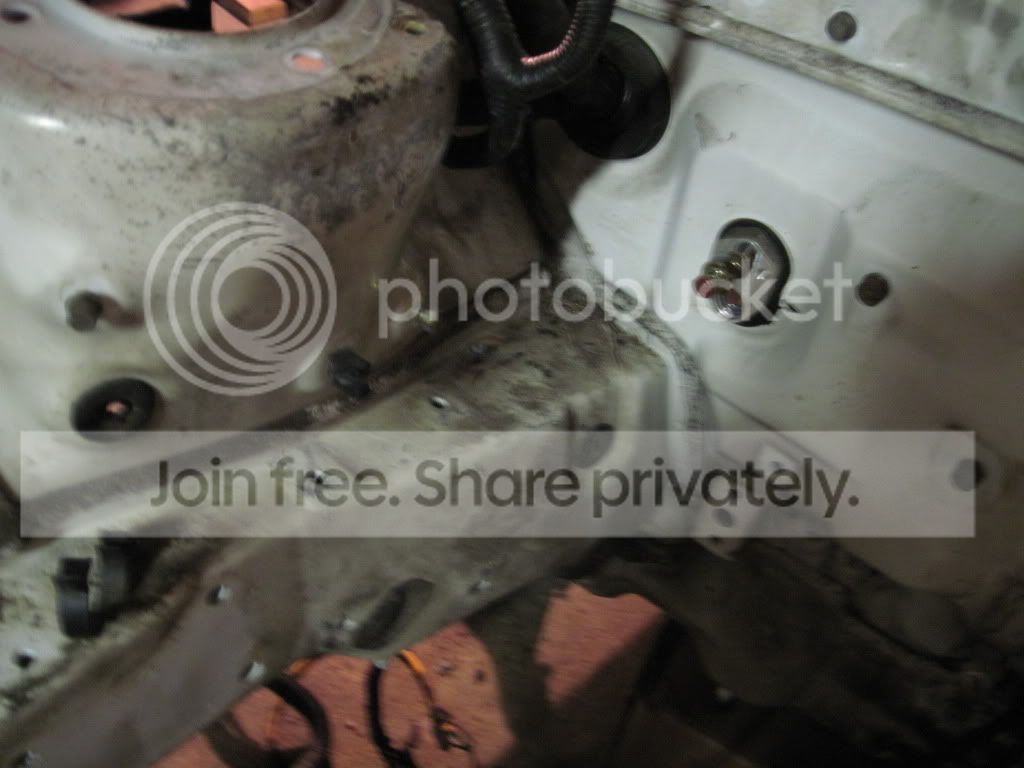
After the Paint looks great to me
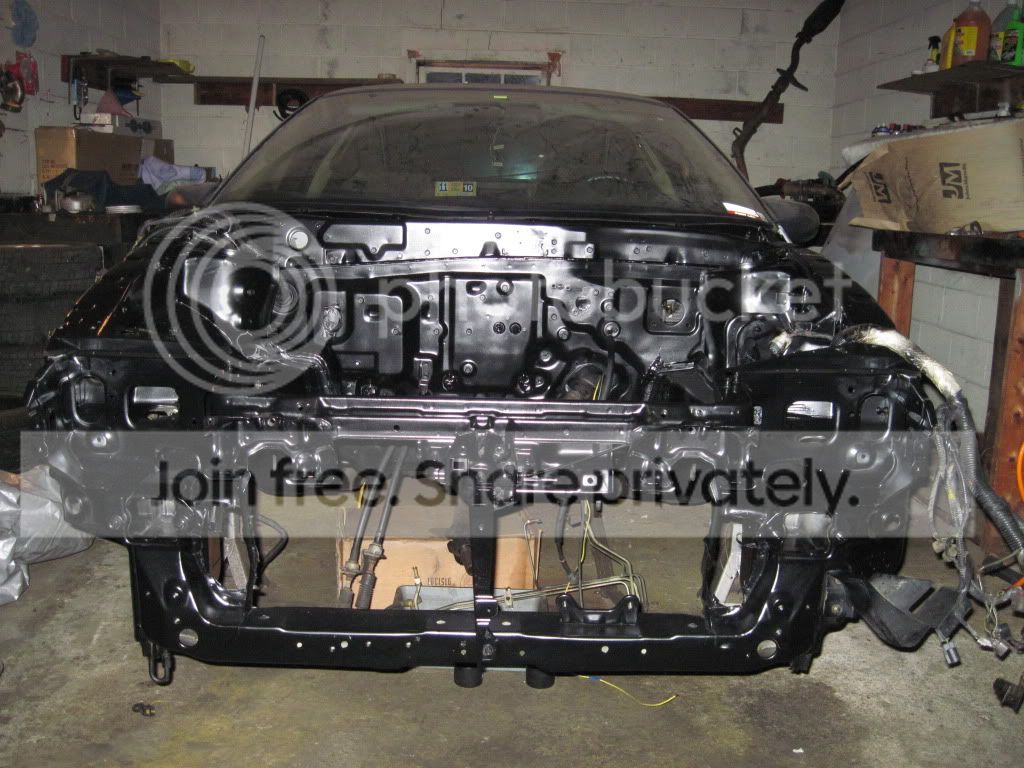
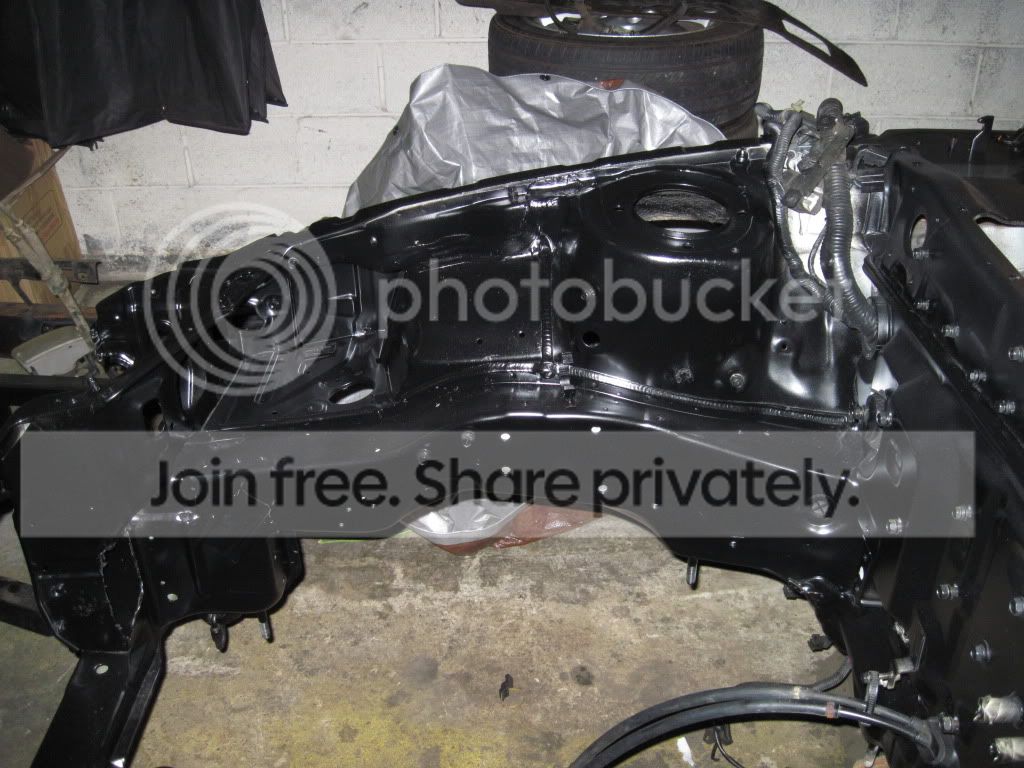
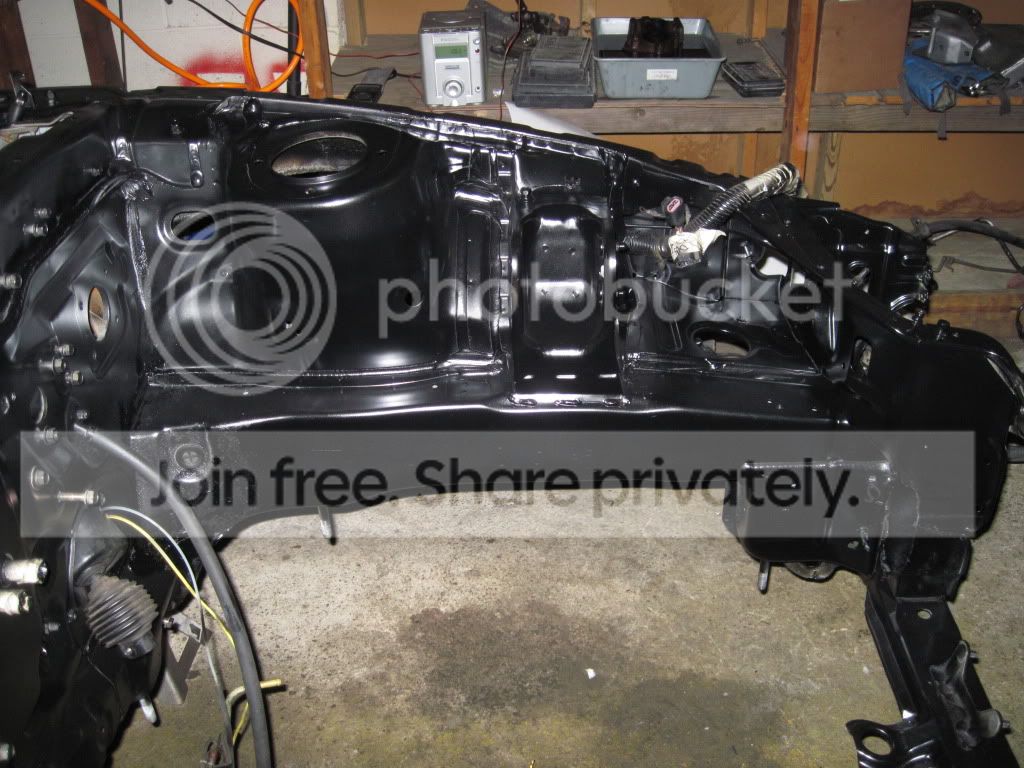
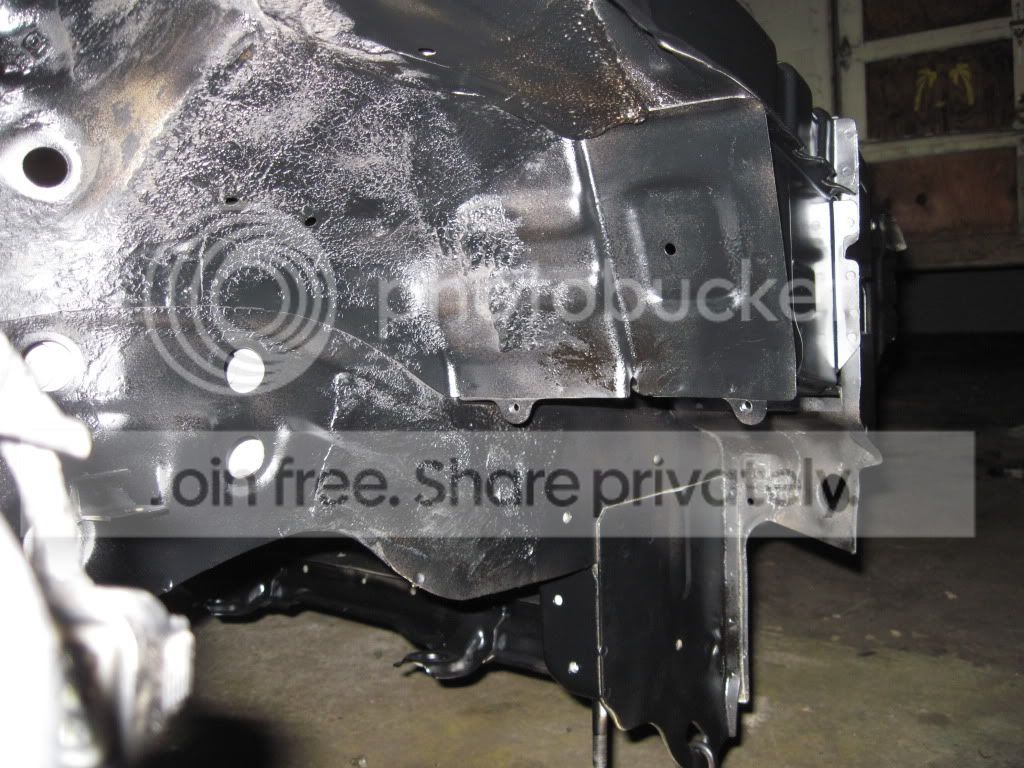
It looks rough due to the fact that I could not get all the old coating off.
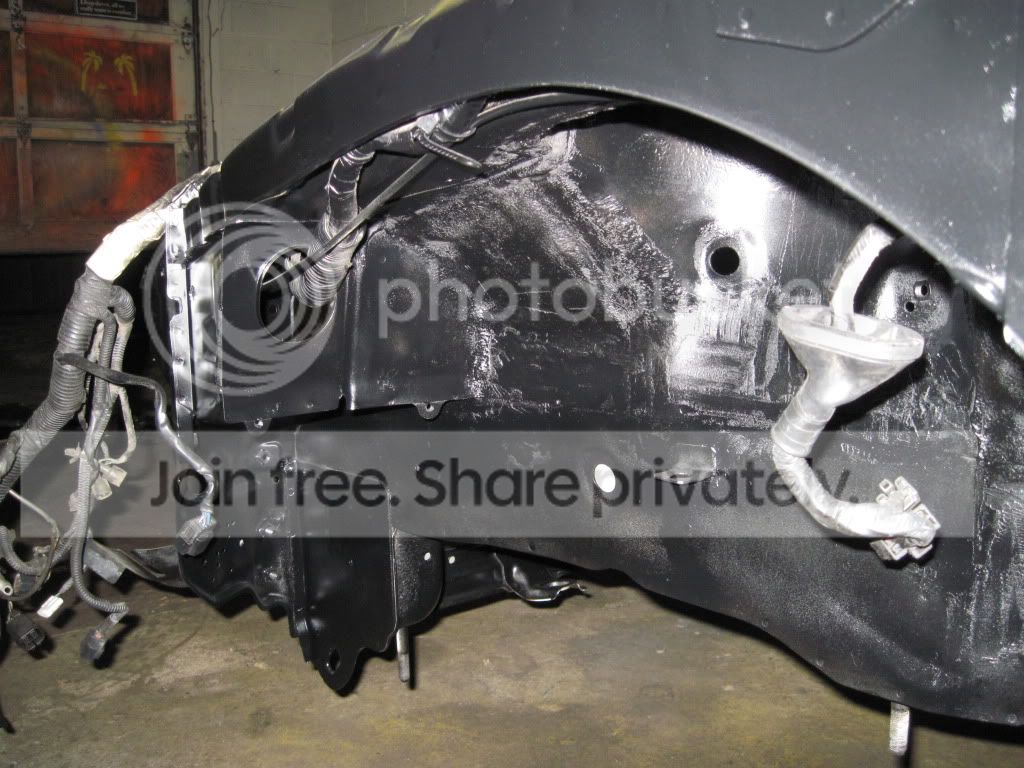 It looks rough due to the fact that I could not get all the old coating off.
I also have been ordering some more parts to finish up the motor and only lack a few things. I need to get my water pump, upgraded wrist pins (weisco), Bearings, 3in coupler, and some fittings for a turbo drain. With these parts I will be able to bolt it all up unless of course I have forgot something which we all do.
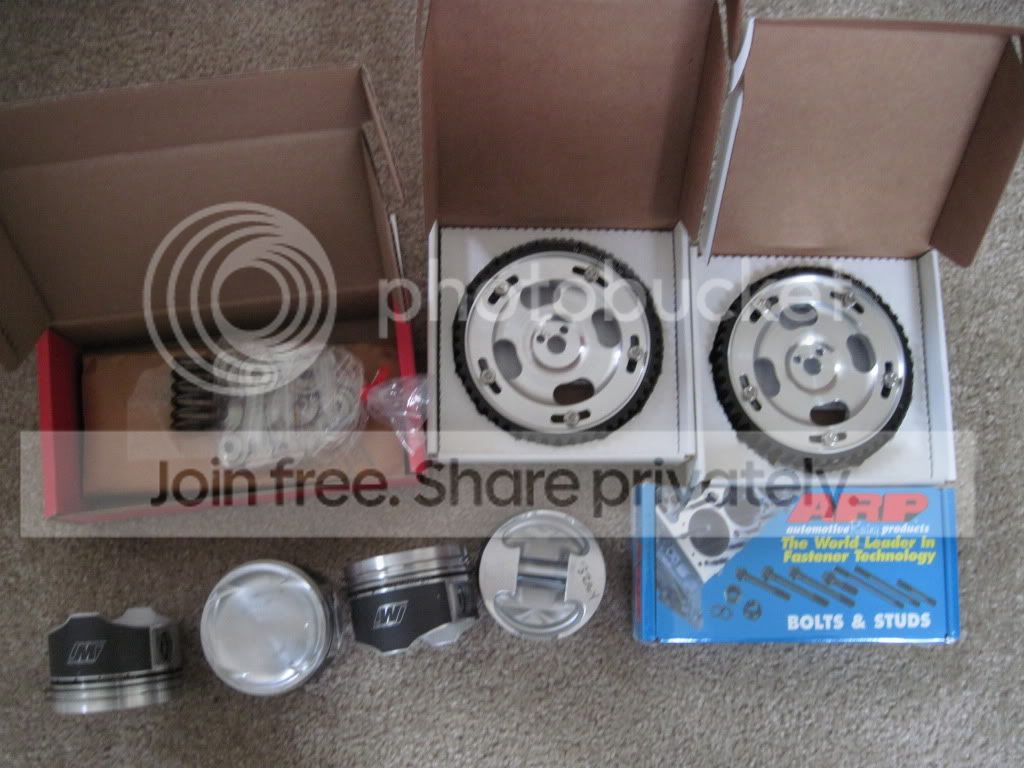
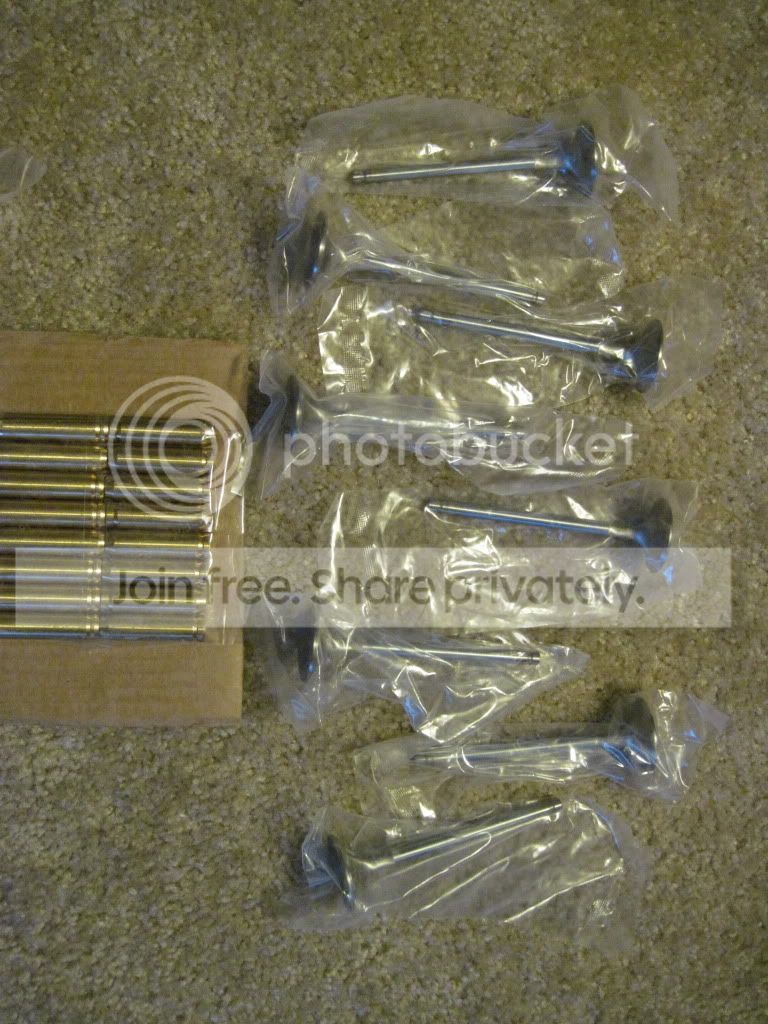
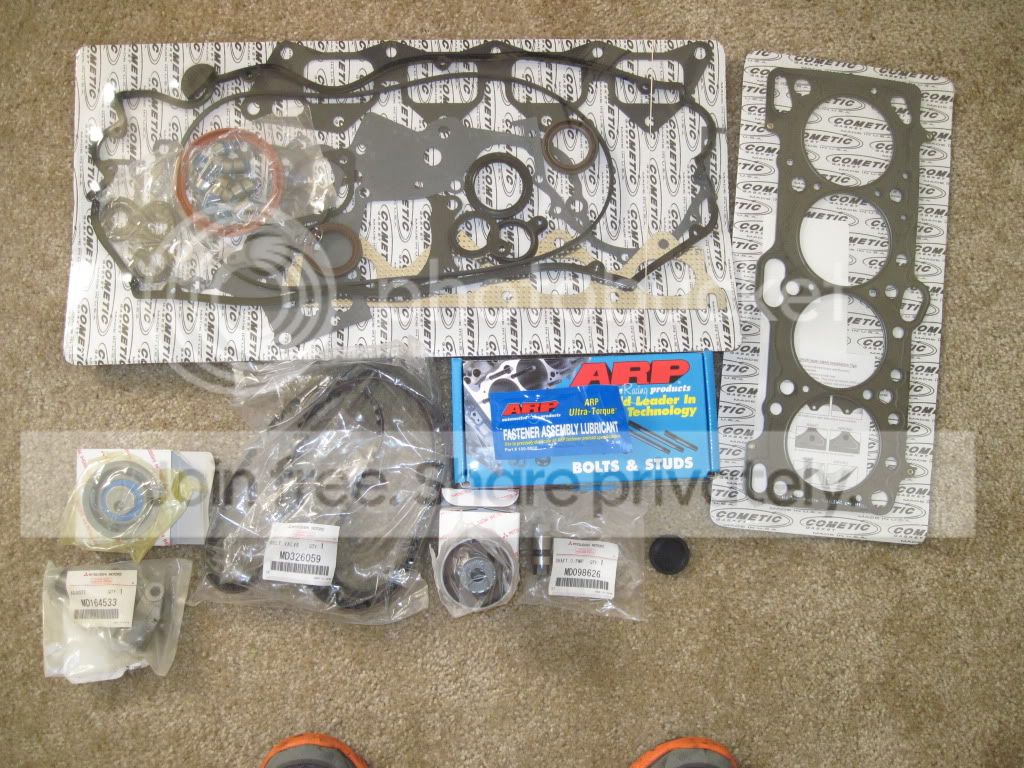
I also took my Head, Crank, and block to the machine shop. I had Quality machine in Petersburg VA Hone the block, Check the mains w/ ARP main studs, Deck, New freeze plugs(brass), Polish the crank, Valve job w/ 1mm over valves and bronze guides, viton valve seals, Brian Crower springs and retainers, Surface the head, and the oil port mod. I would like to say that all this came out nicely. I had the pistons miked and they came out to 3.344 for 3 and 3.3435 for the last piston. You must account for the coating on the piston which in my case is .001. Because of the coating I added .00275 to those numbers and had the finish hone set to those numbers. Therefore I will have.00375 +_ a few tho of PTW. The Main bore miked to be in perfect roundness which is great news. The crank was only polished to remove small inprofections and maintain the uncut strength. The head got three angles on the seat and two on the valve as well as 16 New guides and 1mm over valves. Also got some BC springs and retainers to complement the new cams. Of course the Install height was checked on ever spring as well as seat lbs to insure proper install and avoid coil bind. At the moment I am awaiting bearings therefore I wiped the motor crank and head surface down with motor oil to fend off the rust in the mean time therefore I do not have any picks but stay tuned and all the good stuff is soon to come.
Today I was heading outside to get all the old bushings out to replace them with Prothanes. I had heard that this was a huge PITA so I gave myself plenty of time. After finally getting out there I used a hammer and a brass punch. Also got my air hammer and tourch ready for the showdown. I start with the easy method first just a hammer and brass punch and what do you know two decent hits and its out. I thought maybe that one was just loose so I try the other side and 1,2 out it comes.
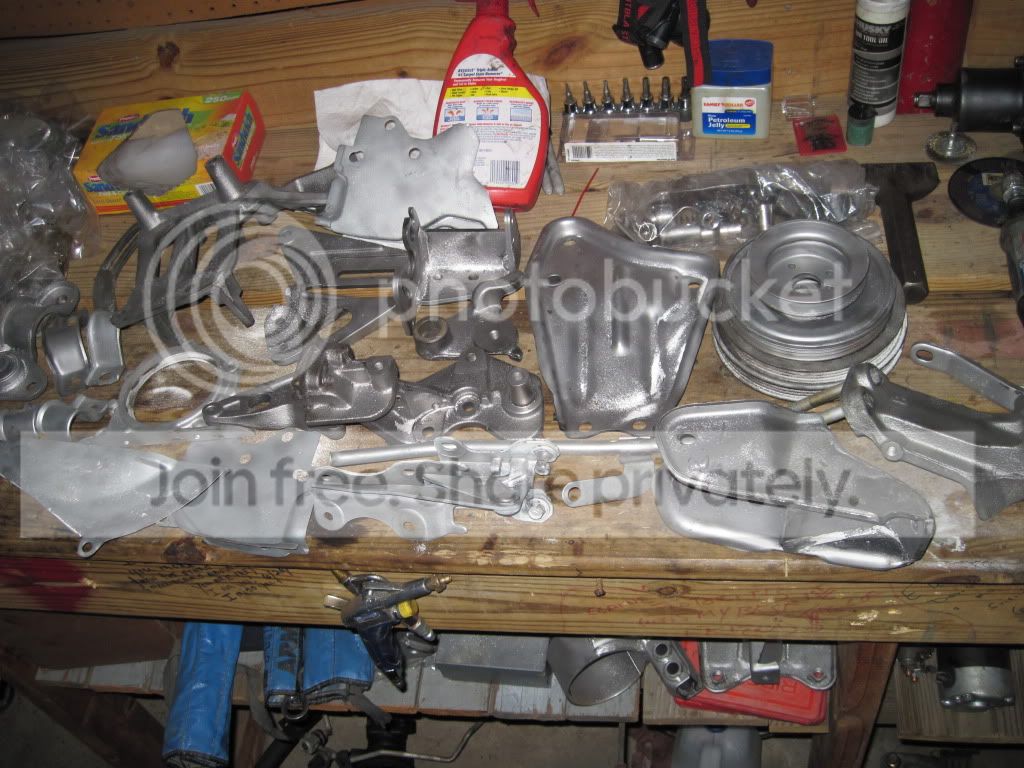
 Now either I read the wrong Post or something is not right. I had a buddy hold the subframe up while I hit the lowers out. They took about three good wacks with the hammer and they came out. About a ten min job. I had set aside all this time to do this and it was over that fast so I finished cleaning those pieces to get them ready for paint. I plan on painting all the brackets and subframe pieces with a gloss black but we will see.
That is all I have for now and pics of the block, crank, and head are soon to come along with the arrival of my bearings and assembley .
.
Comment to let me know if this interest you or if you find anything useful. Fill free to contact me through Pm with any questions. Feedback is always nice whether its advice or a suggestion.
The Start of it all
The dirty bay I had to clean
After the Paint
looks great to meIt looks rough due to the fact that I could not get all the old coating off.
I also have been ordering some more parts to finish up the motor and only lack a few things. I need to get my water pump, upgraded wrist pins (weisco), Bearings, 3in coupler, and some fittings for a turbo drain. With these parts I will be able to bolt it all up unless of course I have forgot something which we all do.
I also took my Head, Crank, and block to the machine shop. I had Quality machine in Petersburg VA Hone the block, Check the mains w/ ARP main studs, Deck, New freeze plugs(brass), Polish the crank, Valve job w/ 1mm over valves and bronze guides, viton valve seals, Brian Crower springs and retainers, Surface the head, and the oil port mod. I would like to say that all this came out nicely. I had the pistons miked and they came out to 3.344 for 3 and 3.3435 for the last piston. You must account for the coating on the piston which in my case is .001. Because of the coating I added .00275 to those numbers and had the finish hone set to those numbers. Therefore I will have.00375 +_ a few tho of PTW. The Main bore miked to be in perfect roundness which is great news. The crank was only polished to remove small inprofections and maintain the uncut strength. The head got three angles on the seat and two on the valve as well as 16 New guides and 1mm over valves. Also got some BC springs and retainers to complement the new cams. Of course the Install height was checked on ever spring as well as seat lbs to insure proper install and avoid coil bind. At the moment I am awaiting bearings therefore I wiped the motor crank and head surface down with motor oil to fend off the rust in the mean time therefore I do not have any picks but stay tuned and all the good stuff is soon to come.
Today I was heading outside to get all the old bushings out to replace them with Prothanes. I had heard that this was a huge PITA so I gave myself plenty of time. After finally getting out there I used a hammer and a brass punch. Also got my air hammer and tourch ready for the showdown. I start with the easy method first just a hammer and brass punch and what do you know two decent hits and its out.
I thought maybe that one was just loose so I try the other side and 1,2 out it comes. Now either I read the wrong Post or something is not right. I had a buddy hold the subframe up while I hit the lowers out. They took about three good wacks with the hammer and they came out. About a ten min job. I had set aside all this time to do this and it was over that fast so I finished cleaning those pieces to get them ready for paint. I plan on painting all the brackets and subframe pieces with a gloss black but we will see. That is all I have for now and pics of the block, crank, and head are soon to come along with the arrival of my bearings and assembley
. Comment to let me know if this interest you or if you find anything useful. Fill free to contact me through Pm with any questions. Feedback is always nice whether its advice or a suggestion.

















