


VETDRMS
15+ Year Contributor
- 340
- 21
- Jun 1, 2006
-
Vancouver,
Washington
Ok, taking a short break to do an update. I have been absolutely thrashing non-stop since Wednesday night to get this thing finished. My father is in town for a while so I have had a great shop hand to keep things moving along. We've been met with challenges at every single corner, what a pain in the A55 this thing has been.
I am approaching each issue and trying to do it "right" so while I am in a bit of a hurry I still want to take the time to make it good.
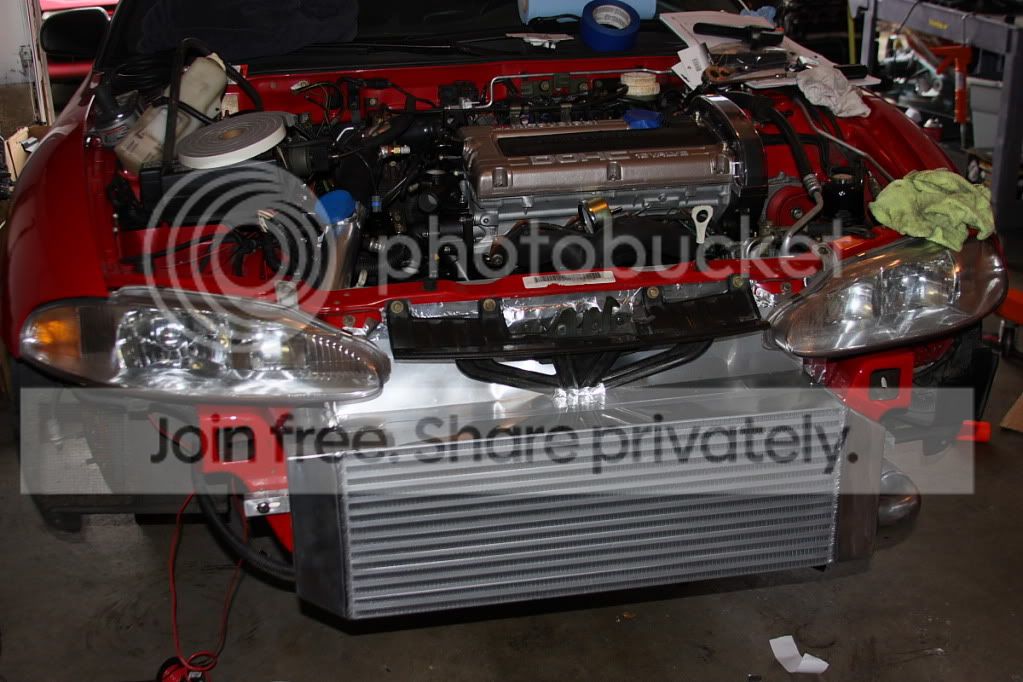
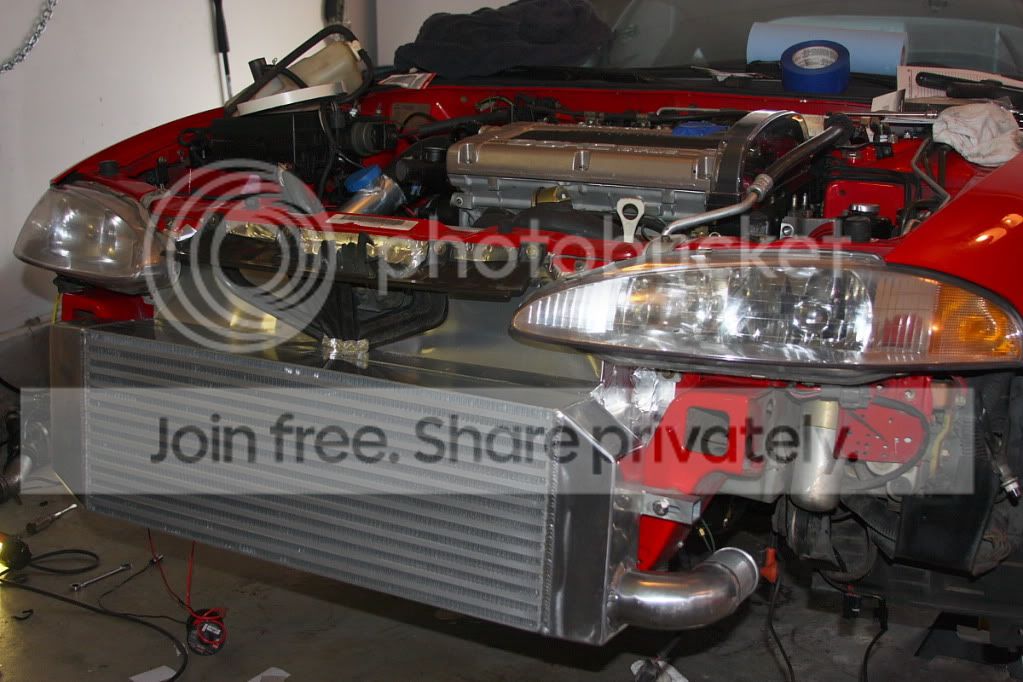
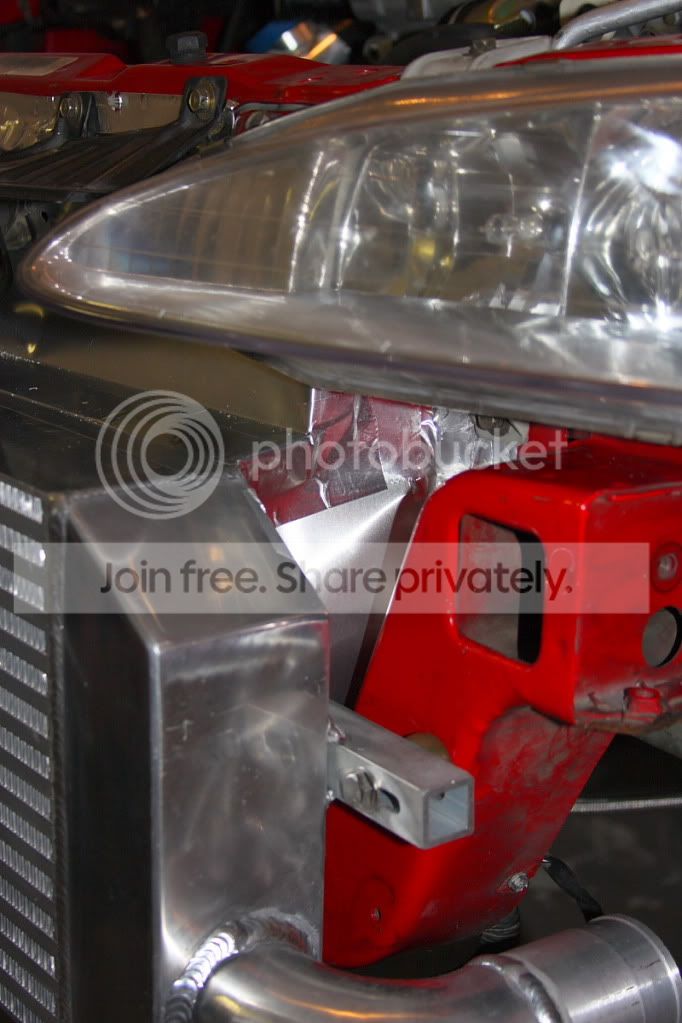
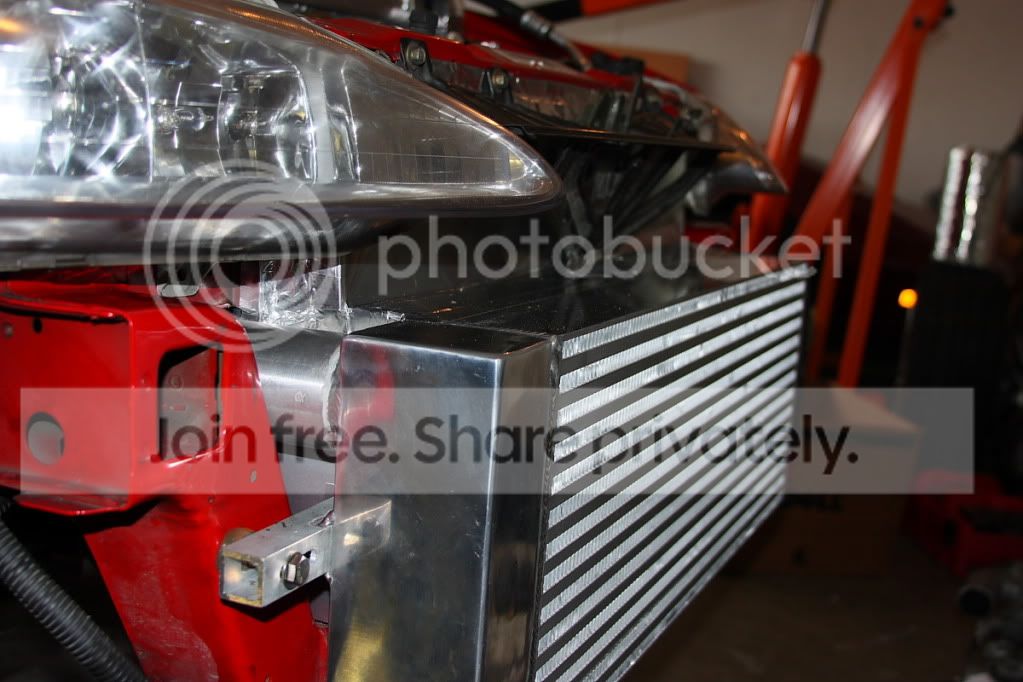
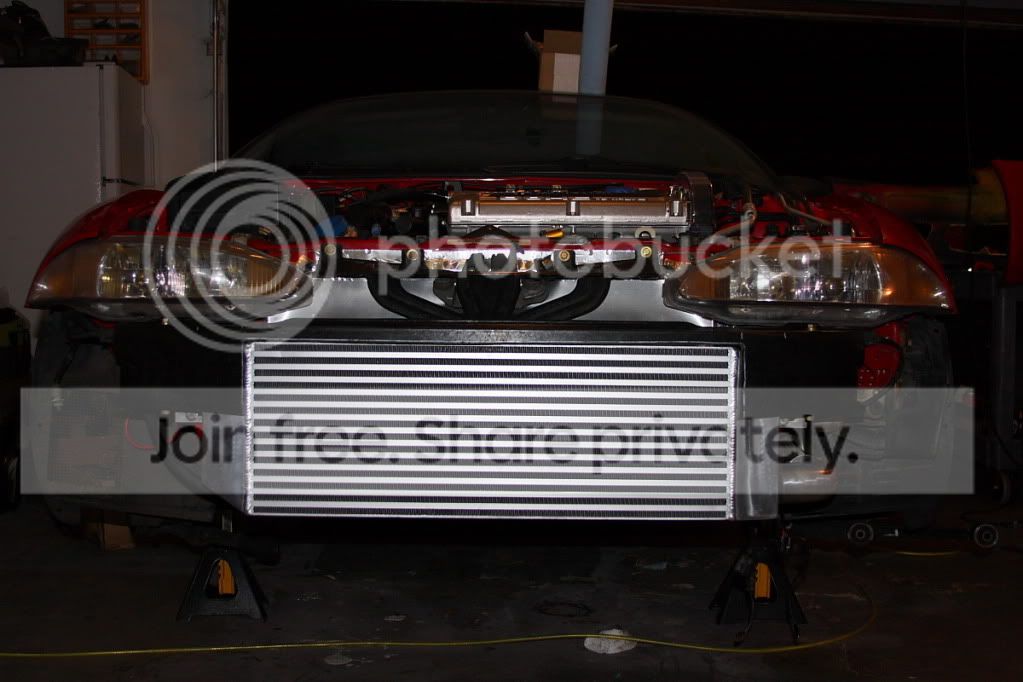
First off I will continue the shroud/FMIC install from my last update. We ended up re-doing the upper part of the shroud as it didn't clear the headlights and looked like crap when "clearanced". All the shrouding was built with aluminum flashing and sealed with aluminum tape. This is normally used on HVAC ducting and is pretty durable. I think it will work pretty good and doesn't look completely terrible. I would love to have access to the proper tools, like a bending brake, shear, etc. But for the tool-limited DIY-er this works quite well. You can get a roll of the flashing from Home Depot for about $10 and the tape is about $5.
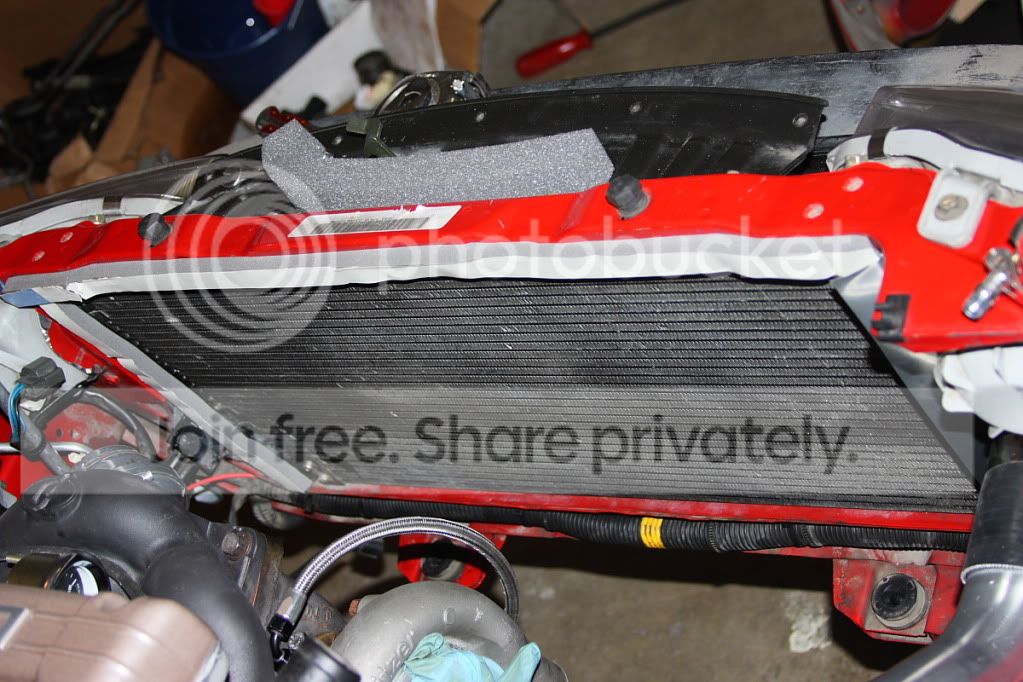
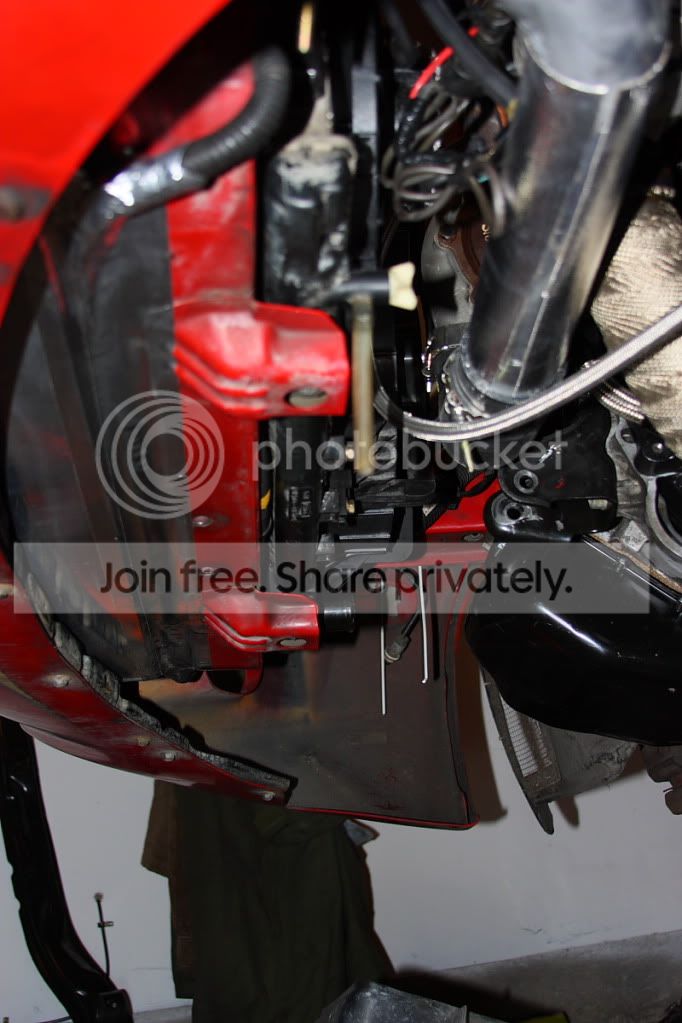
First we built inserts that sealed the sides of FMIC to the A/C condensor core. This piece wraps around the condensor core on the passenger side and is clearanced for the A/C lines on the drivers side. Then we built the top cowl that attaches to the FMIC and sits behind the latch and upper bumper support. We notched the lower bolt hole on the upper bumper support to make installation easier.
We then sealed the condensor core to the radiator using high-density self-sticking foam. The bottom of the FMIC was sealed to the lower core support using the aluminum tape. I thought about building an air damn from heavier gauge aluminum but decided against it.
Pics:
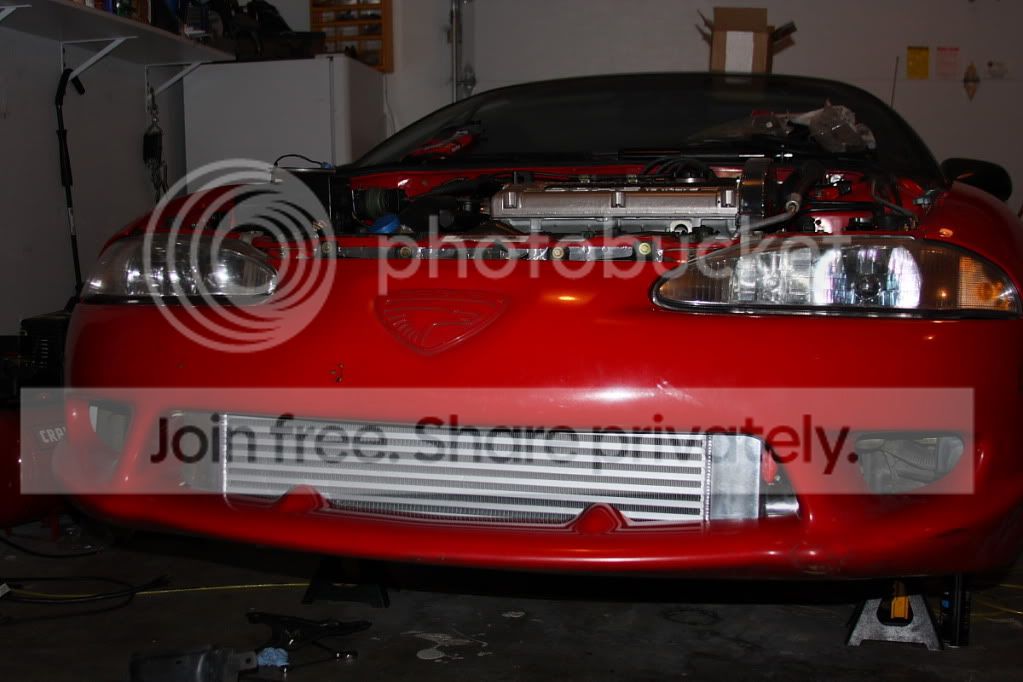
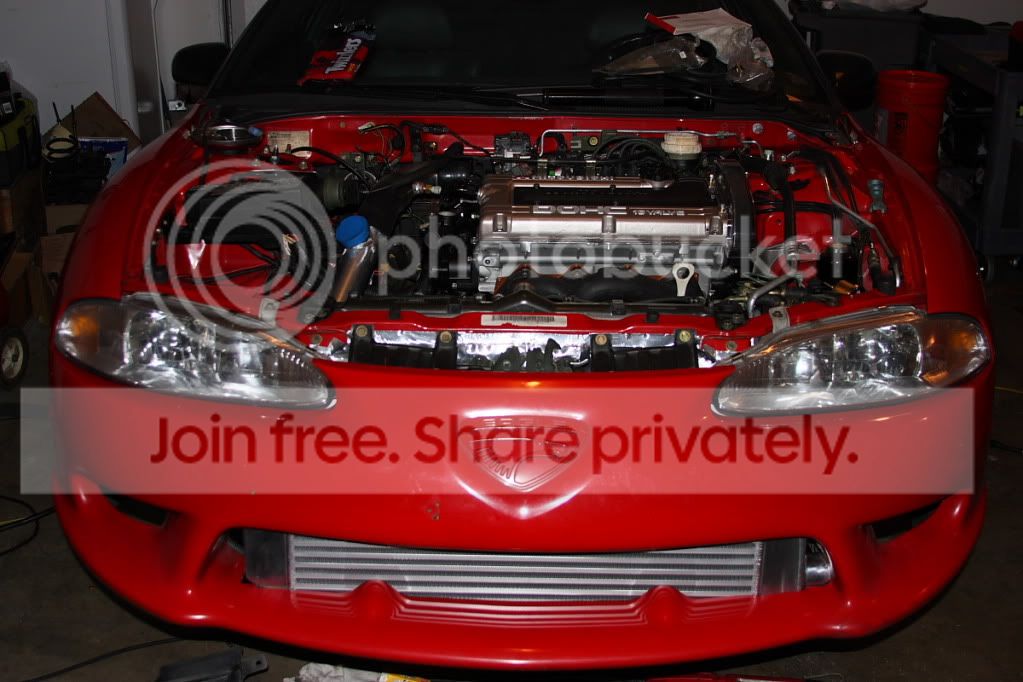
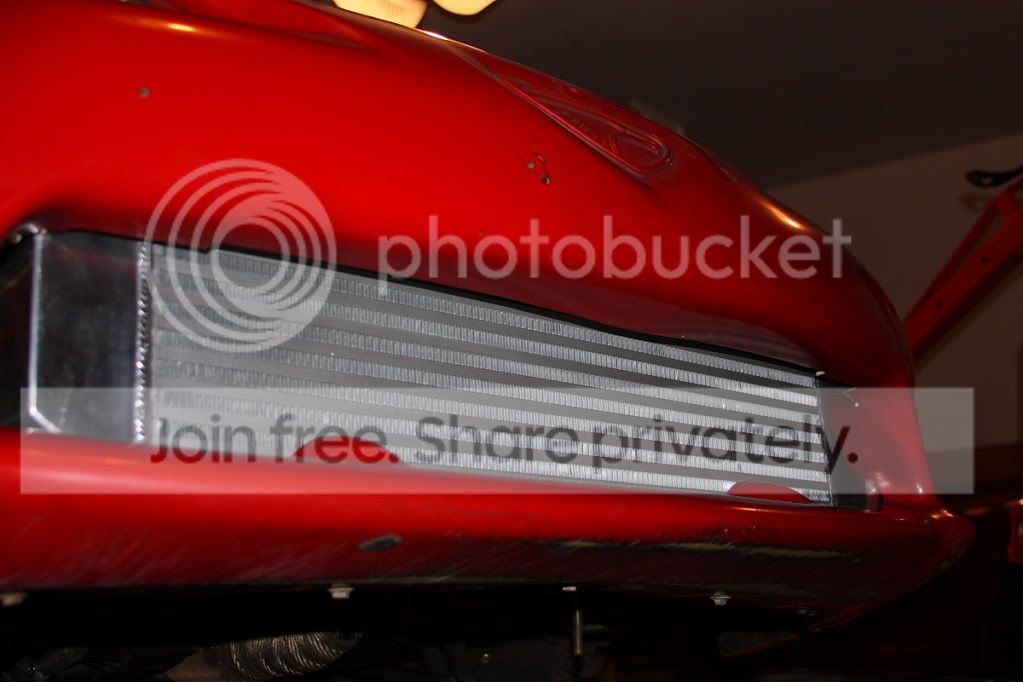
Once that was done it was time to start the laborous process of installing the bumper cover! The idea was to measure 2x and cut once, but it turned out to be measure 20x and cut 20x. I have seen a lot of crappy hack jobs on this and the goal was to get a nice even fit across the front of the FMIC with no gap. We literally spent almost an entire day on this process while taking breaks to do other little things when it got too annoying.
The crash beam was cut to fit the core of the FMIC. This is also sealed to the FMIC on the top/sides by the high-density foam:
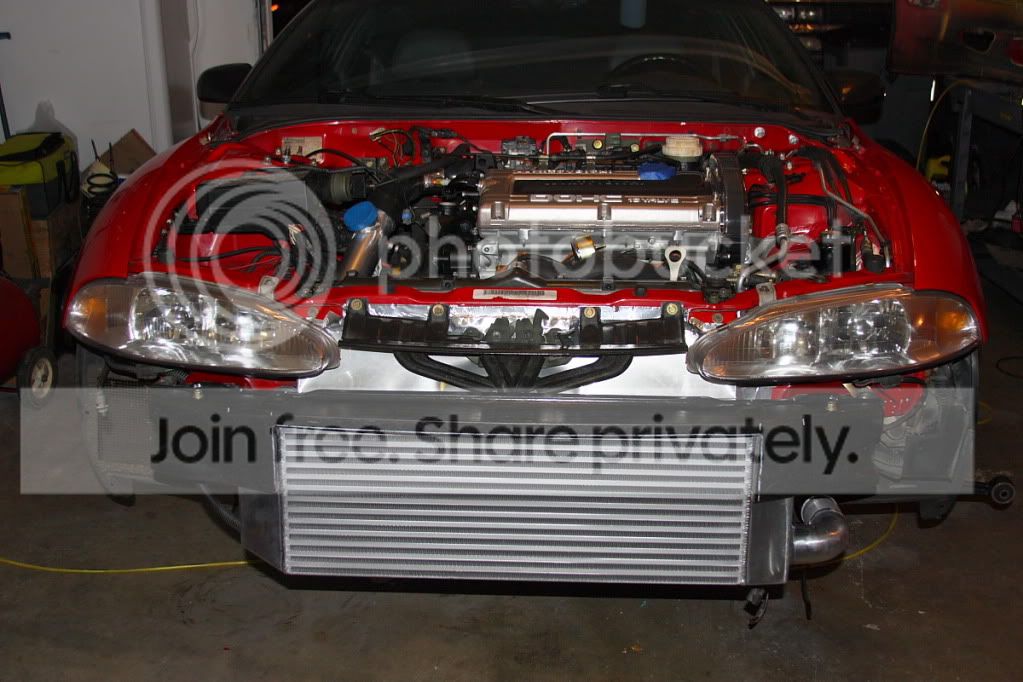
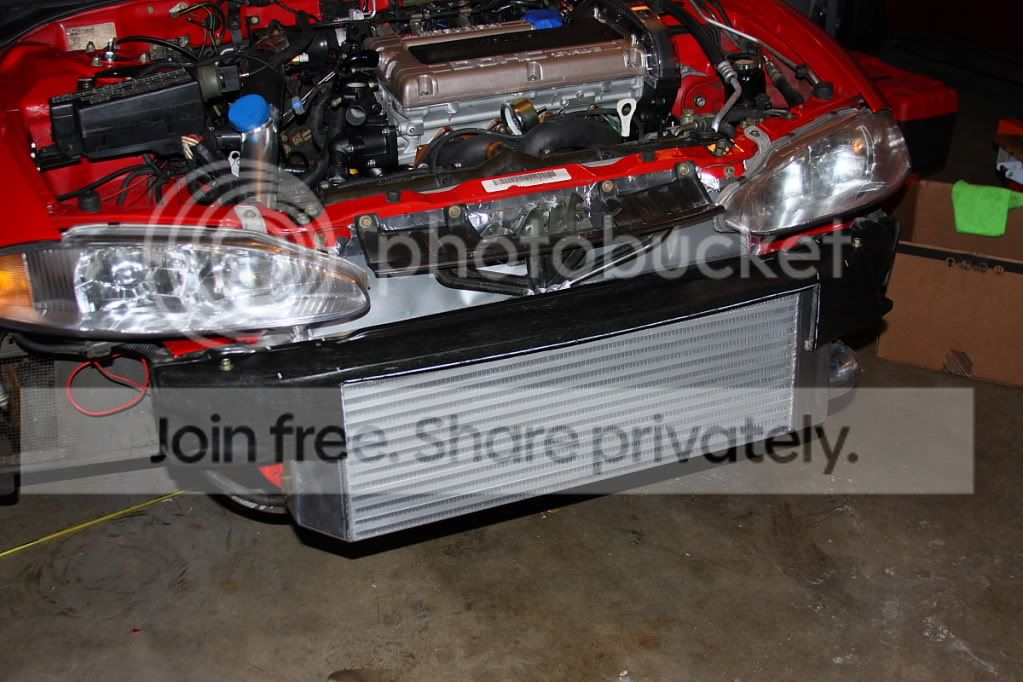
The bumper was trimmed with a metal cut-off wheel. I still need to clean off marker lines used for guides and clean it up a bit but here is the nearly-finished fitment:
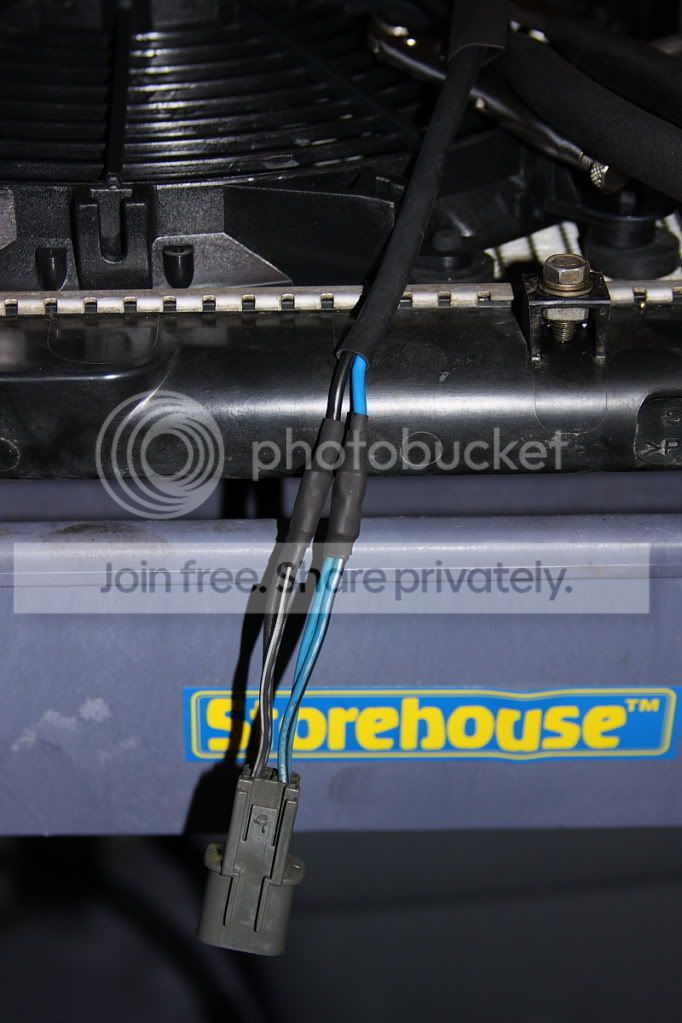
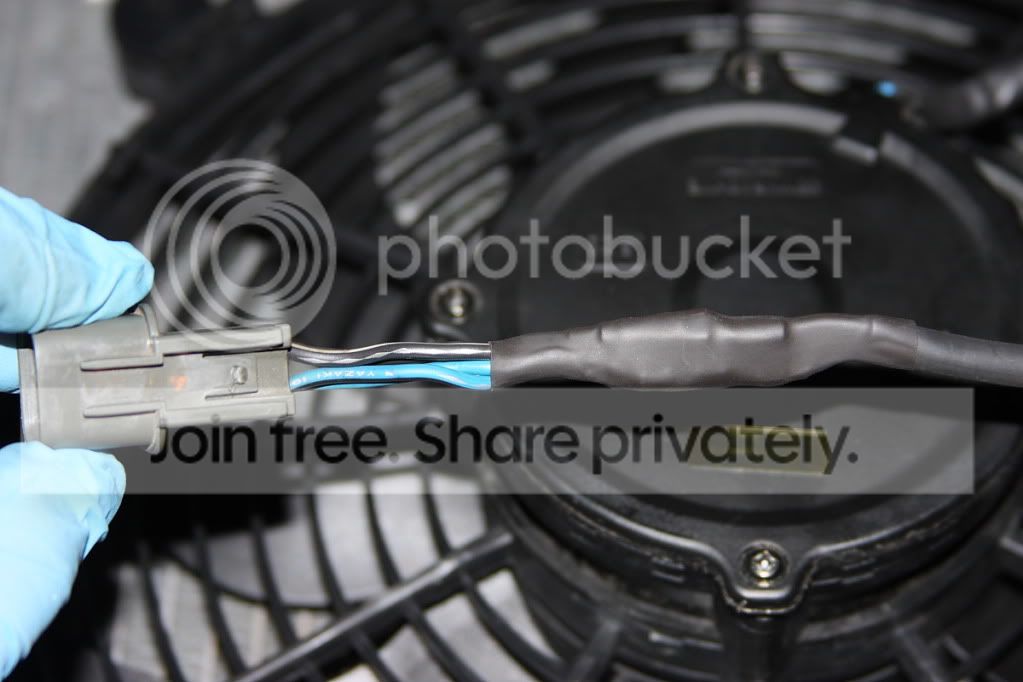
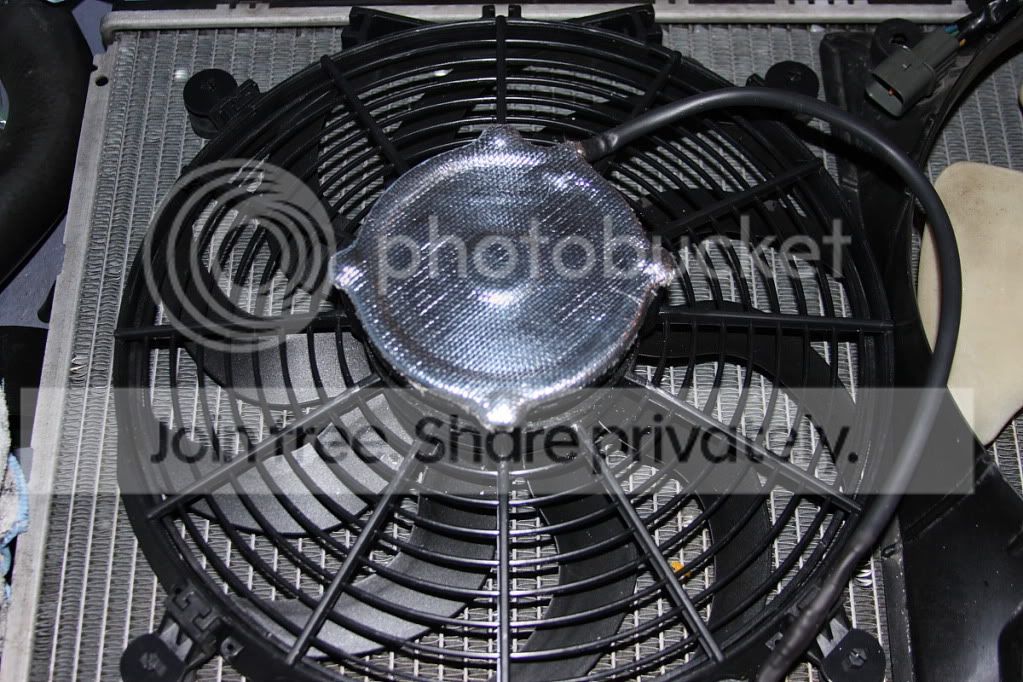
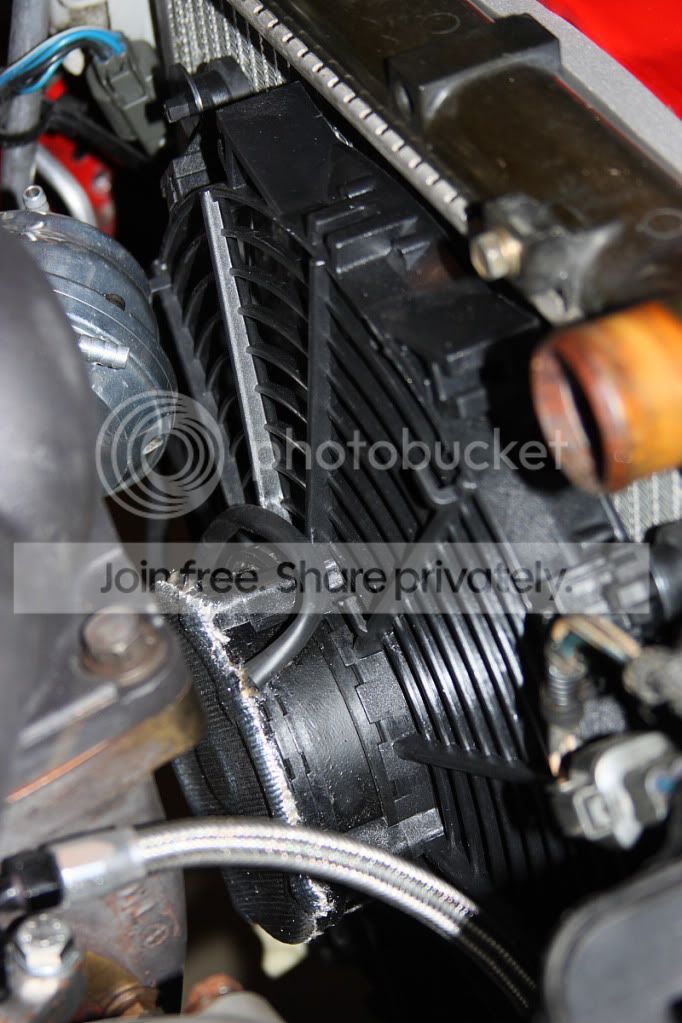
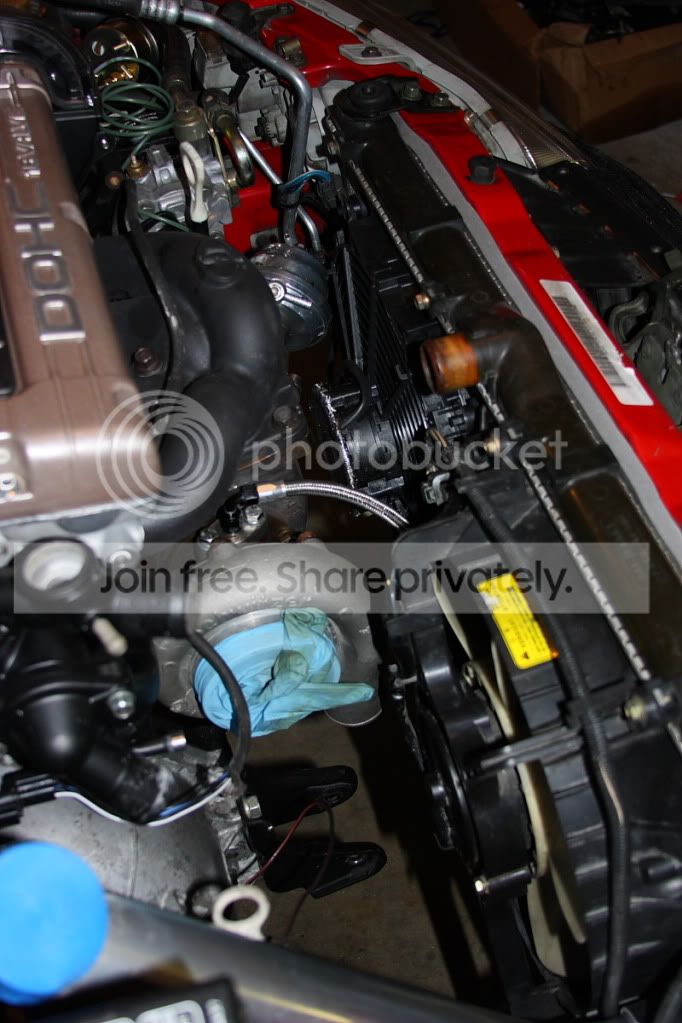
Once that was done it was time to install the radiator. There was no way the stock driver's side fan was going to fit so I had to try to source one quick. I found a Maradyne 12" slim fan that fit perfectly and flows quite well: 1560cfm. This was wired into the stock harness and fastened to the radiator using some pull through ties. I never like to use these but I didn't have the material or time to fabricate some mounting tabs. This also allowed me to get the fan closer to the core. I used all 8 rubber pads on the fan side and big thick rubber pads on the other side so it should be fine. All electrical connections are always soldered and shrink-wrapped. I also installed some DEI reflective heat material on the fan motor as it sits right in front of the turbine housing. It will still be hot but this should help quite a bit. We'll see how long it lasts.
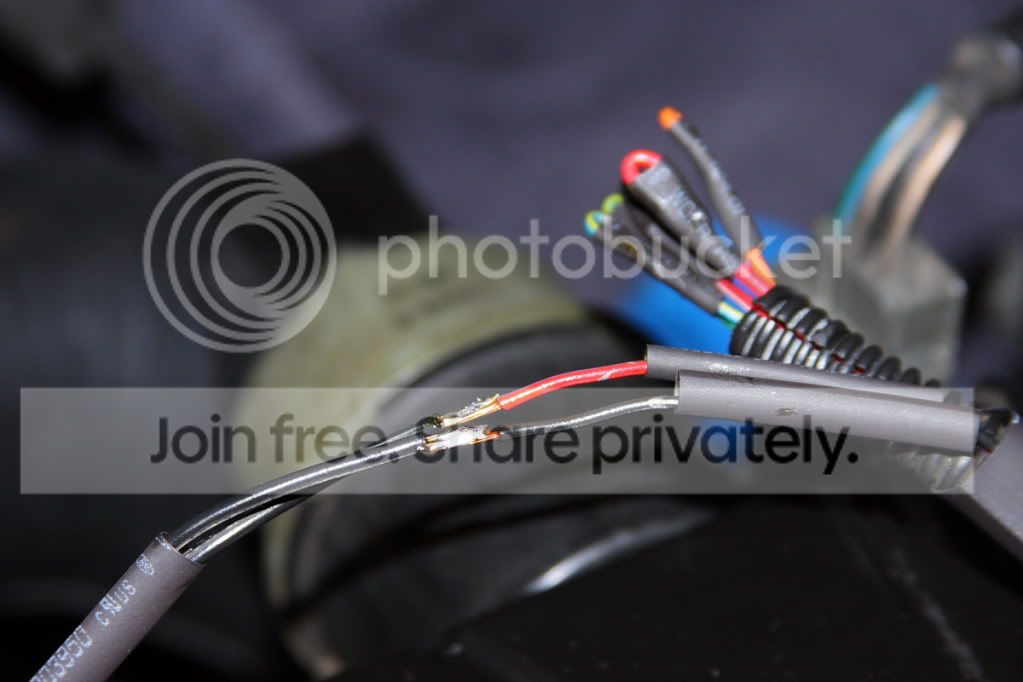
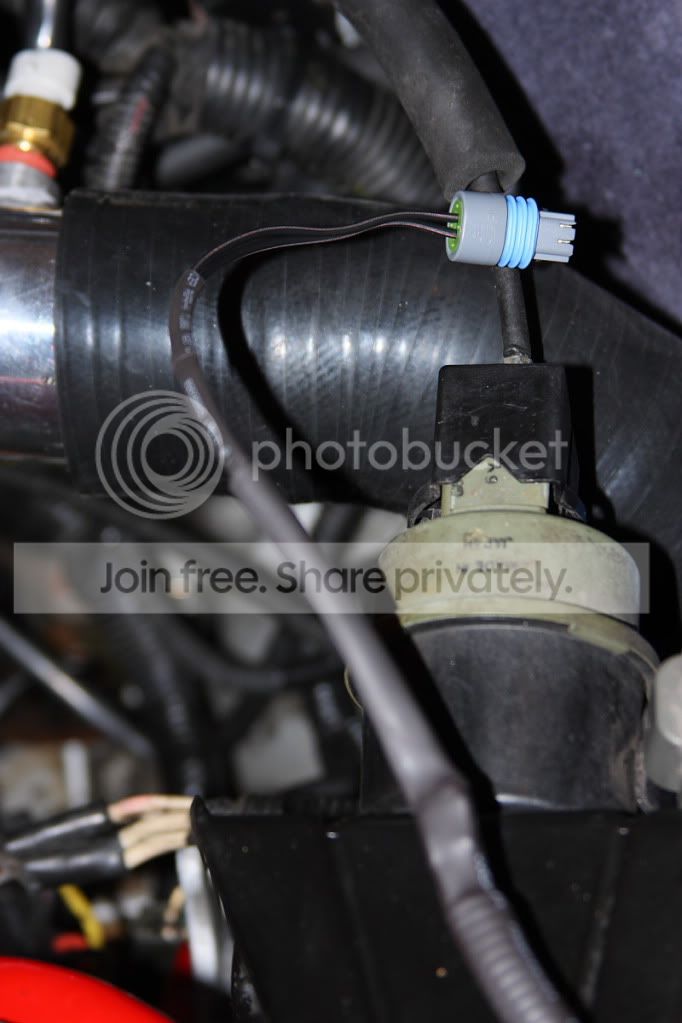
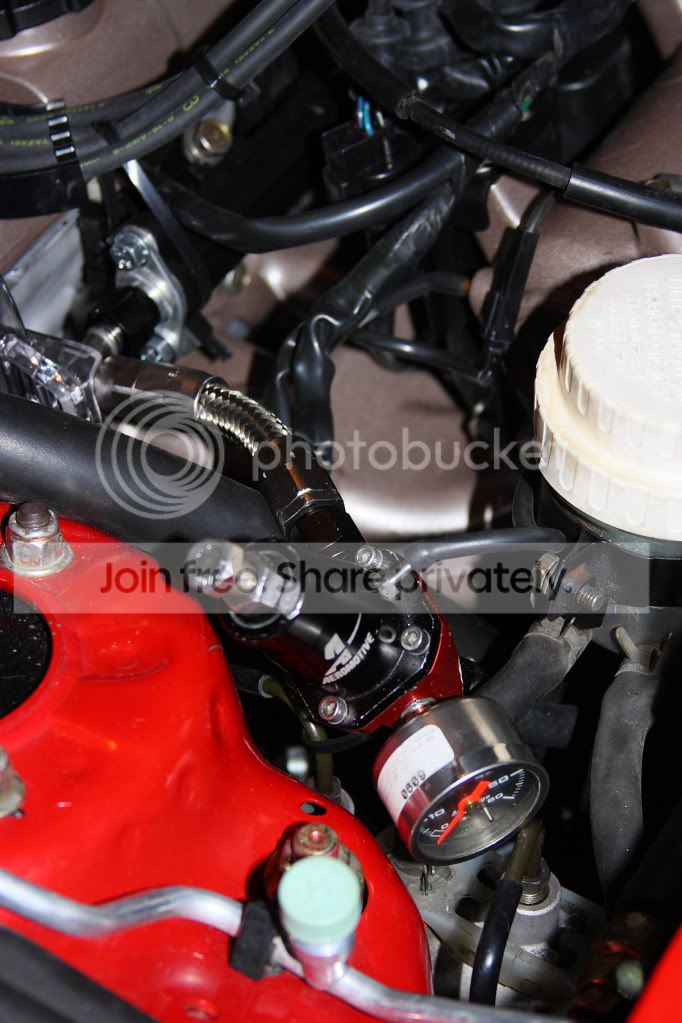
Here are some pics of my AIT sensor install and AFPR install.
Other than that there is a million little things that kept us busy that I will follow up on in a later post. Right now I am trying to find a coolant overflow tank and a place to put the JMF oil catch can. I am picking up a mini battery tonight and will make a mount to move it down. That should give me space for the catch can at least.
Thanks for looking, start-up should be...tonight!
I am approaching each issue and trying to do it "right" so while I am in a bit of a hurry I still want to take the time to make it good.
First off I will continue the shroud/FMIC install from my last update. We ended up re-doing the upper part of the shroud as it didn't clear the headlights and looked like crap when "clearanced". All the shrouding was built with aluminum flashing and sealed with aluminum tape. This is normally used on HVAC ducting and is pretty durable. I think it will work pretty good and doesn't look completely terrible. I would love to have access to the proper tools, like a bending brake, shear, etc. But for the tool-limited DIY-er this works quite well. You can get a roll of the flashing from Home Depot for about $10 and the tape is about $5.
First we built inserts that sealed the sides of FMIC to the A/C condensor core. This piece wraps around the condensor core on the passenger side and is clearanced for the A/C lines on the drivers side. Then we built the top cowl that attaches to the FMIC and sits behind the latch and upper bumper support. We notched the lower bolt hole on the upper bumper support to make installation easier.
We then sealed the condensor core to the radiator using high-density self-sticking foam. The bottom of the FMIC was sealed to the lower core support using the aluminum tape. I thought about building an air damn from heavier gauge aluminum but decided against it.
Pics:
Once that was done it was time to start the laborous process of installing the bumper cover! The idea was to measure 2x and cut once, but it turned out to be measure 20x and cut 20x. I have seen a lot of crappy hack jobs on this and the goal was to get a nice even fit across the front of the FMIC with no gap. We literally spent almost an entire day on this process while taking breaks to do other little things when it got too annoying.
The crash beam was cut to fit the core of the FMIC. This is also sealed to the FMIC on the top/sides by the high-density foam:
The bumper was trimmed with a metal cut-off wheel. I still need to clean off marker lines used for guides and clean it up a bit but here is the nearly-finished fitment:
Once that was done it was time to install the radiator. There was no way the stock driver's side fan was going to fit so I had to try to source one quick. I found a Maradyne 12" slim fan that fit perfectly and flows quite well: 1560cfm. This was wired into the stock harness and fastened to the radiator using some pull through ties. I never like to use these but I didn't have the material or time to fabricate some mounting tabs. This also allowed me to get the fan closer to the core. I used all 8 rubber pads on the fan side and big thick rubber pads on the other side so it should be fine. All electrical connections are always soldered and shrink-wrapped. I also installed some DEI reflective heat material on the fan motor as it sits right in front of the turbine housing. It will still be hot but this should help quite a bit. We'll see how long it lasts.
Here are some pics of my AIT sensor install and AFPR install.
Other than that there is a million little things that kept us busy that I will follow up on in a later post. Right now I am trying to find a coolant overflow tank and a place to put the JMF oil catch can. I am picking up a mini battery tonight and will make a mount to move it down. That should give me space for the catch can at least.
Thanks for looking, start-up should be...tonight!
















