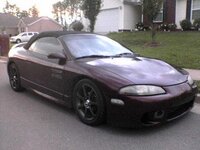
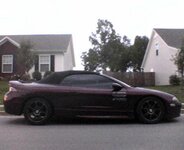
99 Eclipse Spyder Convertible Top Install
I used WRET's install guide as a basis for removing my old top. In finishing, I took pics and wrote the following to help others out:
You must be logged in to view this image or video.
1. We started at the front, with the top slightly cocked up, taking the 11 screws out that held the metal brace, and removed the 2 screws that held the headliner onto the front.
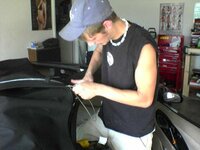
2. Next, we removed the weatherstrips from above the little side windows which were held by 4 plastic rivets on each side and removed any excess carpet tape. Then removed the screws holding the black straps from the top to the frame, and continued removing the rest of the headliner by prying the plastic strips which hold it on with a flathead.
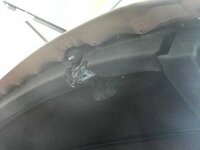
3. Then we removed the tension cables by drilling out the rivets which held them to the top of the top, pulled them out of the top, and bent the ends to take them off completely. (we took them out bc I received new ones with my top to replace them)
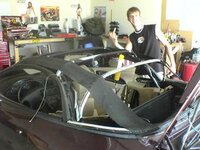
4. Once the headliner was out of the way, we peeled the top back and removed any excess carpet tape that was left.
5. The side flaps were connected with 2 plastic rivets. We had to drop the top back so there was enough room to reach down into the sides and remove them.
6. Afterwards, we popped the trunk and removed the metal strip which attaches to the trunk on the outside. We feel this helped a little and gave us some more room to work with.
7. Then, we pulled the last bow pad to the outside by removing 2 bolts on each side which held the bow to a metal brace. After the last bow was outside, we removed the 2 screws onthe ends of the bow and pulled the staples out which held the top to the back bow.
8. The headliner was removed by unsnapping the 4 snaps which held it to the well liner.
You must be logged in to view this image or video.
9. We left the factory bow pads bc they still looked good and we didnt feel it would be necessary to put on the new pads I had recieved with the top.
You must be logged in to view this image or video.
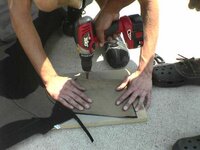
10. Next, we pulled the side flaps from the old top and placed them on the new top to drill new holes. This is what saved alot of time.
You must be logged in to view this image or video.
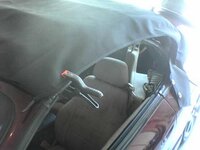
11. We then placed the new blacktop onto the car, making sure everything lined up correctly in the back, and placed quick clamps onto the top front to hold it in place.
12. After everything was straight, we attached the 2 screws on the outside that hold the top to the last bow. Then we stapled the top to the bow in the back with 7/32 heavy duty staples every inch and a half.. EZ-ON Tops made it way too easy by having a chalk line on the rear to line it up with the top of the bow.
13. Following, we put the last bow back into the well are, bolted the bow back to the metal braces with the 4 bolts, and attached the rear metal strip.
14. The next step was putting the headliner back in. We attached the headliner snaps to the well liner snaps and carefully placed the plastic strips back on, making surethe top was tight.
You must be logged in to view this image or video.
15. We attached the end of the tension cables and bent the ends of the springs to hold them in place, then pulled the cables through by using a metal coat hanger. We raised the top back far enough to give us some slack to srcew the front of the cables in with self-tapping screws. Also, re-attached the black straps from the top to the frame with a screw on each side.
16. Then, we closed the top to where there was only a foot and a half opening, pulled the top tight while placing the metal strip back onto the front, and put the 11 screws back in.
You must be logged in to view this image or video.
17. The last step we did, was replacing the carpet tape on the inside where the weatherstripping went for the little side windows. Then pulling the sides of the top tight, sticking the flaps to the tape, and re-attaching the weatherstrips with the 4 plastic rivets on each side.
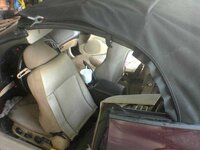
18. We raised it and dropped it a few times making sure everything was snug and working correctly.
Total Time working was about 4 1/2 hours. Although we started around 12:30pm and finished about 6pm, we took breaks to eat pizza and run to the store for beer and cigs. We even drove to a couple places looking for tan fabric for the next rear-seat project.
You must be logged in to view this image or video.
You must be logged in to view this image or video.
Kudos to Cody, Larry, Carmine, and I for completing our first Convertible Top Install.


