blcknspo0ln
DSM Wiseman
- 7,772
- 101
- Jul 31, 2003
-
Central,
New Jersey
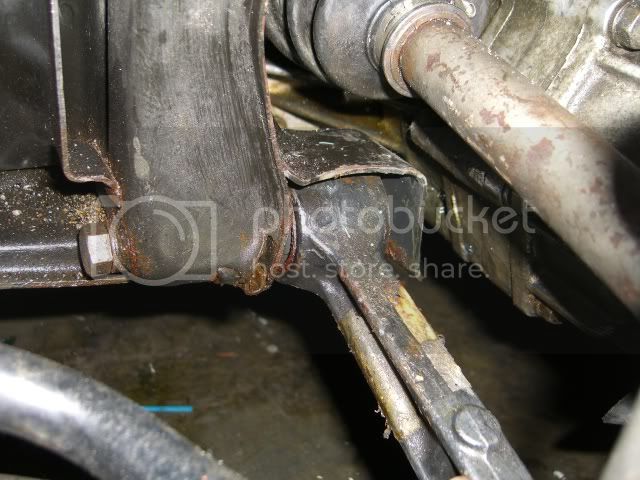
Rebolted the suspension. Both the control arm (curved one) and lateral arm (straight) need to come out so that it is very easy to swing the suspension assembly out to remove the axle.
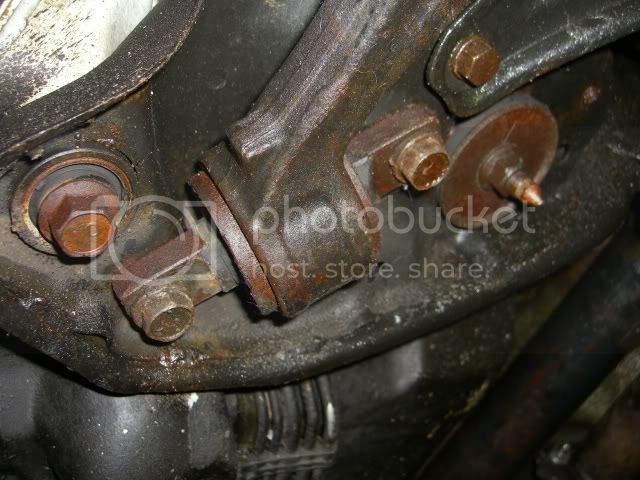
tilt your head to the left
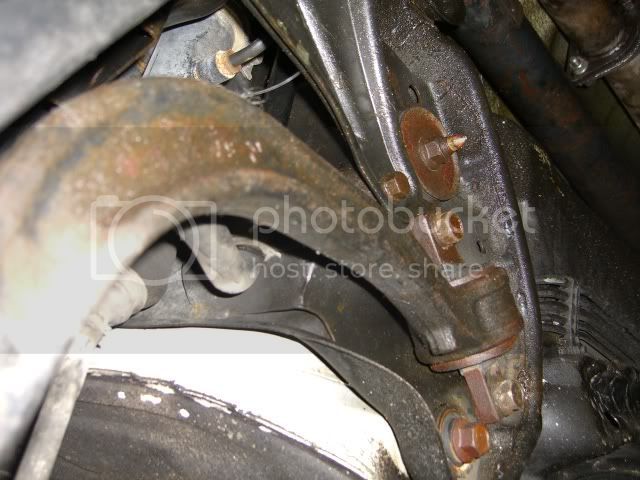
You can make out both arms here:
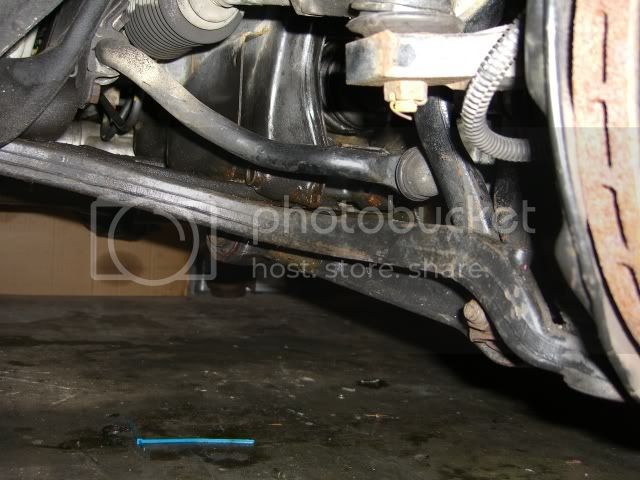
lateral arm (it's a long bolt and nut)
TB rebuild! I'm still waiting on new shaft seals from JNZ, but it's the same concept for putting it back together.
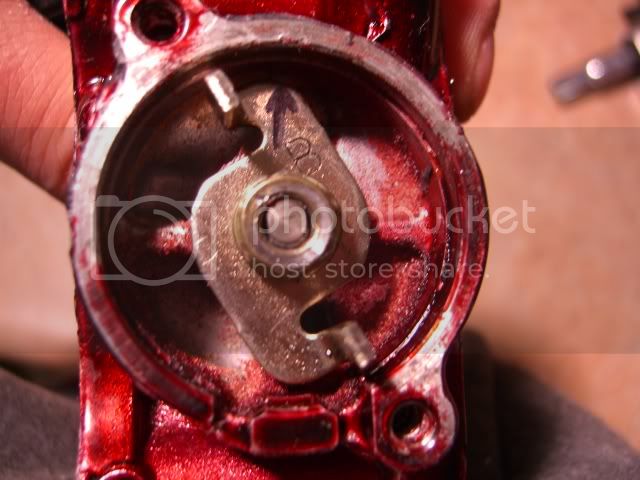
Remove the TPS and you get this, take the 10mm bolt out and don't lose the lock washer!
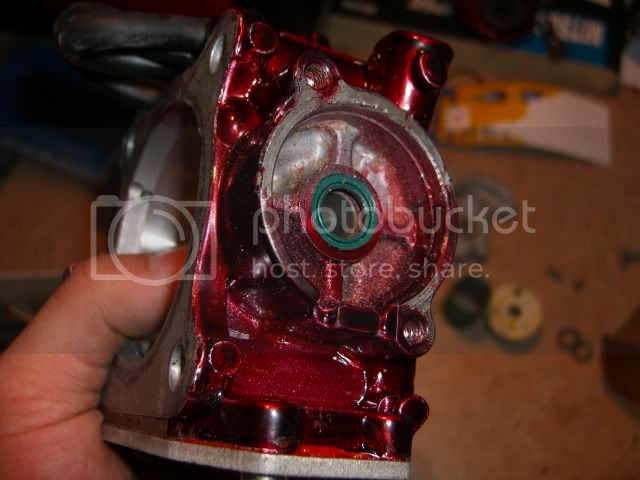
Here's a machv shaft seal
Switch to the other side of the TB where the cable ear is. Take a sharpy and make 2 lines on both sides of the springs, this way you know how many revolutions you need to go back to correct tension. Remove the 12mm bolt.
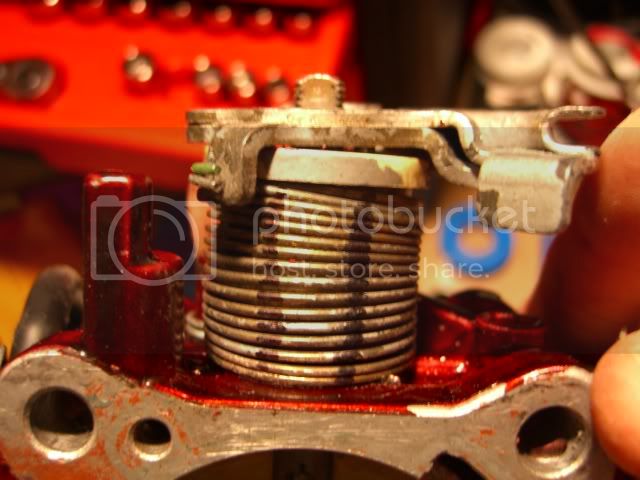
Just wiggle the ear off and the plastic under it:
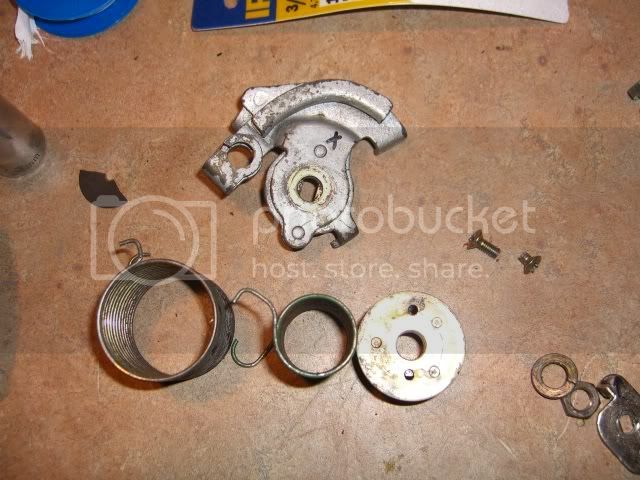
Other side of the TB:
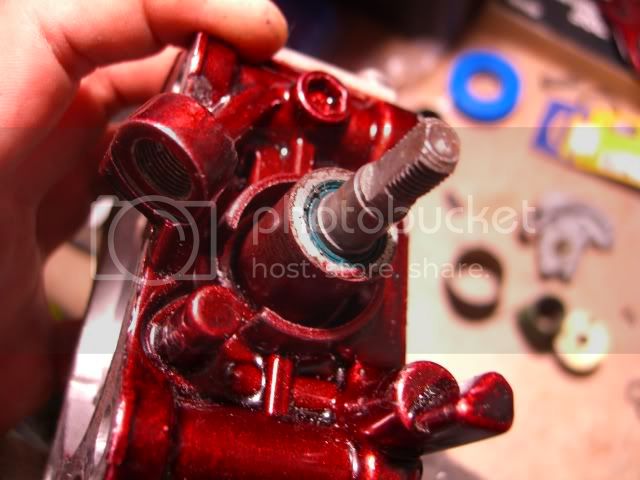
Now, find a phillips head bit that is the correct size for the bolts. These are a major PITA because they strip all of the time. The easiest way I've found to do this is with an electric drill. Use the drill and put all of your wait on the bolt before you start loosening it. This way theres little chance the bolt will strip. In my case, I put red loctite last rebuild and this is what I had to deal with :toobad:.
[ATTACH=full]655190[/ATTACH]
Sucks. I drilled 2 holes with a #19 bit, so I could later tap with a 5 x .8 bit.
[ATTACH=full]655191[/ATTACH]
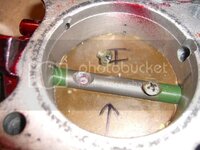
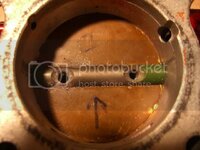
If you had good luck, the bolts came out nice and easy. Now take a sharpy and mark the intake and exhaust side of the plate. I like putting the up arrow on both sides so I know for sure the orientation of the plate once I have to reinstall.
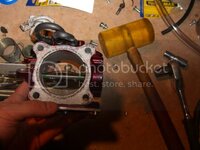
Take a rubber mallet and tap the throttle plate out.
[ATTACH=full]655192[/ATTACH]
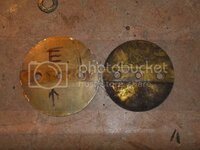
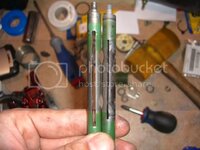
Here's a nice comparison. I had a spare 2g plate and it's much easier to visualize the plates next to each other instead of comparing whole TB's. Second pic is the two shaft differences, 1G on the left, 2g on the right.
[ATTACH=full]655193[/ATTACH]
[ATTACH=full]655194[/ATTACH]
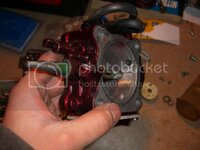
Once the plate is out, just tap the shaft out:
[ATTACH=full]655195[/ATTACH]
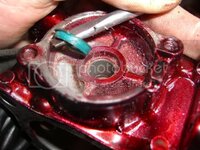
Now take a flat head and pop the shaft seals out. If I remember correctly, stock seals are metal, so it'll take a bit of playing with to get em out.
[ATTACH=full]655196[/ATTACH]
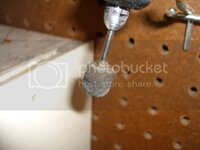
I cleaned it up a bit with a dremel and pad:
[ATTACH=full]655197[/ATTACH]
tilt your head to the left
You can make out both arms here:
lateral arm (it's a long bolt and nut)
TB rebuild! I'm still waiting on new shaft seals from JNZ, but it's the same concept for putting it back together.
Remove the TPS and you get this, take the 10mm bolt out and don't lose the lock washer!
Here's a machv shaft seal
Switch to the other side of the TB where the cable ear is. Take a sharpy and make 2 lines on both sides of the springs, this way you know how many revolutions you need to go back to correct tension. Remove the 12mm bolt.
Just wiggle the ear off and the plastic under it:
Other side of the TB:
Now, find a phillips head bit that is the correct size for the bolts. These are a major PITA because they strip all of the time. The easiest way I've found to do this is with an electric drill. Use the drill and put all of your wait on the bolt before you start loosening it. This way theres little chance the bolt will strip. In my case, I put red loctite last rebuild and this is what I had to deal with :toobad:.
[ATTACH=full]655190[/ATTACH]
Sucks. I drilled 2 holes with a #19 bit, so I could later tap with a 5 x .8 bit.
[ATTACH=full]655191[/ATTACH]
If you had good luck, the bolts came out nice and easy. Now take a sharpy and mark the intake and exhaust side of the plate. I like putting the up arrow on both sides so I know for sure the orientation of the plate once I have to reinstall.
Take a rubber mallet and tap the throttle plate out.
[ATTACH=full]655192[/ATTACH]
Here's a nice comparison. I had a spare 2g plate and it's much easier to visualize the plates next to each other instead of comparing whole TB's. Second pic is the two shaft differences, 1G on the left, 2g on the right.
[ATTACH=full]655193[/ATTACH]
[ATTACH=full]655194[/ATTACH]
Once the plate is out, just tap the shaft out:
[ATTACH=full]655195[/ATTACH]
Now take a flat head and pop the shaft seals out. If I remember correctly, stock seals are metal, so it'll take a bit of playing with to get em out.
[ATTACH=full]655196[/ATTACH]
I cleaned it up a bit with a dremel and pad:
[ATTACH=full]655197[/ATTACH]