


VETDRMS
15+ Year Contributor
- 340
- 21
- Jun 1, 2006
-
Vancouver,
Washington
I installed the oil pickup/pan yesterday morning. I picked up some 6.0mmx1.0x30mm studs and some flange nuts to install the pan with. It made it a lot easier to get it aligned without making a mess of the RTV.
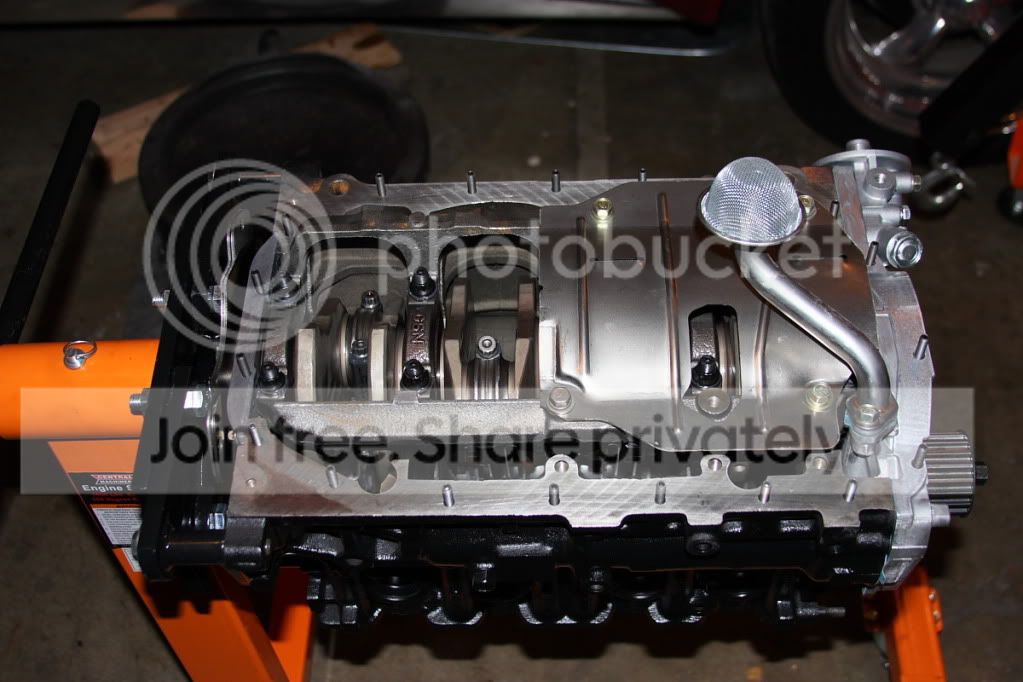
I used Right Stuff grey for the pan. The caulking gun tubes are really nice and would recommend them to anyone that uses this stuff fairly often. My attempt at an 1/8" bead turned into more of a 3/16" bead but there was only a couple spots where there was some overhang when it was bolted down.
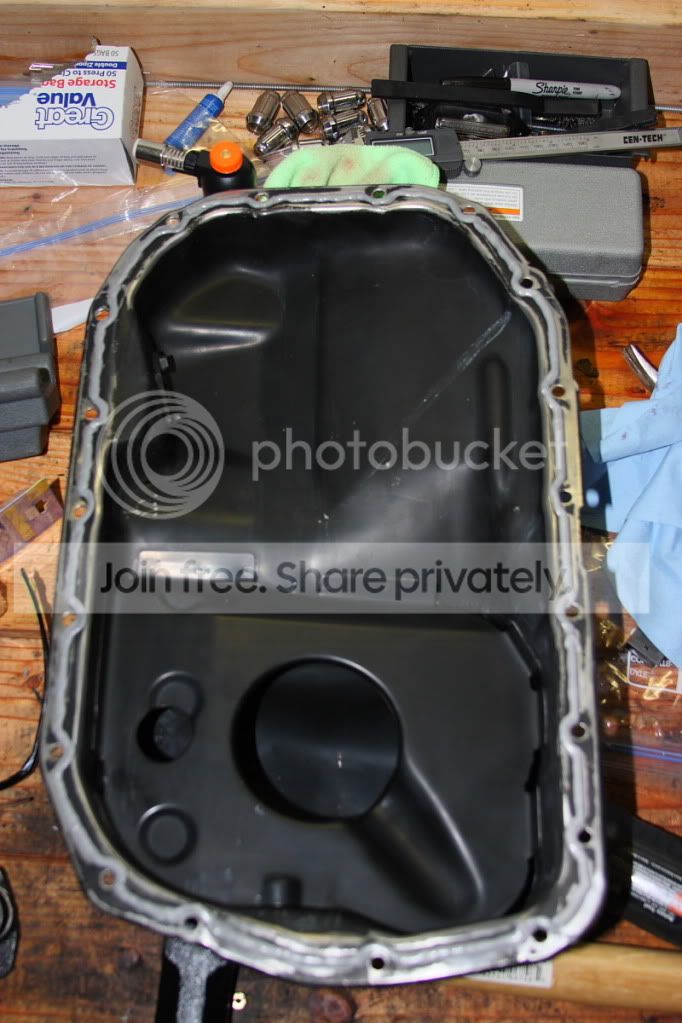
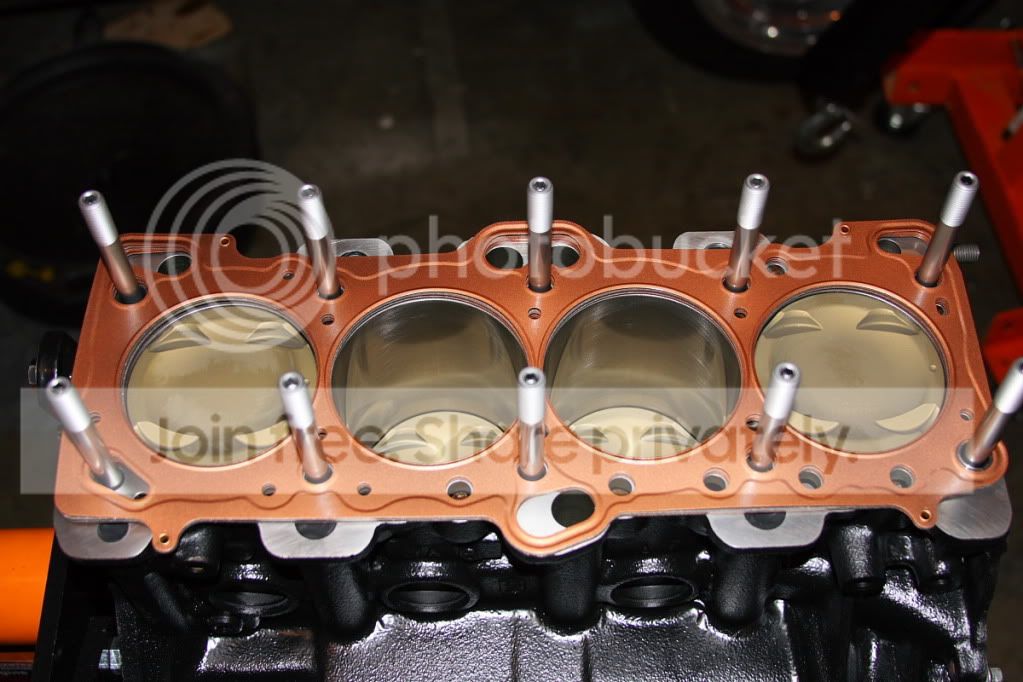
I prepped both the block and the head using some microfiber clothes and brake cleaner until there was no residue on the cloth. You can see the plugged oil return holes on the deck for the 4G63 head. They were plugged with freeze plugs and covered with Right Stuff black.
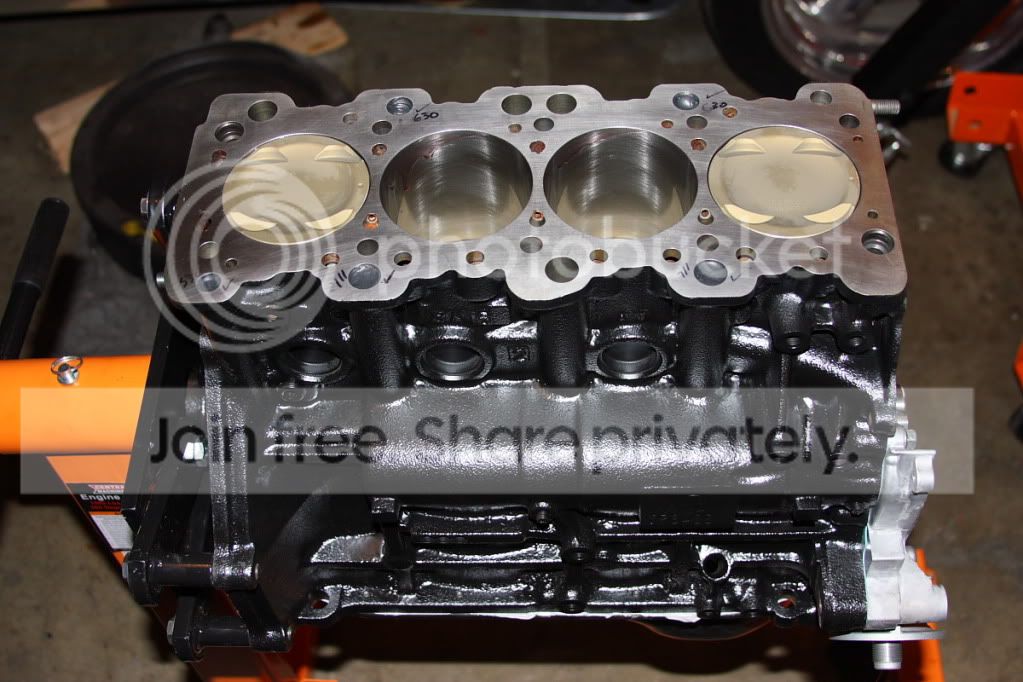
The MAP H-11 Max Duty studs were installed hand-tight. All the threads had been chased at the machine shop so everything went in smoothly. I had nitrile gloves on to not get any moisture on these as, at least according to ARP, even sweat from your hands can cause stress corrosion. I also installed new dowels in the deck.
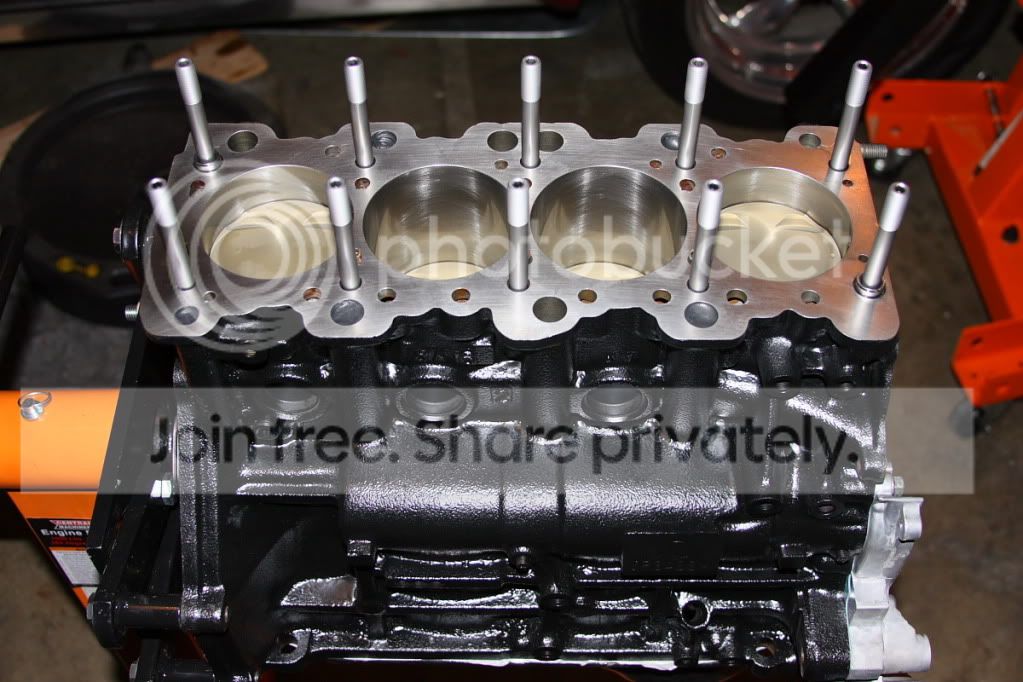
I applied three light coats of copper spray to the head gasket, waiting 30s between coats. I let it hang dry for about 20 minutes before installing it.
The head went on smoothly. A couple of the washers were difficult to get around the springs but the nuts were fine. I applied ARP ultra-torque to top/bottom of the washers and liberally on the nuts.
The torque sequence I used was 14-30-60-90 and went over them once at the final torque. I did not torque-cycle them as the ultra-torque lube is supposed to achieve the proper preload in the first cycle. It felt very consistent and smooth compared to the standard ARP moly lube I have used before, pretty cool stuff.
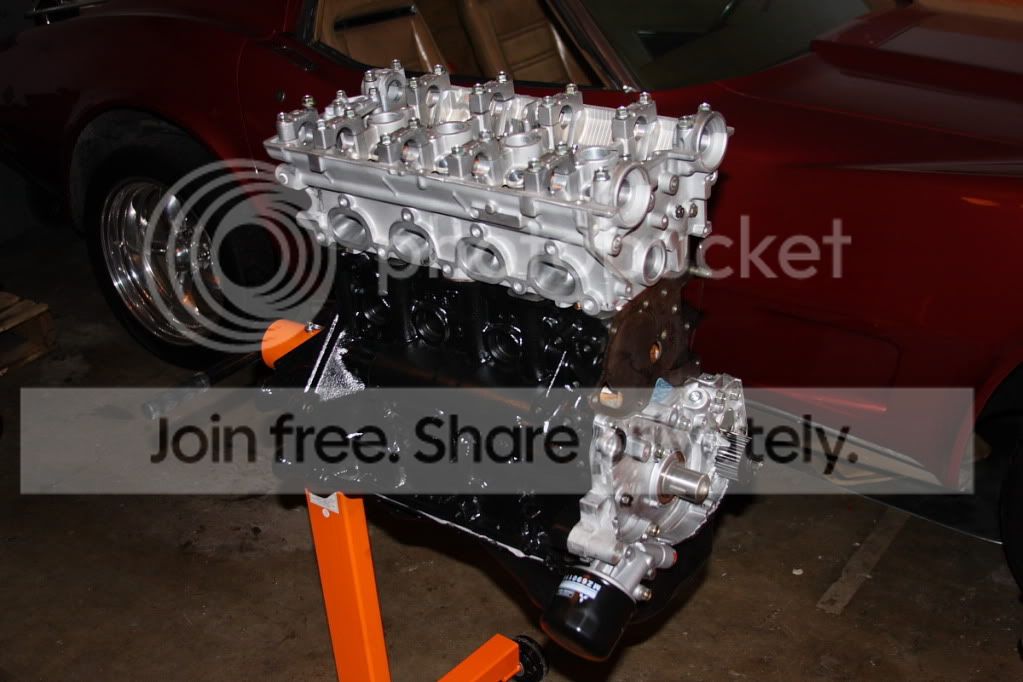
I am waiting for cams so I am going to install what I can on the front of the motor and start working on the transmission. Most of the brackets, intake, and valve cover are at the powder coater and I won't have those until next week so I am at a stopping point.
The only concern I had was the gasket blocked one coolant port beside the number 4 cylinder. You can see it above, it is the port in the upper left corner.
I used Right Stuff grey for the pan. The caulking gun tubes are really nice and would recommend them to anyone that uses this stuff fairly often. My attempt at an 1/8" bead turned into more of a 3/16" bead but there was only a couple spots where there was some overhang when it was bolted down.
I prepped both the block and the head using some microfiber clothes and brake cleaner until there was no residue on the cloth. You can see the plugged oil return holes on the deck for the 4G63 head. They were plugged with freeze plugs and covered with Right Stuff black.
The MAP H-11 Max Duty studs were installed hand-tight. All the threads had been chased at the machine shop so everything went in smoothly. I had nitrile gloves on to not get any moisture on these as, at least according to ARP, even sweat from your hands can cause stress corrosion. I also installed new dowels in the deck.
I applied three light coats of copper spray to the head gasket, waiting 30s between coats. I let it hang dry for about 20 minutes before installing it.
The head went on smoothly. A couple of the washers were difficult to get around the springs but the nuts were fine. I applied ARP ultra-torque to top/bottom of the washers and liberally on the nuts.
The torque sequence I used was 14-30-60-90 and went over them once at the final torque. I did not torque-cycle them as the ultra-torque lube is supposed to achieve the proper preload in the first cycle. It felt very consistent and smooth compared to the standard ARP moly lube I have used before, pretty cool stuff.
I am waiting for cams so I am going to install what I can on the front of the motor and start working on the transmission. Most of the brackets, intake, and valve cover are at the powder coater and I won't have those until next week so I am at a stopping point.
The only concern I had was the gasket blocked one coolant port beside the number 4 cylinder. You can see it above, it is the port in the upper left corner.
















