
aspekt9
15+ Year Contributor
- 344
- 4
- Dec 25, 2005
-
Boston,
Massachusetts
So my NT -> Turbo setup finally gaveway after 25,000 miles @ 13psi. Which I knew was going to happen. I now have an excuse to upgrade and shoot for more power and more reliability. The goal of this build as of right now is ~350 - 400 HP. I've yet to decide on a turbo, advice is welcome. This build will be for a daily driver and weekend road warrior. Here's the outline of my build:
HEAD
---------------
BC Springs & TI Retainers
EPN I/E Valves
Ferrea Valve Seals
Stock Guides
3g Lifters
Kelford 272's
BLOCK
---------------
2g pistons
1g big rods
ACL Race bearings
ARP Headstuds, Rod bolts
MLS Headgasket
BSEK
TURBO / INTAKE
--------------------------
EVO III 16g
PR FMIC
NT TB
3" MAF
DRIVETRAIN / SUSPENSION
------------------------------------
ACT 2600 PP w/ Street disk
XACT Streetlite Flywheel
Prothane Mounts all around
FUEL
---------------
Walbro 255
Fuelab FPR
-6AN SS lines trunk to rear
FIC 650cc injectors
DISASSEMBLY
So let's begin, shall we? I'm hoping to update this regularly, I'm trying to space it out a bit as far as time goes, so major updates might only appear on weekends. So here's the head as it sits:

Remove the cam caps, cams, and put each rocker arm into its own bag so you can keep everything organized, I label my bags [I #1 - #8] and [E #1 - #8]. I for intake, E for exhaust obviously.
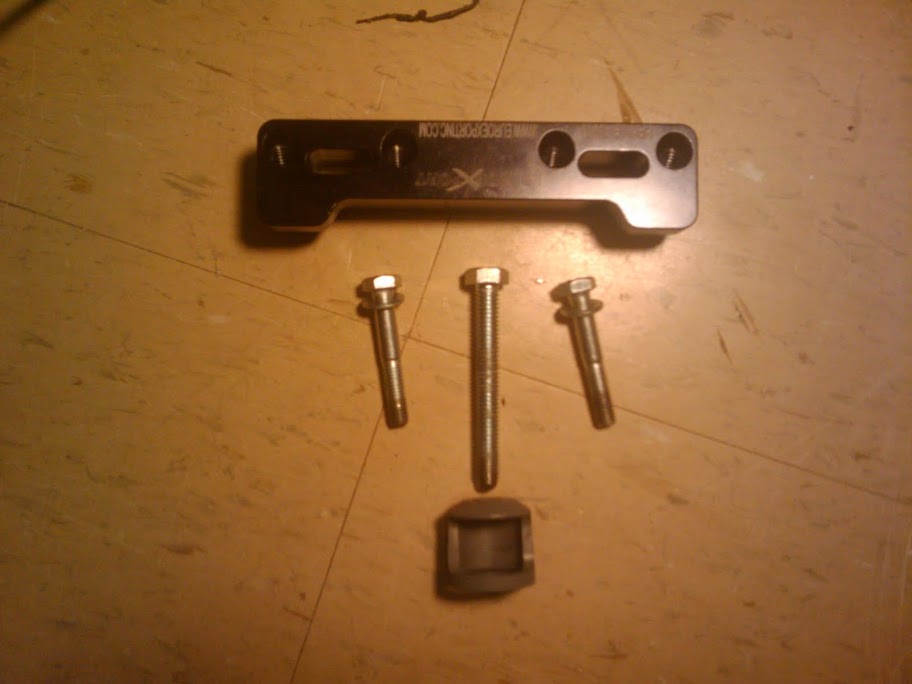
Let's begin by removing the valve locks, the tool I use to compress the springs is by Euro Export and it works really well, it allows you to do 8 springs only having to reposition the tool twice. Here's a picture of it:
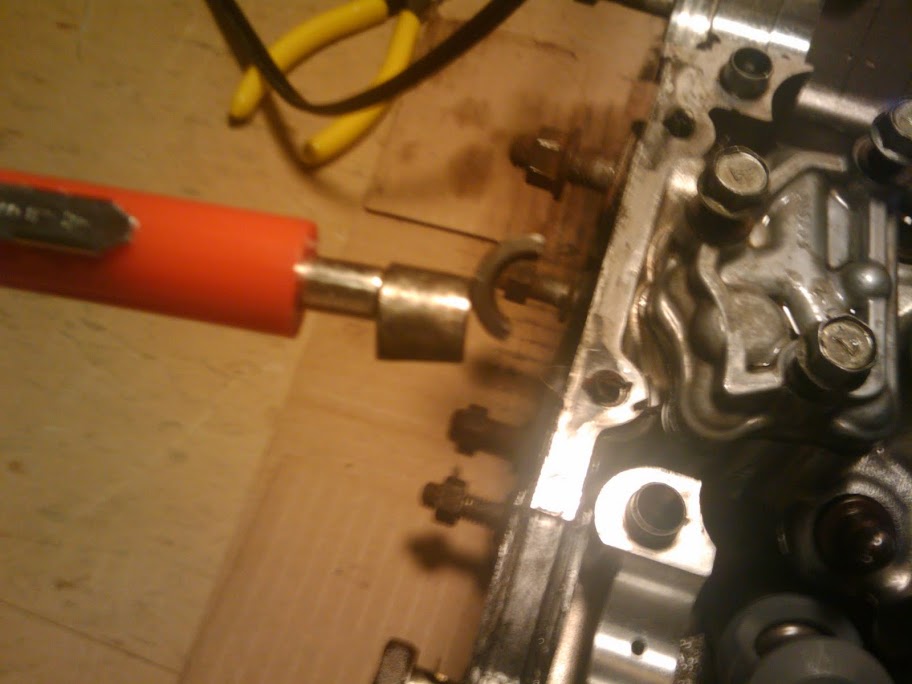
So now in order to remove the valve locks, we have to compress the spring, so I bolted the tool on to the side of the head I decided to start on and started turning the bolt with a wrench to compress the spring:

Once the spring was compressed far enough to release the locks, I used the magnet that came with the kit to grab the valve locks and pull them out:

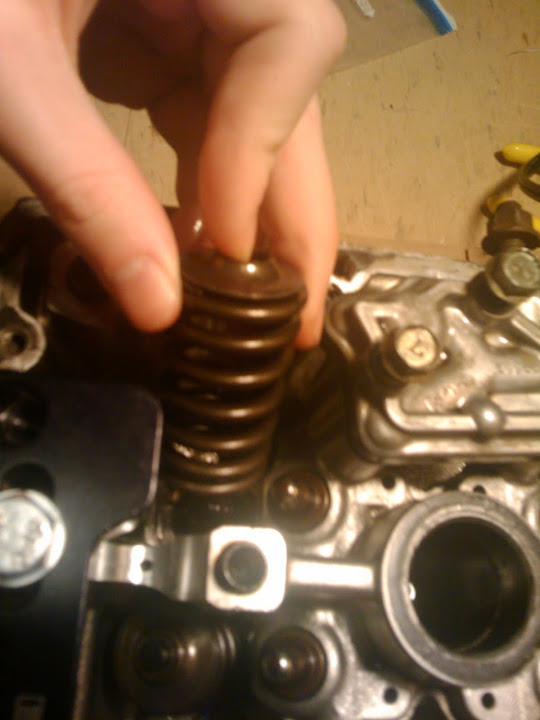
Once the locks are removed you can remove the spring and retainer:

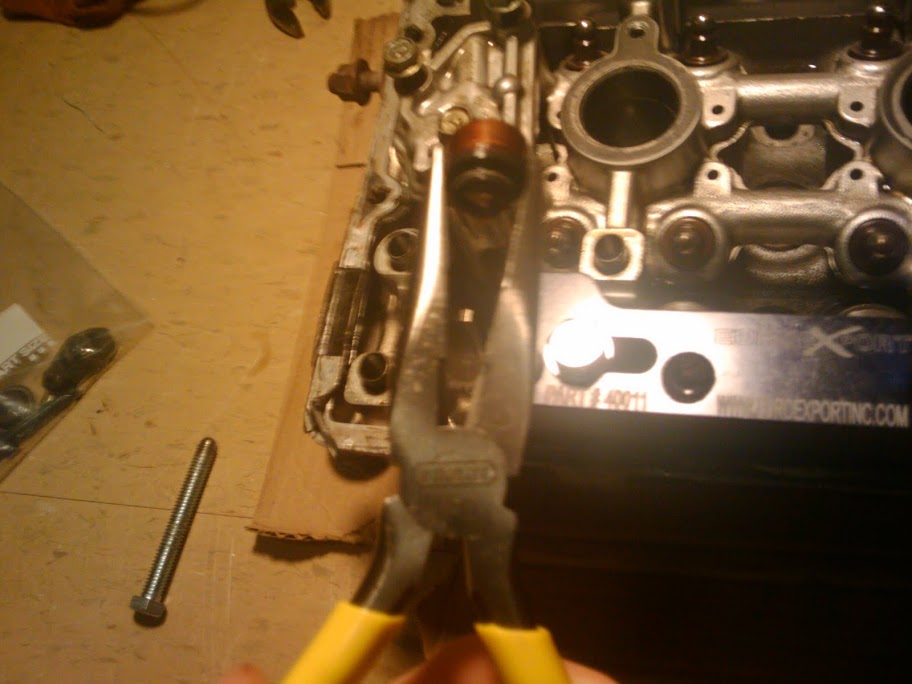
Then you can slide the valve out of the guide. I then removed the valve seal with long nosed pliers:
I highly recommend storing each valve, spring & retainer, locks, rocker arms, and lifters in their own designated baggie:

Here's a picture of the head with just the guide and the valve seal:
Now for the good stuff, here's the new parts going in:
Head is off to the machine shop this weekend, will update when it returns")
PS: Here's a video of the removal, so you can see the steps in action:
http://www.youtube.com/watch?v=JTIPEUfWJd0
HEAD
---------------
BC Springs & TI Retainers
EPN I/E Valves
Ferrea Valve Seals
Stock Guides
3g Lifters
Kelford 272's
BLOCK
---------------
2g pistons
1g big rods
ACL Race bearings
ARP Headstuds, Rod bolts
MLS Headgasket
BSEK
TURBO / INTAKE
--------------------------
EVO III 16g
PR FMIC
NT TB
3" MAF
DRIVETRAIN / SUSPENSION
------------------------------------
ACT 2600 PP w/ Street disk
XACT Streetlite Flywheel
Prothane Mounts all around
FUEL
---------------
Walbro 255
Fuelab FPR
-6AN SS lines trunk to rear
FIC 650cc injectors
DISASSEMBLY
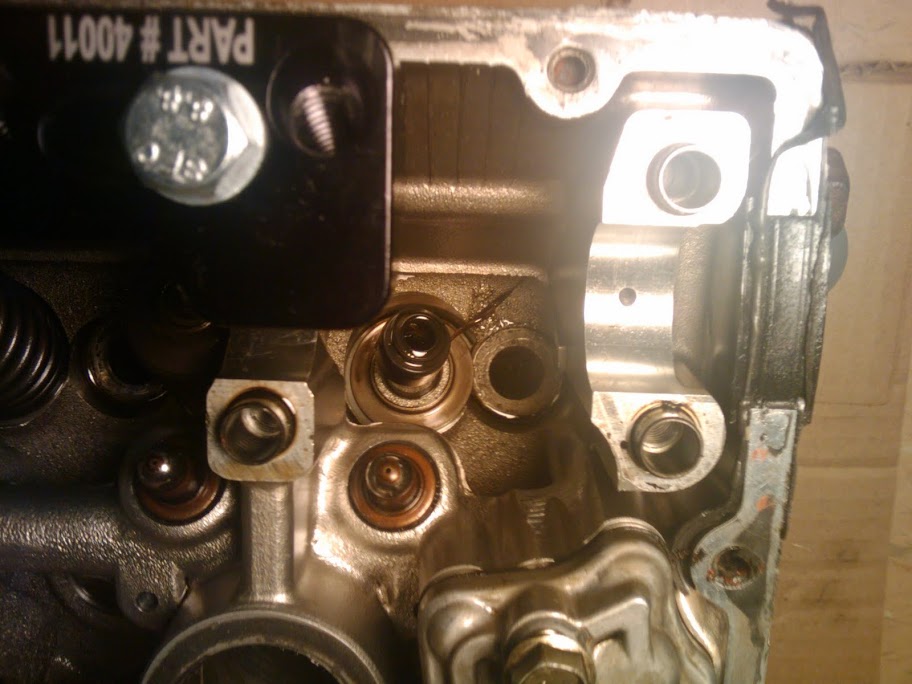
So let's begin, shall we? I'm hoping to update this regularly, I'm trying to space it out a bit as far as time goes, so major updates might only appear on weekends. So here's the head as it sits:
Remove the cam caps, cams, and put each rocker arm into its own bag so you can keep everything organized, I label my bags [I #1 - #8] and [E #1 - #8]. I for intake, E for exhaust obviously.
Let's begin by removing the valve locks, the tool I use to compress the springs is by Euro Export and it works really well, it allows you to do 8 springs only having to reposition the tool twice. Here's a picture of it:
So now in order to remove the valve locks, we have to compress the spring, so I bolted the tool on to the side of the head I decided to start on and started turning the bolt with a wrench to compress the spring:
Once the spring was compressed far enough to release the locks, I used the magnet that came with the kit to grab the valve locks and pull them out:
Once the locks are removed you can remove the spring and retainer:
Then you can slide the valve out of the guide. I then removed the valve seal with long nosed pliers:
I highly recommend storing each valve, spring & retainer, locks, rocker arms, and lifters in their own designated baggie:
Here's a picture of the head with just the guide and the valve seal:
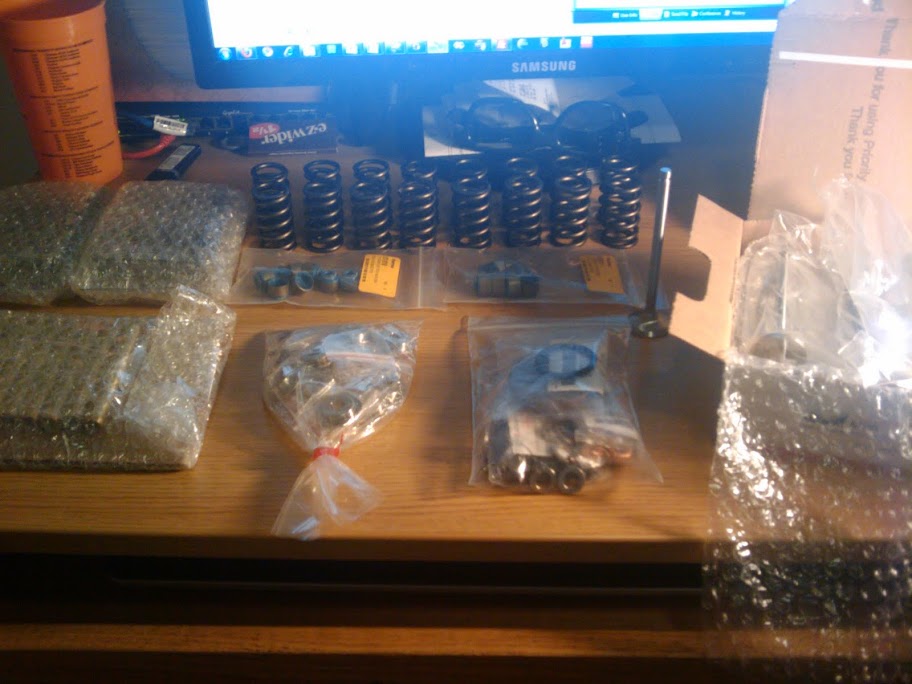
Now for the good stuff, here's the new parts going in:
Head is off to the machine shop this weekend, will update when it returns
PS: Here's a video of the removal, so you can see the steps in action:
http://www.youtube.com/watch?v=JTIPEUfWJd0

