

The Central Hub for DSM Community and Information

For 1990-1999 Mitsubishi Eclipse, Eagle Talon, Plymouth Laser, and Galant VR-4 Owners. This is where the DSM platform history is documented and archived. Log in to help us in our mission, and to remove most ads from the browsing experience.

IMG_2357.jpeg

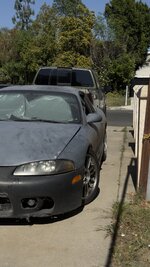
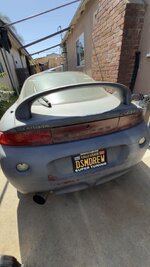
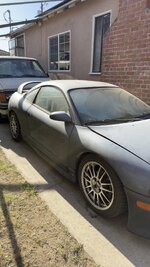
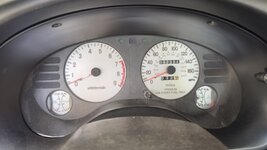
Street Build GST.DREW

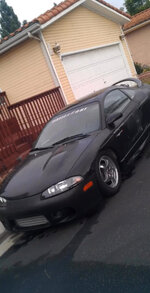
Family owned GS-T… finally passed down on to me. Originally bought from my grandpa from dealership then passed down to my mom (she used to race this thing back in the day LOL ) the my uncle (her brother) took over, Finally it’s been passed down to me.

This site may earn a commission from merchant affiliate links, including eBay, Amazon, and others.

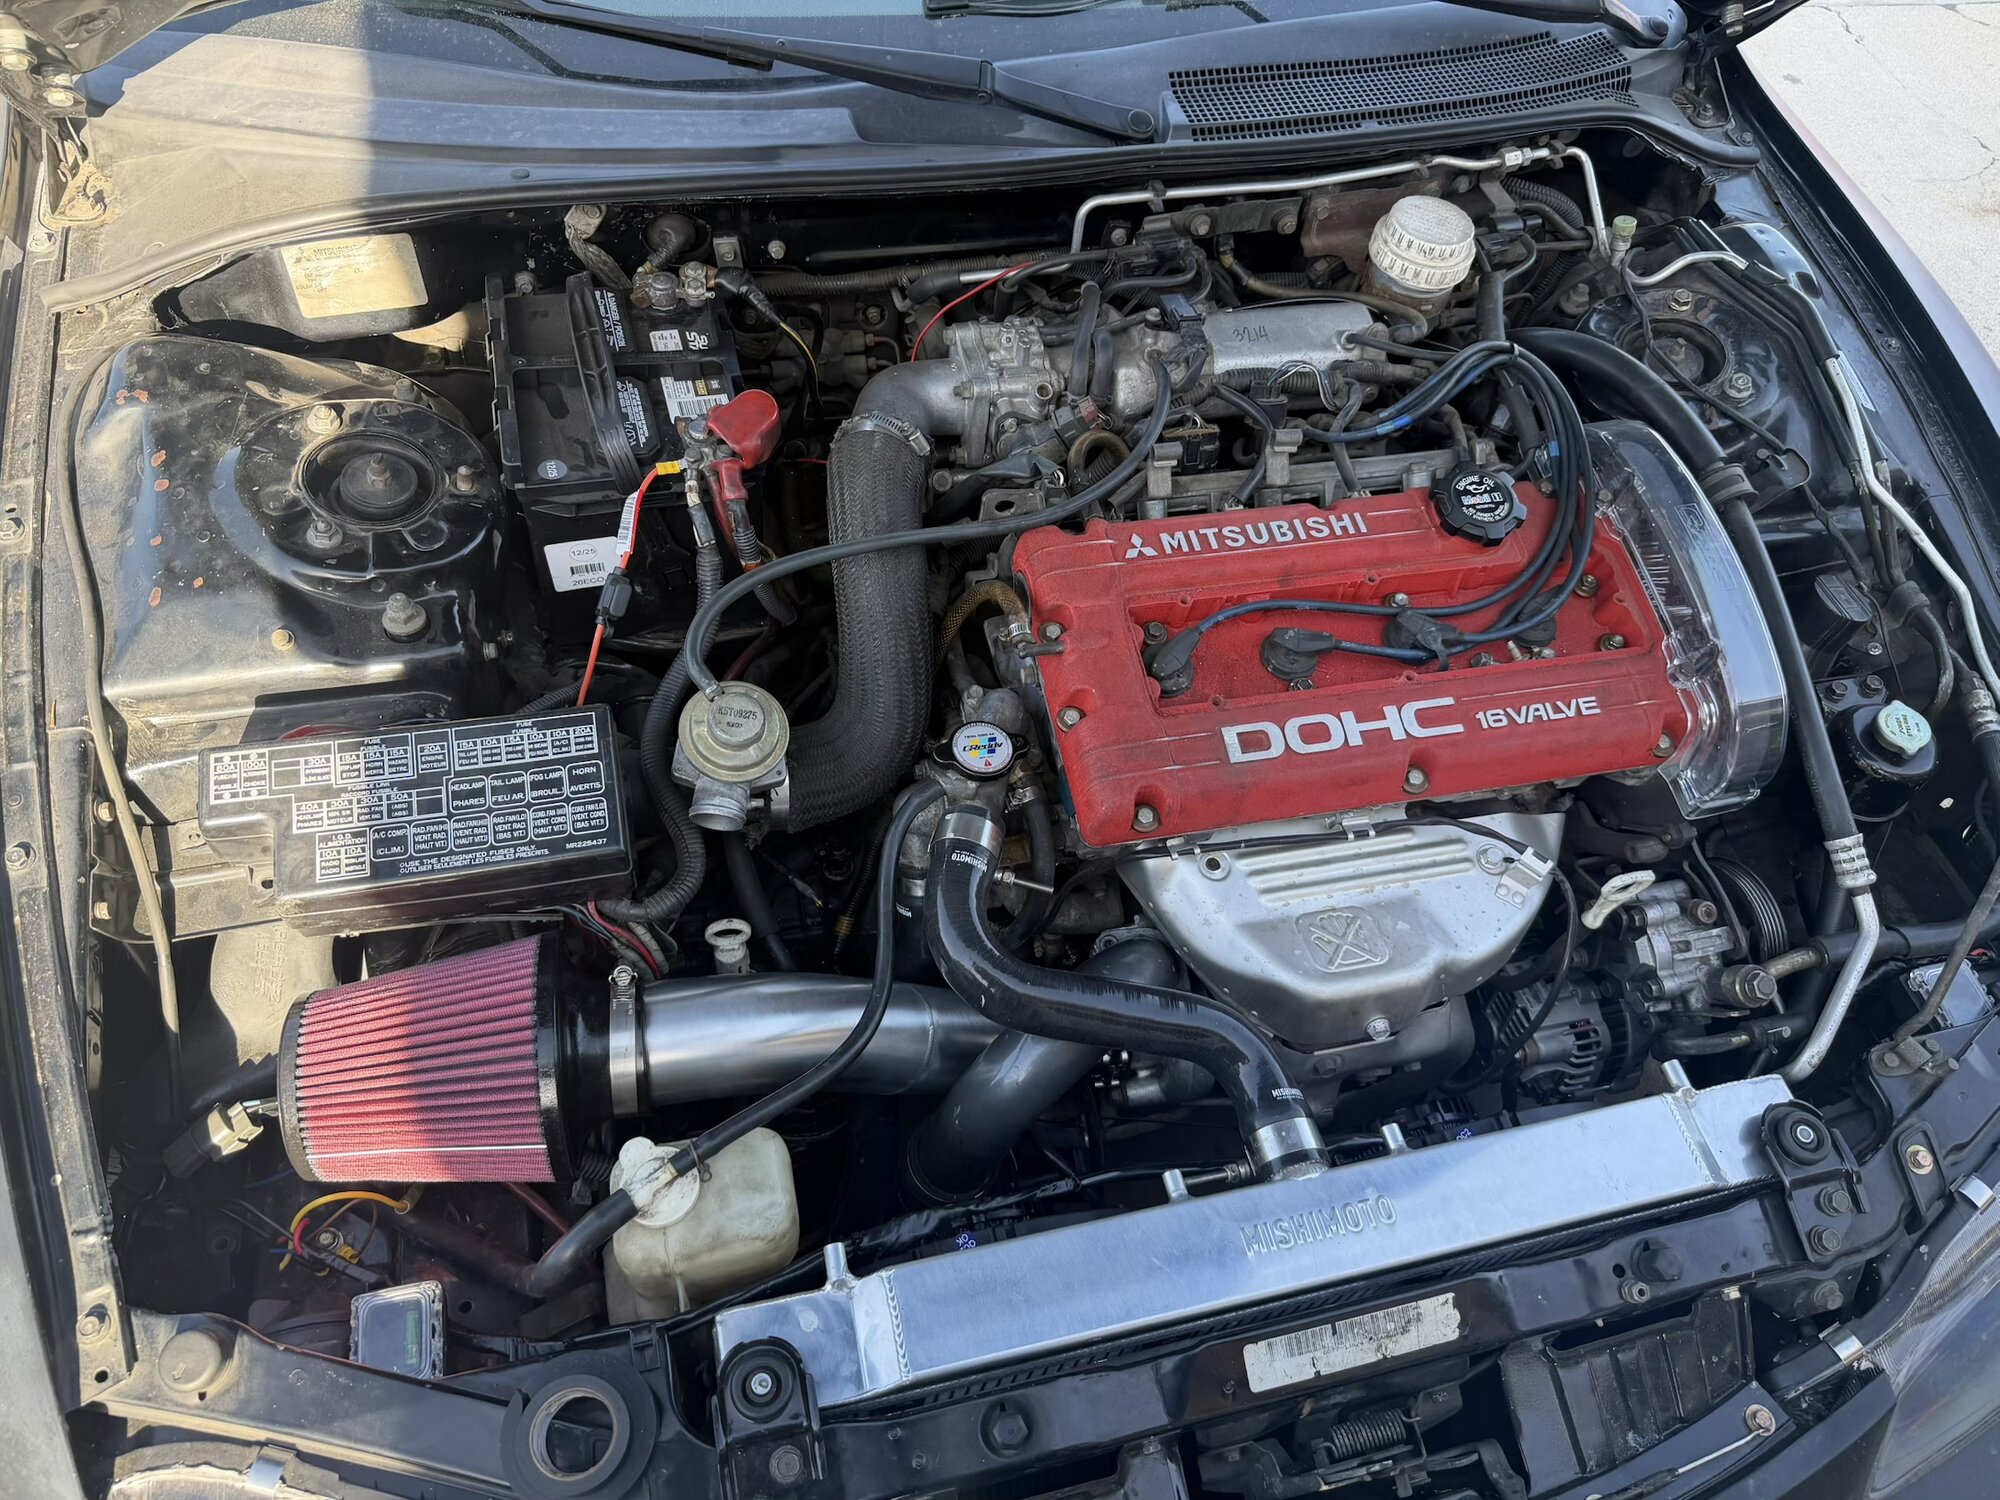
Well well well, we finally are speed density! Car is underway E85 tune. Draining 91 octane so we can put E85 and start tuning.
IMG_2759.jpeg


We also picked up an authentic Greddy type S BOV currently waiting on along with some aluminum intercooler piping, should breath a tad bit better compared to that restrictive plastic piping. Also ordered some new spark plugs for the E85. I would say most of the important maintenance has been done already so once this tune is green light and running right, I’ll then be focusing on wrapping or painting the car. I think it’s time to get the car looking good.

Ps. the original fast and furious movie is coming out to theaters again in August, I’m so excited to be able to experience taking the DSM to go watch the movie on the big screen. Hope I can live those stories the older folks told me about when it first came out in the 2000’s how everyone after the movie was revving, doing burn outs and racing literally as soon as they got into their cars 😂
 
Well today we are working on something I actually thought was pretty cool… DRL’s on the dsm!

I had always wanted to since 2023 but never got around to doing it because I always assumed it was crazy hard to do, not worth it, to much wiring ect… turns out it’s pretty simple? I actually only seen 1 dsm with them done which kinda motivated me more to do and research on how to. Turns out all you have to do is open up the lends to install the DRL strip and then close it back up. There’s a bit more to it like glueing the strip, fitting it how you like ect.

I’ve always loved how the MK5 Supra had DRL’s so that is my inspiration on how I’m going to do it.
IMG_8585.jpeg


Now this is more of a prototype/project V1 because I made some mistakes but learned along the way so next time I decide to do another set I know what to do way better and to be more careful.

I think I will be making another set with a more premium DRL’s because the ones I got was from Amazon for about $25. These are the ones I got incase you’re wondering
IMG_8584.jpeg


So for starters, all I did was use a heat gun to heat up the glue on the headlight lens going at an even pace around the headlights.
IMG_8586.jpeg


After that I opened up and separate the lens’s from the plastic housing. You can use a flat head screwdriver 🪛 or a prying separation tool ( what I should have done) . I used a screwdriver.

IMG_8552.jpeg

After taking off this black plastic piece inside that’s held on by 2 tiny screws, after cleaning it with rubbing alcohol and wiping it clean, I then applied the LED strip. Now here in the red on the right side had to drill out a little cut out to slip the led strip in through so it sits nice, and in the other red on the left I circled I had to drill 2 smaller holes to fit zip ties to keep the strip from ever moving. You as well might have to use your own 3M tape as I did because the tape that originally came was not strong at all. I used 3M double sided tape. You can route the wiring as you’d like, what I did was I just routed it going under the screws and mounting points in the black plastic piece so the wiring doesn’t end up moving and showing up in the chrome housing.

Now you can close everything back up, and once the lens are closed and back in place I then used rubber clamps 🗜️ to hold the lens together with the housing tight as possible, along with the heat gun to make the glue sticky again (not to tight do not crack the housing and lens)


Then you can sand and coat the lens if needed, mine definitely needed a sand and recoat or clear. This is how they sit now after sanding and a recoat of clear. It came out a bit with orange peel so I let them cure for 2 full days and then I wet sanded 2k grit up to 3k grit.
IMG_8560.jpeg


After that, this is how they sit now. I’m loving how they look with the strip so far. I just hope everything works out well.
IMG_8582.jpeg


This is the ceramic clear coat I’ll be applying.
image.jpg

Update coming soon after I set up wiring situation since the DSM never came with DRL’s so I’ll have to do some research where I can wiring them up.
 
IMG_8598.jpeg
Got to fully finishing the left side. Going to let it fully cure over the next 24-48 hours.

IMG_8600.jpeg

The right side is almost done now. I spayed it with clear coat and now I gotta let it cure for about 48 hours before wet sanding with 2k grip working up to 3k grit. After the wet sanding I will clean it with rubbing alcohol before a nice polish. (Meguiars ultimate compound)Once polished I’ll once again clean it with rubbing alcohol before applying the ceramic clear coat wipes.
image.jpg


Incase you were wondering what clear coat I went with, this is the one I used.
image.jpg
 
Add Value - Be Respectful - No Trolling - No Misinformation - Participate Often!
Support Vendors who Support the DSM Community

Build Thread Updates

Latest Classifieds

Back
Top









