Atuca
Supporting Member
- 1,140
- 292
- Jan 6, 2007
-
Central Valley,
California


Overview
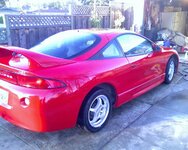
This is a build journal for my Road Racecar build. My goal is to inspire someone who may have so little experience they've never changed their oil, to be someone that can build a competitive race car. Because just a few years ago, that was me! With careful planning, research, and perseverance, you can build anything you set your mind to!
Index
The Journey to GSseX - Parts 1 and 2
The Journey to GSseX - Parts 3 through 5
Waking up from a Dream
First Modifications
Clutch Swap
Pictures of the Early Days
A Quiet Retreat
Keeping Cool in the Summer
New Year, New Goals
Stoked to be Stroked! - Part 1
Stoked to be Stroked! - Part 2
Stoked to be Stroked! - Part 3
Stoked to be Stroked! - Part 4
Stoked to be Stroked! - Part 5
Stoked to be Stroked! - Part 6
Stoked to be Stroked! - Part 7
Stoked to be Stroked! - Part 8
Shifting to Georgia
Big Boy Boost - Part 1
Big Boy Boost - Part 2
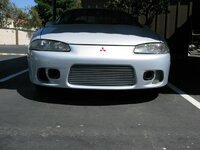
Looking the Part
No More "Turbo" bump
Got a new Dress.. err... Side Skirt!
Eight Months Busy Doing Nothing Race Car Related
Interior Clean Up (Round 2) FIGHT
Life is Crazy
Happy New Year - 2014
Playing with Metal
Late Mid Year 2014 Update
Early 2015 Update - Seat Mounting, Suspension Work, Wheels, AND RACING!
8/30/15 Update - Time to Move again!
Back on the Ground
Computer Future Megabyte USB Floppy Disk 1101101
Shooting Hoops
The End of GSSeX, Start of C1 Eclipse
Accomplishments
NASA HPDE 1 - 3/14/2016
NASA HPDE 2 - 3/15/2016
Current Modifications
Weight [unweighed]
Max Power Output [undynoed]
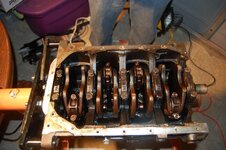
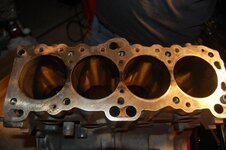
Engine
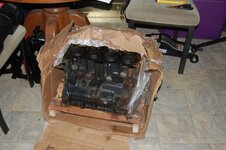
2.4l G4CS Block
ARP Head Studs
ARP Main Studs
ACL Rod Bearings
ACL Main Bearings
Kiggly Main Girdle
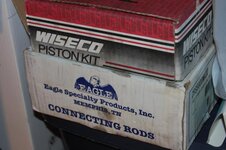
Eagle Rods
Wiseco Pistons (.020 Over)
Cylinder Head
1G Head
HKS 272/272 Cams
Fidanza Cam Gears
Mitsubishi Evolution VIII Behive Valve Springs
Topline 3G Lifters
Supertech Valve Seals intake and exhaust seals
Drivetrian
ACT Streetlite Flywheel
ACT 2900 Pressure Plate
ACT Street Disc
Stock 2G Transmission
LSD rear differential
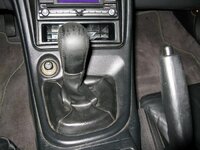
B&M Short Shifter
Symborski Shifter Kit
Suspension
KW V3 coil overs w/ 2.5" Hypercoil springs
RM Racing Sway Bars
Custom Rear Toe Arms
Full Spherical bearing, Aluminum, and/or poly suspension bushings throughout (no rubber!)
WedsSports TC105N 10.5x18
Nitto NT01 315/30/18s
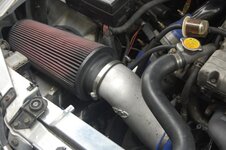
Induction
K&N 12" performance air filter
Forced Performance 4" Intake
Forced Performance 3052 (GT3076R)
Extreme Turbo Systems 4" Front Mount Intercooler
Tial Blow Off Valve
1G 60mm Turbo Throttle Body
Exhaust
Forced Performance Exhaust Manifold
Forced Performance O2 3" V-Band Housing
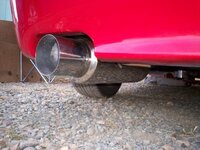
Custom 3" side exit exhaust
Tial Wastegate
Engine Management
DSMlink v3
Innovate LC-1 Wideband
GM AIT
Omni 4 Bar MAP
Greddy Boost
Greddy Oil Pressure
Fuel Supply
PTE 1000cc Fuel Inejectors
255lph Walbro Fuel Pump
Ignition
NGK BPR7ES Spark Plugs
NGK Spark Plug Wires
Brakes
Evolution IX Brembo 4 pot front and Brembo 2 pot rear calipers
Evolution IX Rotors front and back
Raybestos Brakes Pads front and rear
Miscellaneous
AMB Aero Design :: 95-99 Eclipse GT300 Aero Kit
APR GT1000 Dual Element air foil
Complete vehicle rewire
Battery relocation
Fusebox relocated to interior
About me

I've been on the forums since about 2006, since then I've had build threads, then we migrated to build blog, and now a build journal. I have collected all of the information from all of those places, and lost photos, and in some places add even more photos, trying to make this the end all place from start to finish for this build. If for no other reason then my own personal reference, from first getting into DSMs, to the learning process for each modification, to racing on the open road course, I will document everything I can as I build this car. As I make track days, I will also update this thread with the information from the track events. There are many other amazing build journals that have inspired me to do new things, but I hope taking lots of those ideas and putting them into one car and documenting it will make this one of the best start to finish build journals on DSMtuners!
Last edited:


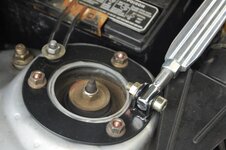
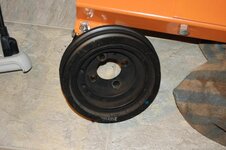
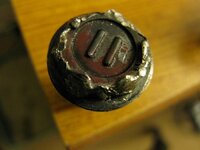
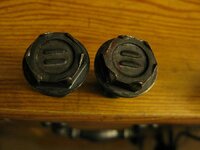
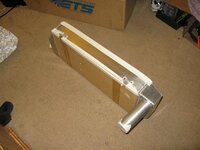
 !?!?! I don't know if an air ratchet would have helped with the torque the bolts are supposed to have on them (plus red locktite) but them things were themselves not budging, and I had no idea how I was going to keep the crank from turning.


")

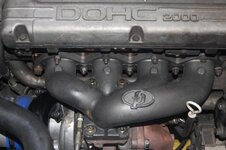
 ) says to go ahead and pick up the HKS 272 cams I been eye balling.
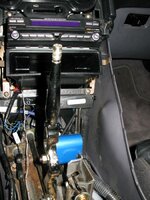

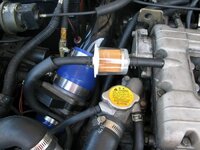
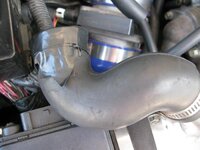
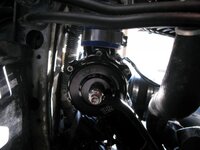
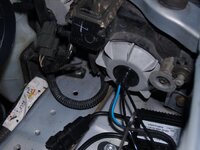
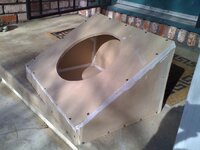
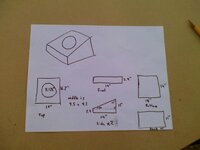
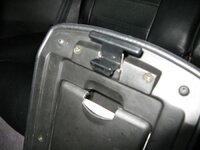
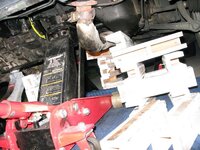
 However I was mocking up a bracket for my N/T bottle this weekend, so it'll be moved once I figure out a way to keep it from bouncing around a bit.
 , regardless, it was a welcome addition to the DSM.