SmalltownDSMer
10+ Year Contributor
- 1,752
- 6
- Aug 10, 2008
-
Doesn't matter,
Texas
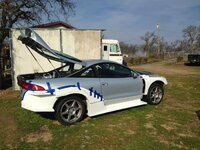
Haha. Build looks great man, can't wait to see the finished product..
Jayson
Jayson
Follow along with the video below to see how to install our site as a web app on your home screen.

Note: This feature currently requires accessing the site using the built-in Safari browser.

This site may earn a commission from merchant
affiliate links, including eBay, Amazon, and others.
This site may earn a commission from merchant affiliate links, including eBay, Amazon, and others.
 haha
haha
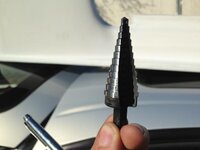
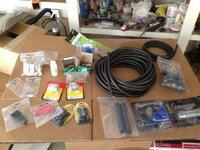
You are lucky you didn't have to spend hours looking up tool that you never new existed until you found them.


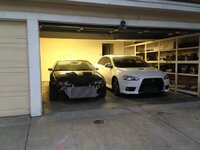
 This house even had a three car garage to house my hobby and new toy!
 ! Having a 3 car garage of my own has been a huge help in getting back into my hobby. Moving into a house took almost every bit of my free time when I first got here, but as that settles down and I am finding more free time, I expect to get back to Cloud a bit more regularly. The only major distraction at this point is finishing up the diffuser, and that takes coordinating with my friend. That project is (still) nearly done though and then I can focus full time on Cloud.) it would be a huge hassle for me to do that. Thinking about this, I realized that even if they did the cage, I would still need to fabricate the tubular front end for the bumper. The tools I would need to do the front end are the same as a roll cage, so I have come to the conclusion, like everything else on my car, I will tackle this project. Since this is such an important part of the car structurally and safety, this project will be a huge undertaking as I have to research not only the rules, but the philosophies and techniques to create a sound cage. I have been reluctant about this decision, but know with as careful and slow and tedious as I am, I am sure will be a successful project. A NASA scrutineer will have to verify my work before it is signed off anyways, so I believe I will have no issues in trusting my work on the track.
")

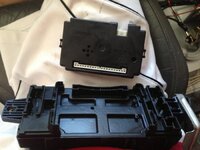
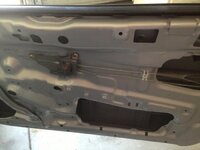

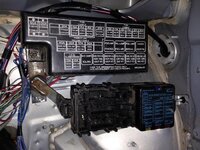
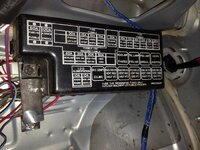
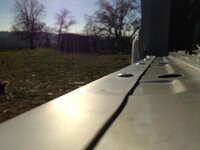
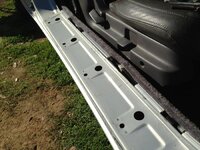
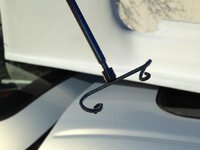
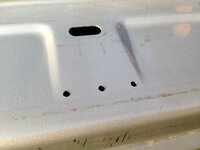
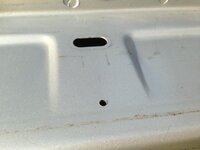
 I taped a little rubber hose to the end of my shop vac and have been going to town sucking up dirt and plastic tabs everywhere it could be hiding. In some instances I used a strip of metal bent at the end to use as a hook to fish things out. Quite humble, but it works.

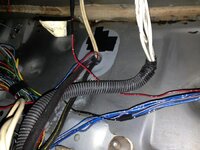
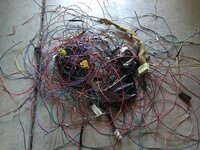
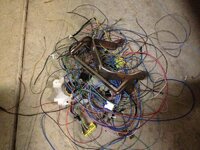
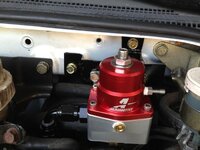
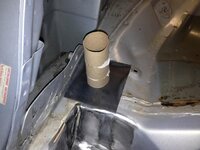
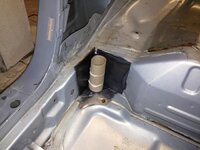
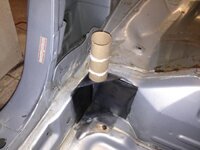
 , my plan is to schematic the layout of where I want everything and mil spec it. I kept thinking mil spec as a luxoury later, or maybe just to tighty things up, but it is becoming more apparent now as I am adding sensors to the harness, and redoing the power and grounding points that it will become something much higher on the priority list. For now, I'll clean it up and and live with it, but I am extremely unhappy with it.
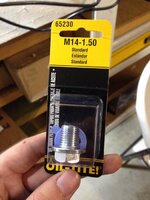
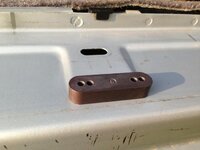
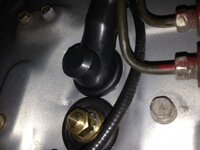
 The reverse switch has a plug in the back of it but now no wiring to go into that plug since I removed my reverse lights. It took a little searching but a M14 x 1.5 fits the threads and now it looks much cleaner. Don't you agree?


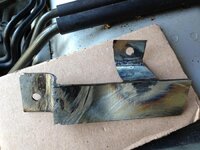
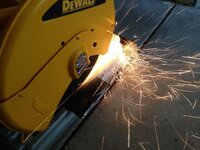
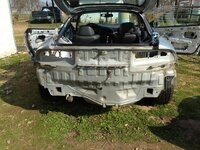
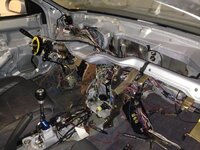
 Til then, this first cage (strictly metal cost) has been under 500 dollars. That is cheap education if nothing else. That project is rolling out of my garage this weekend, very proud of him. This means I get my space back so Cloud can stretch his legs. and by stretch, I mean have room in the garage to bend tubes again. I thought I could just copy Andrew and be done with it, but learned that since I am AWD and weight for me in the rear is much different than him, I have to make changes to my car and it is not something Andrew can just whip up with a magic computer. I have to get the car weighed, setup, and see how it actually preforms before I can get feedback. So much I didn't think about, but that is why he is poised to win a WTAC class and I am a guy in a garage
 .jpg")


 )
)


 We just agreed they were one of the best wheels in their price range, weighed nothing, and didn't cost over grand a piece. I've never understood before why someone would waste enough money to make the statement true (or was perhaps was exaggerated), but now I know how someone can roll up next to a ricer and say "My wheels alone cost more then your car is worth"


The coolest car out there was the McLaren F1... and the guy was driving it pretty hard... The fun part was that we got to see that gorgeous car from every angle - from seeing the rear of the car early on - to the side of it and then looking in the rear view mirror to see the beautiful front of it!
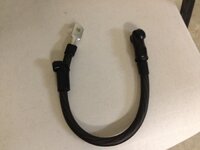
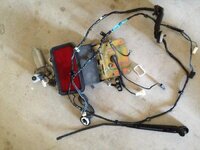
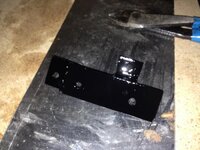
One can only dream... The assembly eliminated the brake booster, and now has two master cylinders for the brakes; one for the front and one for the rear. I have a remote brake bias adjuster that will let me dial in the brakes much better then the stock ABS could have ever done. I had kept ABS all this time and would have even kept it longer til I finished my earning my racing license, but this was the final nail in the coffin. That thing is gone, and now I got a much better solution I think to controlling my brakes.


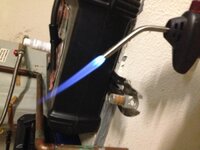
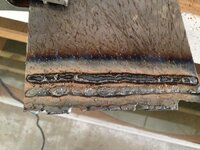
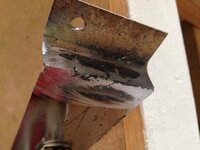
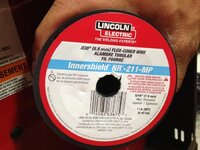
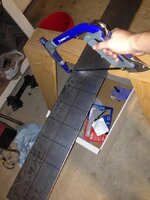
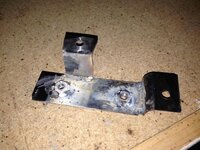
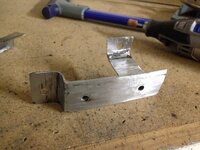
 Look a lot like MIG hmmmm, wonder how long til I am welding like Colin from Toxifab and stacking them dimes !