The Central Hub for DSM Community and Information

For 1990-1999 Mitsubishi Eclipse, Eagle Talon, Plymouth Laser, and Galant VR-4 Owners. This is where the DSM platform history is documented and archived. Log in to help us in our mission, and to remove most ads from the browsing experience.

97 Talon TSI AWD Weekend Warrior Build

This site may earn a commission from merchant affiliate links, including eBay, Amazon, and others.

TheFallenTSI97

Proven Member
80
0
Mar 23, 2013
Huntsville, Alabama
This is my first post so I'll get this started by introducing my car and myself. My name is Tyler born and raised in the "good ole South" I've had a variety of cars in the past ranging from Honda's to my current DD my 97 Wrangler lifted on 33"s. But enough of the boring stuff on to the car. The car is a 97 Eagle Talon TSI AWD 6 bolt 5spd. I recently purchased the car about a three weeks ago. The car was in great shape and a great platform. Wiesco/Eagle bottom end, 16g turbo, extensive bolt-ons. But as fun as that is.. Well we all have certain urges and needs. And well mine happens to be joining the 500-600hp club in a very street-able car. Pretty easy goals, so the parts list was created.(Can't reveal everything, then where's the fun in that?:D) After extensive shopping around and several hours online, most parts have been ordered and on their way.

Ok so lets get to the goodies...:sneaky:
What has been ordered:
-Generic black reclining racing seats from Summit. (I'll address the seats later)
-Aeromotive 340 "Stealth" Fuel Pump.
-FIC 1250cc Injectors
-STM turbo intake w/ K&N filter(car had no filter when purchased:banghead:)
-OEM GSX black headlights, going to custom fit to the talon bumper.
-6000k HID lows, 5000k HIDs highs.
-smoked side marker lights( previous owner DIY smoke with black spray paint)
-DSMlink
-And.....
-The piece de resistance....
-..
-....
-PT6262 CEA Turbo w/ported shroud and ball bearing upgrade
-plus a few other hidden surprises coming soon :D:shhh:

I'll be posting pics soon!

Ok as promised pic time. First off was little cosmetic things to make the car more to my fancy. Which is really code for I was bored and wanted to tinker on the car while I'm waiting on parts.
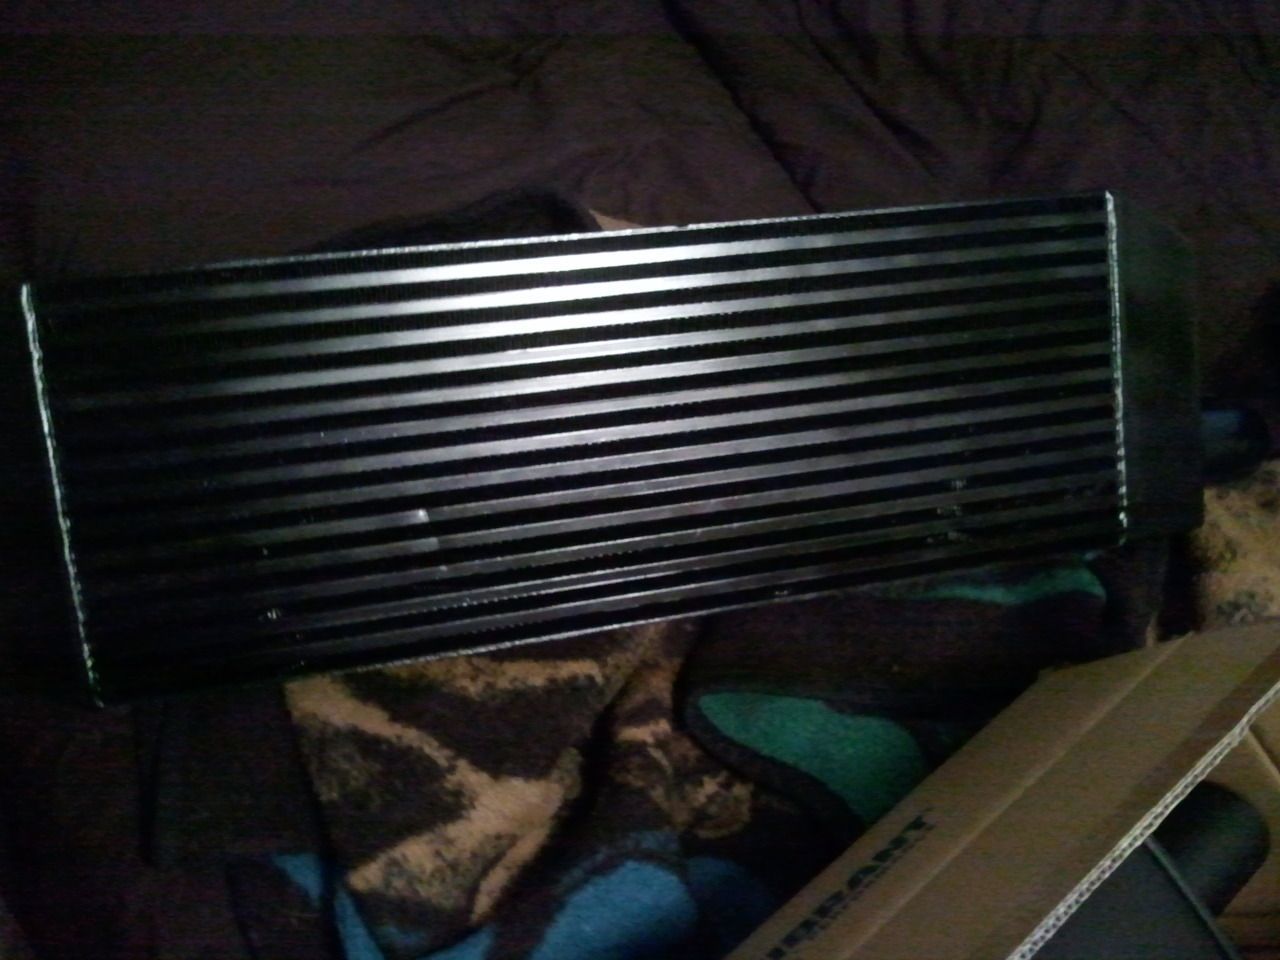
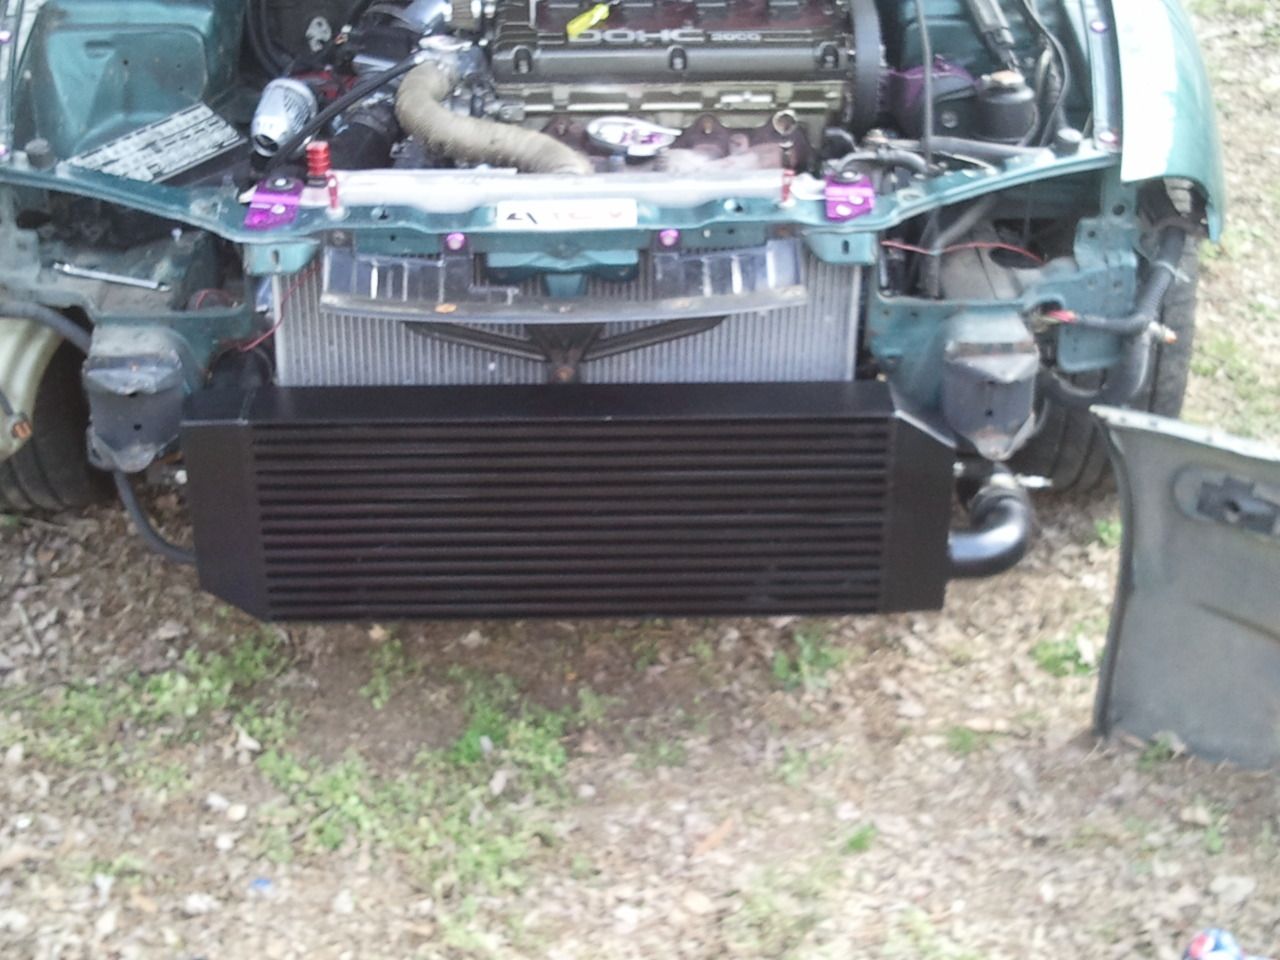
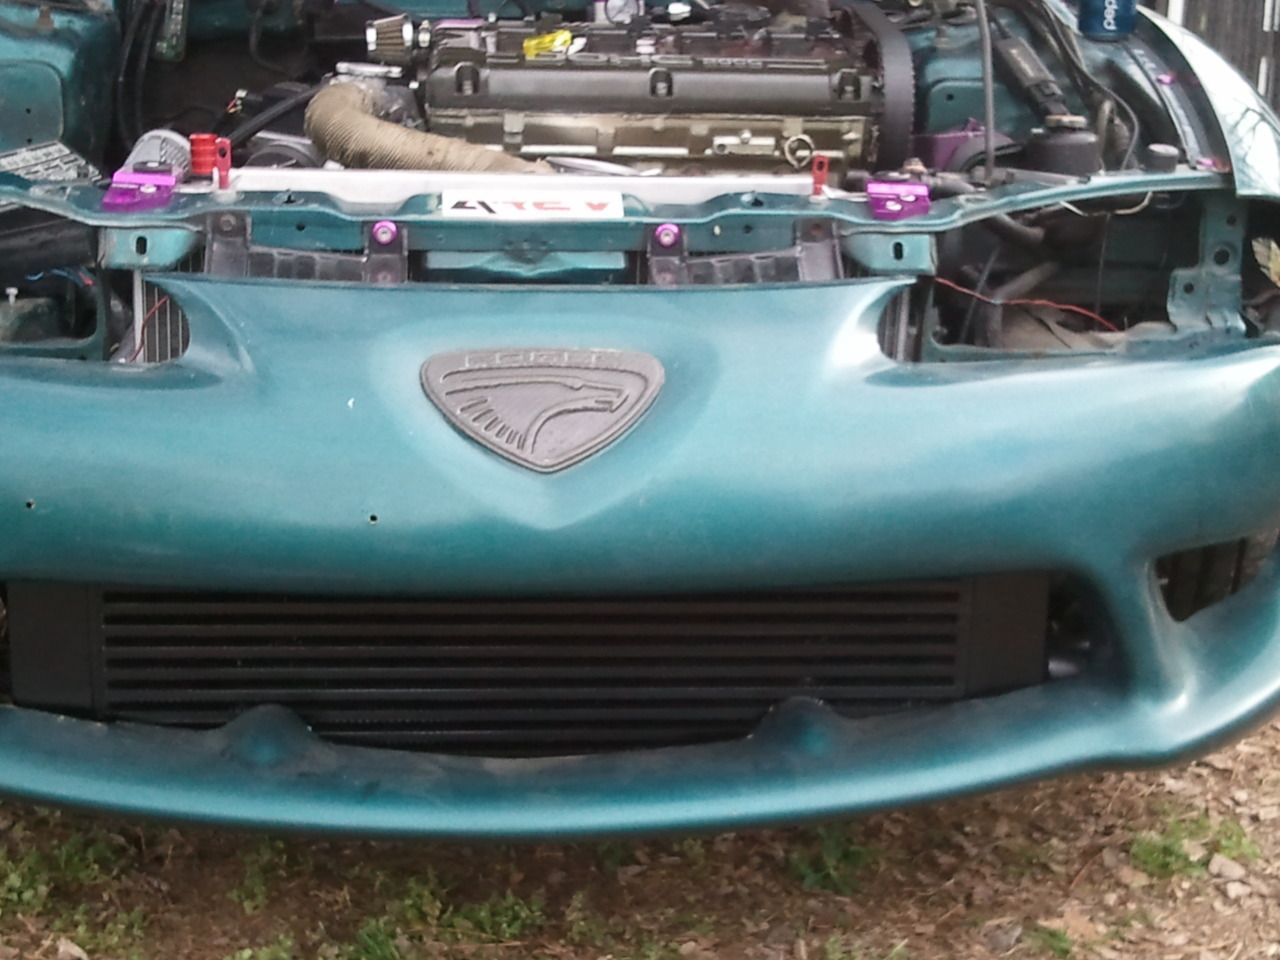
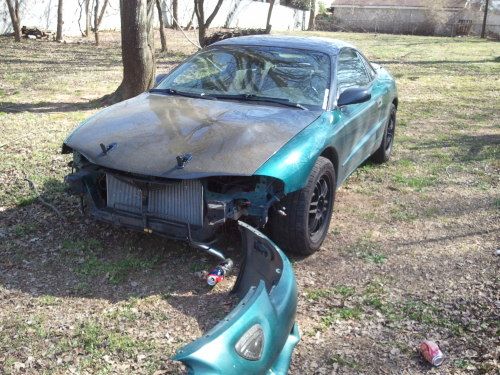
So for starters I wanted to black out the Front mount. Even though the HKS BOV is a dead give away, I wanted to have a stealthier appearance.
Here's the front stripped down. And yes that is a soda can in the lower intercooler piping, didnt want any critters taking up residence.
tumblr_mk56qu9Jle1s9qjhso1_500.jpg

Here it is all blacked out.
tumblr_mk56qu9Jle1s9qjhso6_1280.jpg

Installed no bumper
tumblr_mk56qu9Jle1s9qjhso7_1280.jpg

With bumper on
tumblr_mk56qu9Jle1s9qjhso8_1280.jpg

As I stated before, The P.O. Took a rattle can to the old Side markers:ohdamn:. For a few extra bucks I picked up these on Ebay.
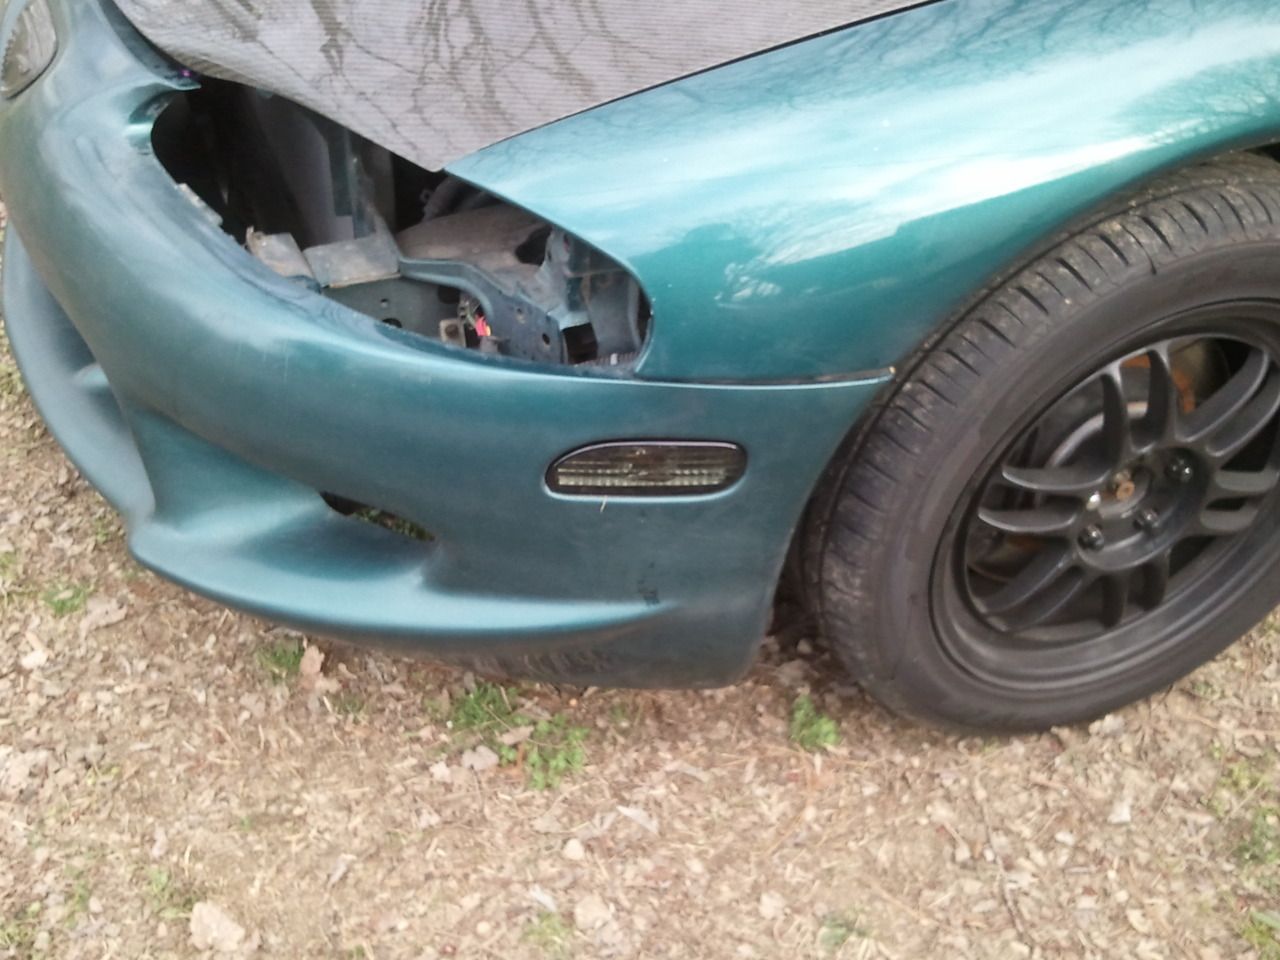
tumblr_mk56qu9Jle1s9qjhso9_1280.jpg


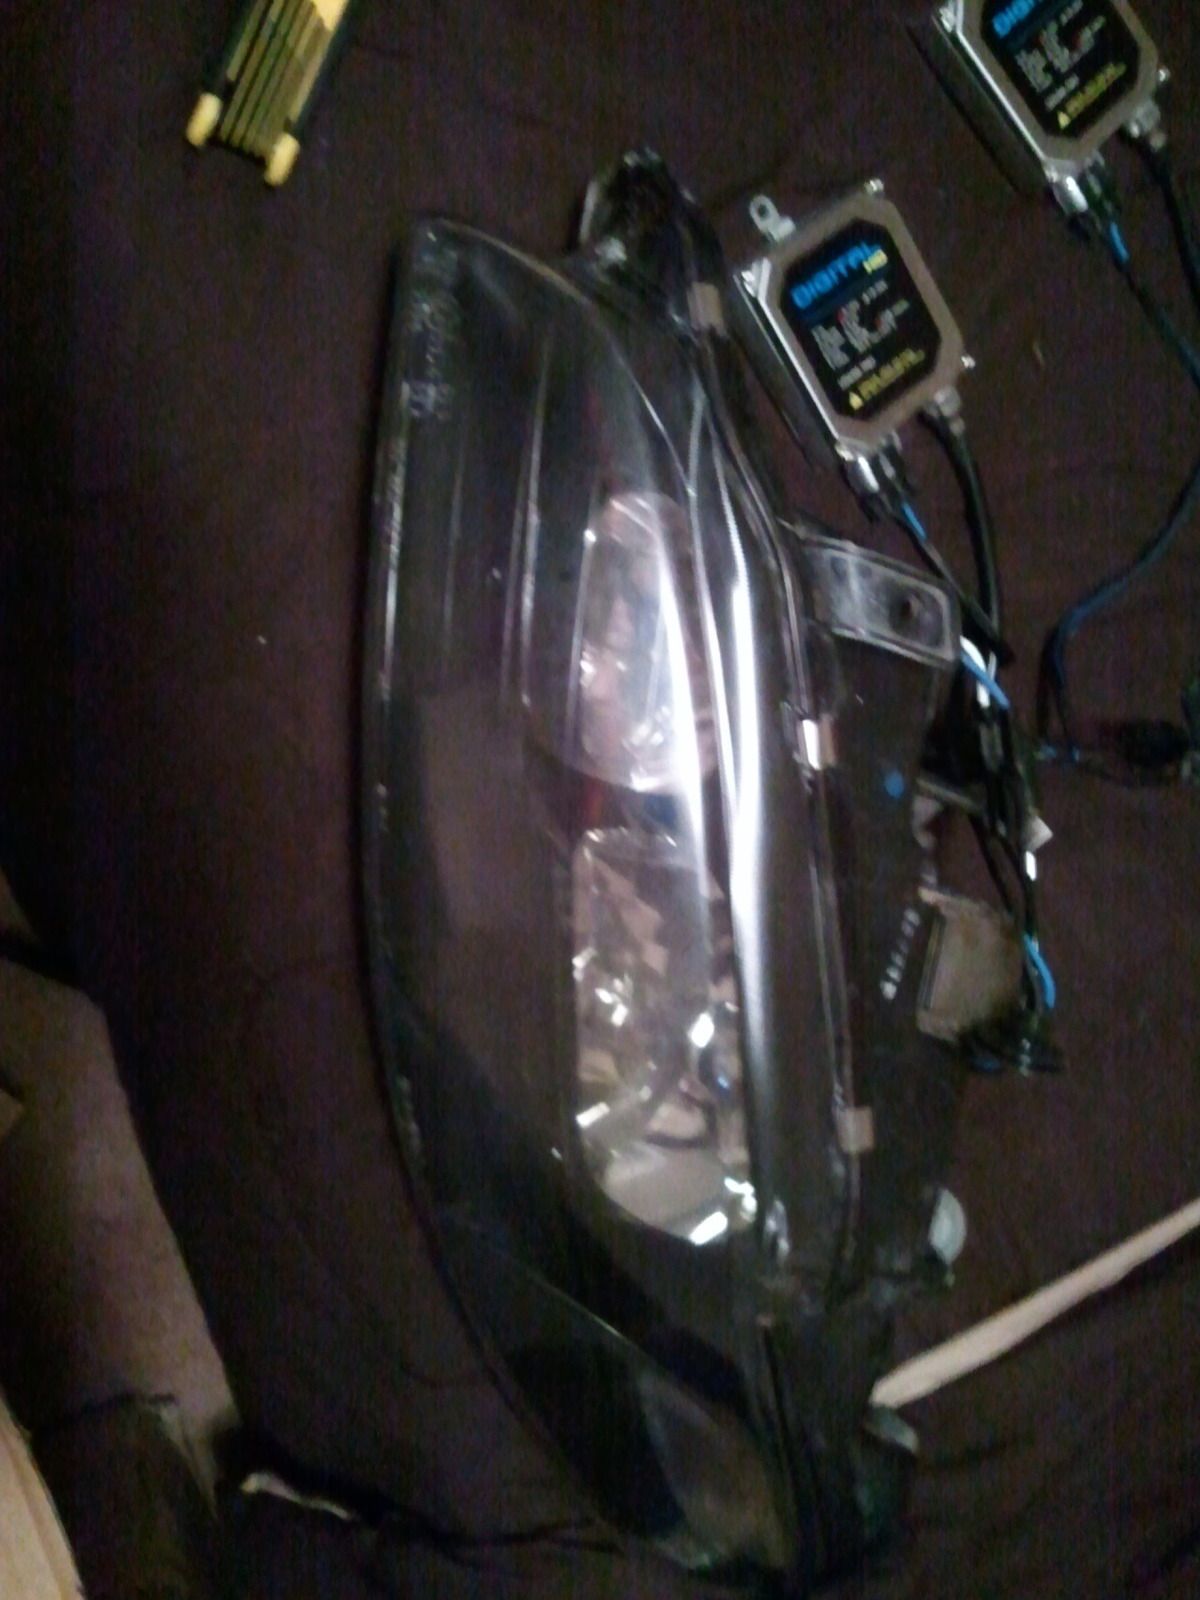
I wanted black housed headlights but everything was or looked cheap so I went with some OEM eclipse GSX headlights I'll have to test fit and see what all I will have to do the bumper to compensate for the different angle on the inside. Here they are with the HID's in but not installed, haven't got there yet.
tumblr_mk56s4a1yg1s9qjhso1_1280.jpg

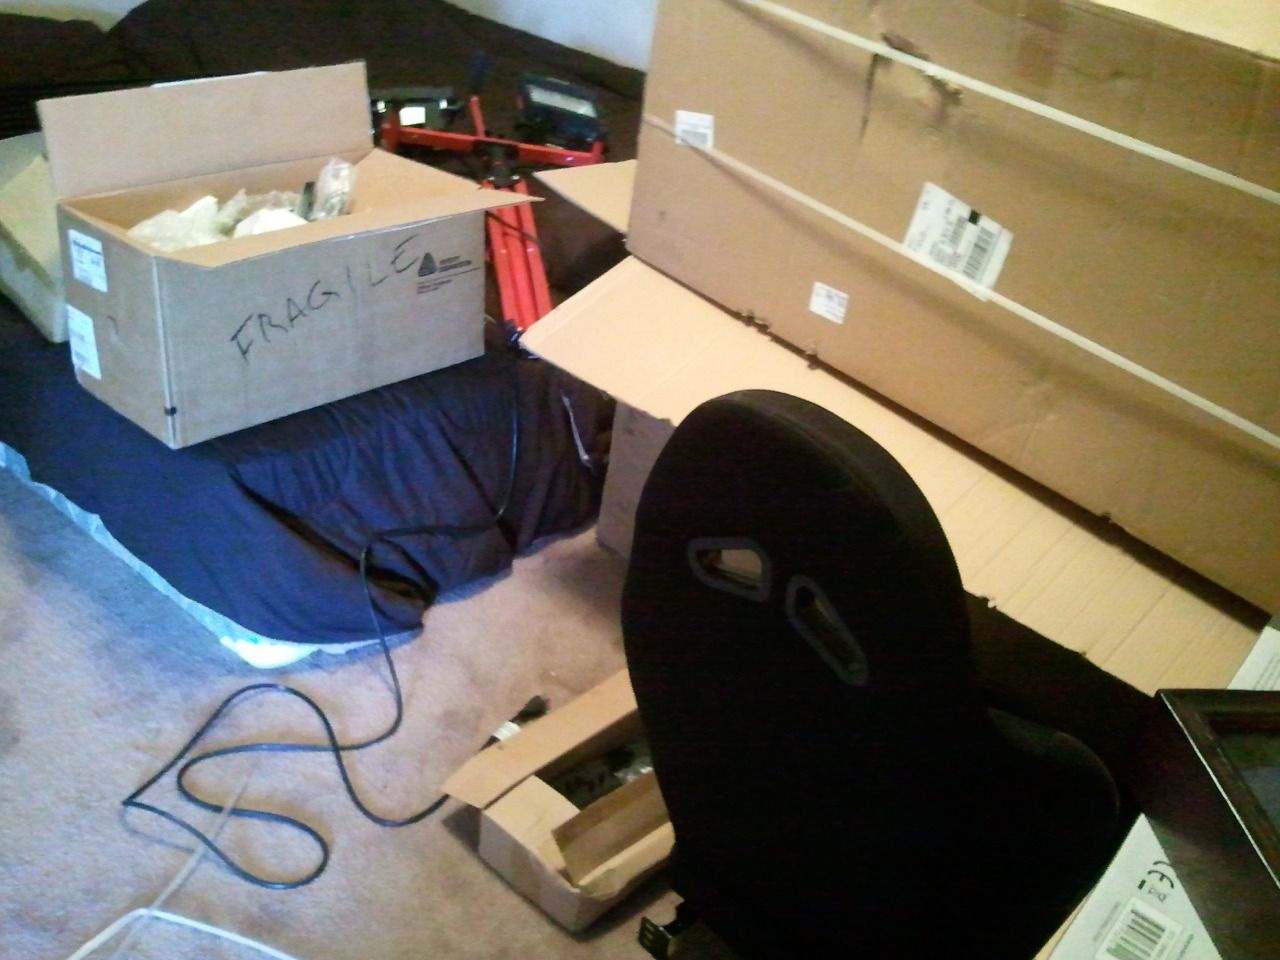
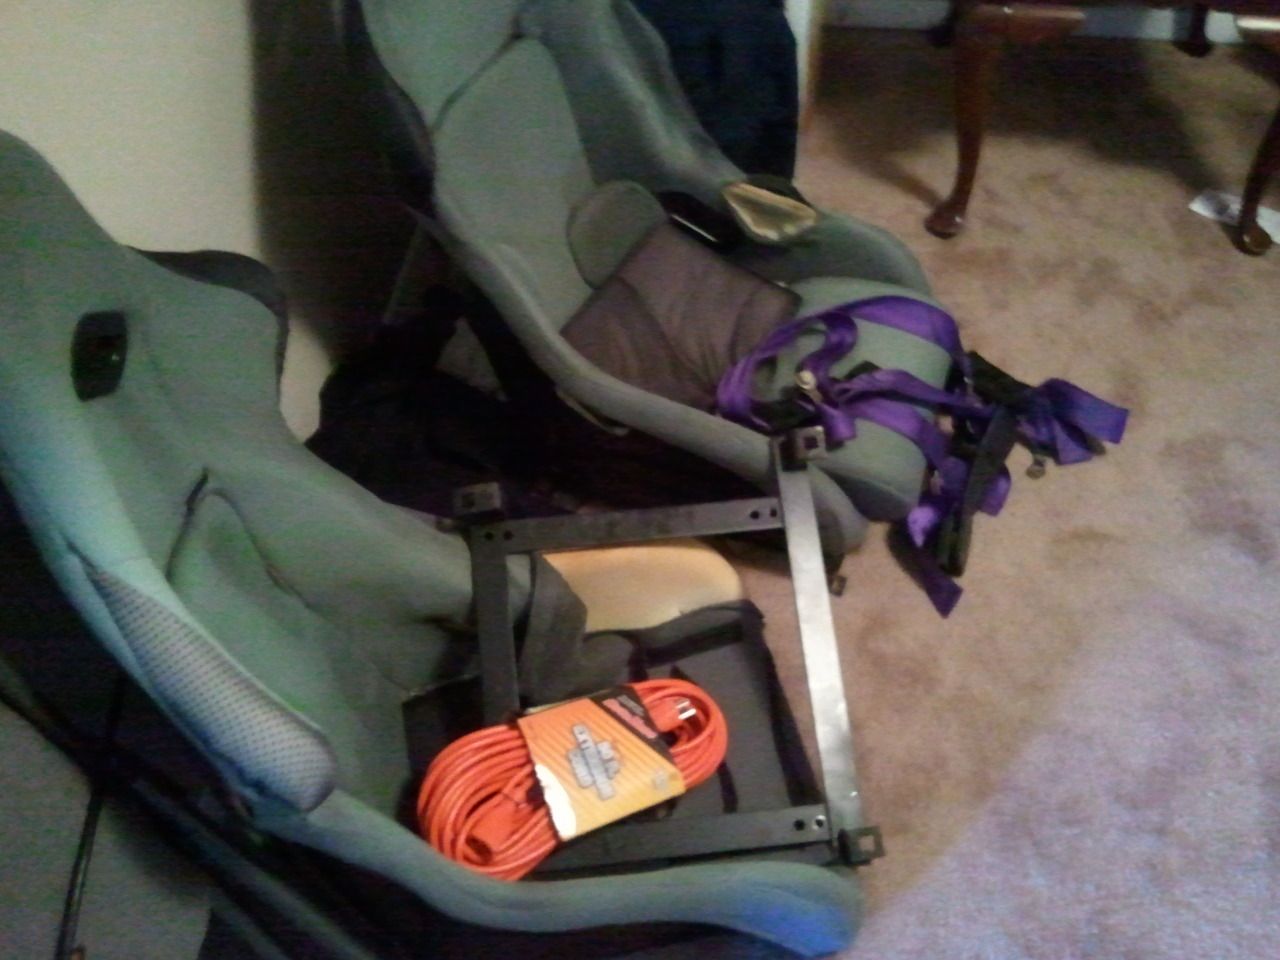
Next was the seats. The seats that were in the car when purchased, were just awful... real awful. I'd have been better off with a 5 gallon bucket with a 2x4 duct taped to the back, more comfortable too.
Case in point.
tumblr_mk56qu9Jle1s9qjhso3_1280.jpg

tumblr_mk56qu9Jle1s9qjhso10_1280.jpg


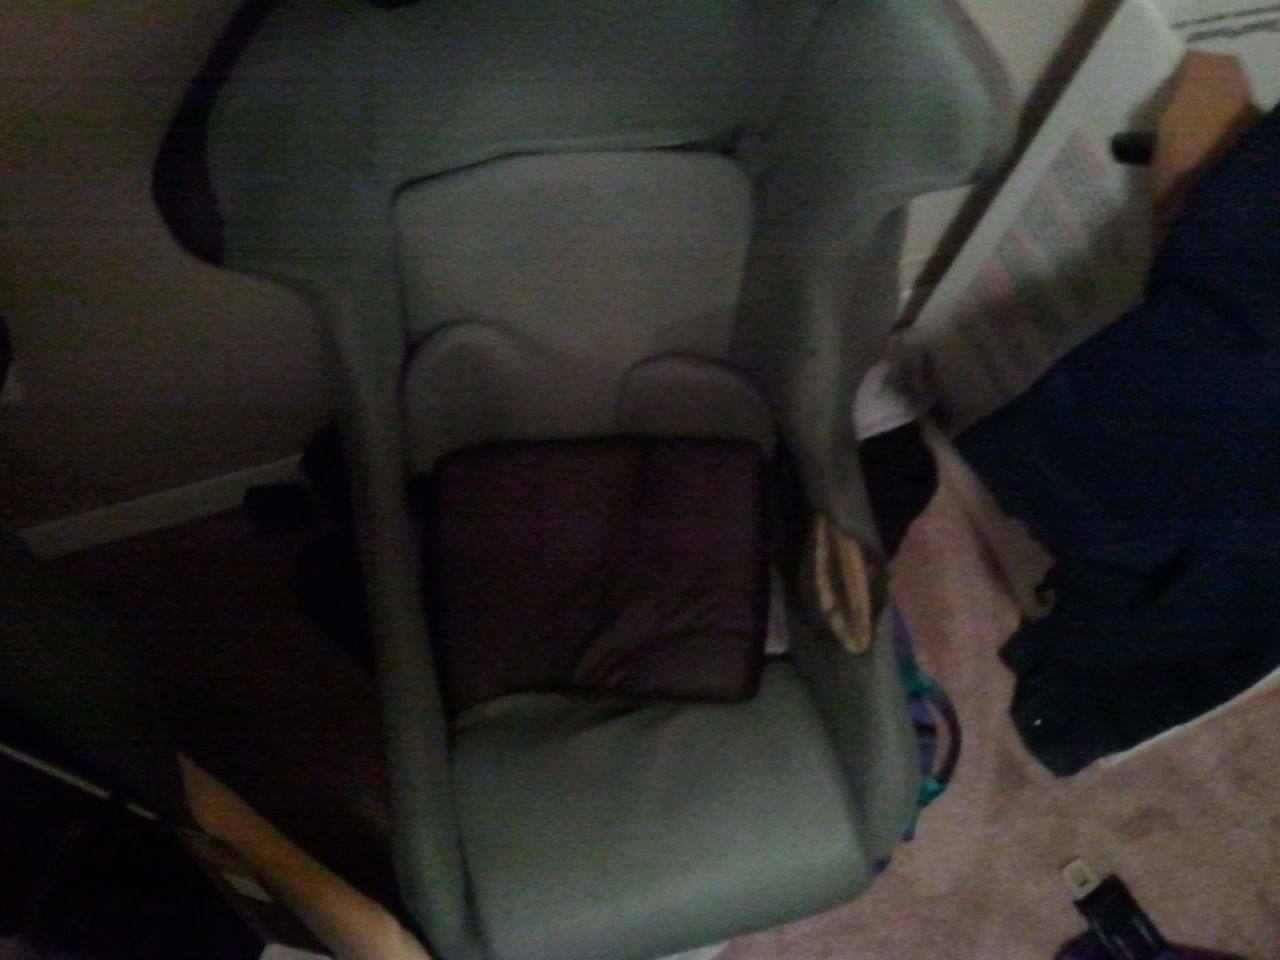
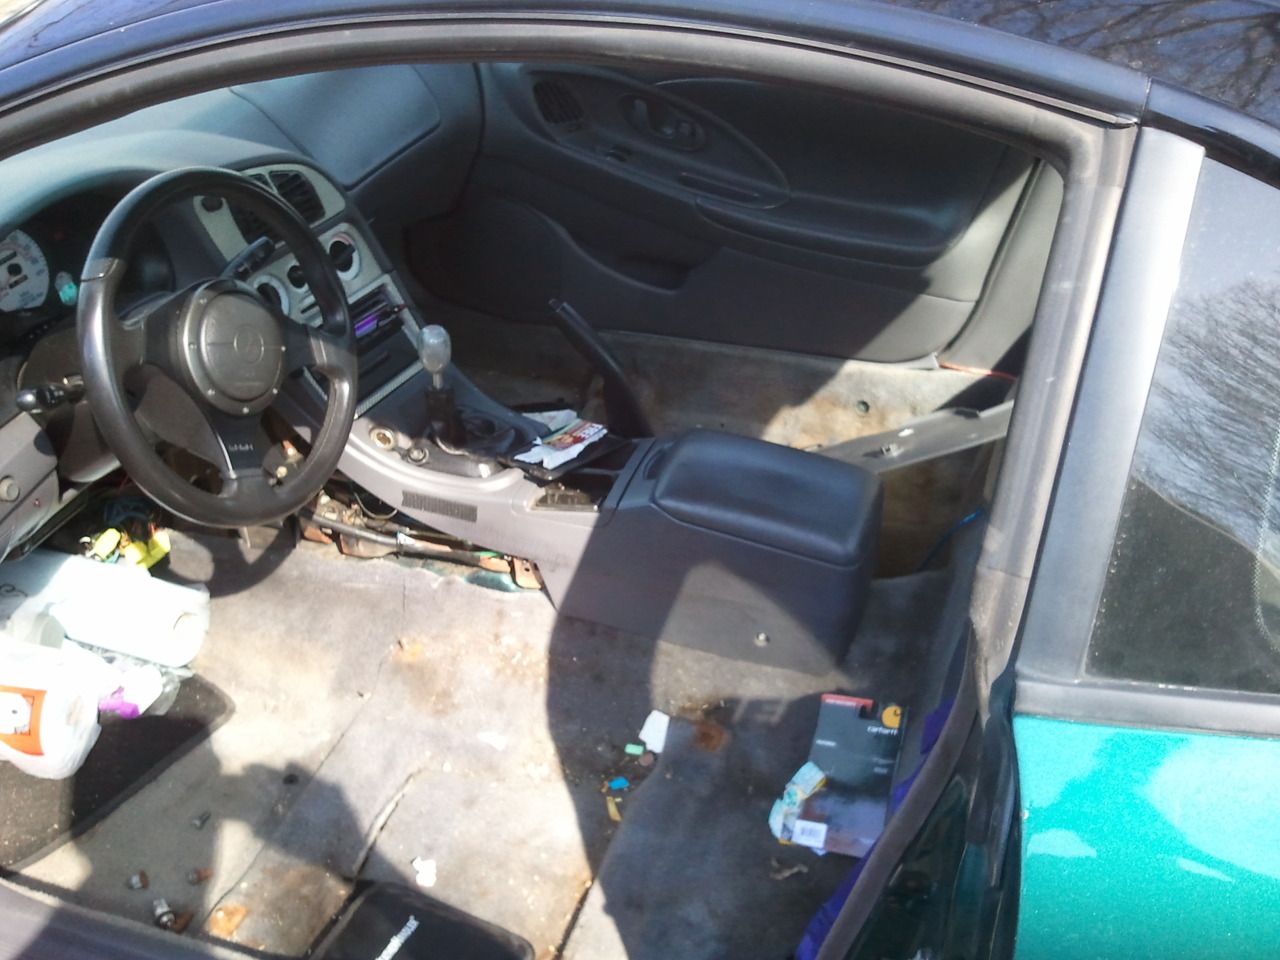
Got them out and definitely going to have to be cleaned while it's easy to clean the carpets.
tumblr_mk56qu9Jle1s9qjhso2_1280.jpg

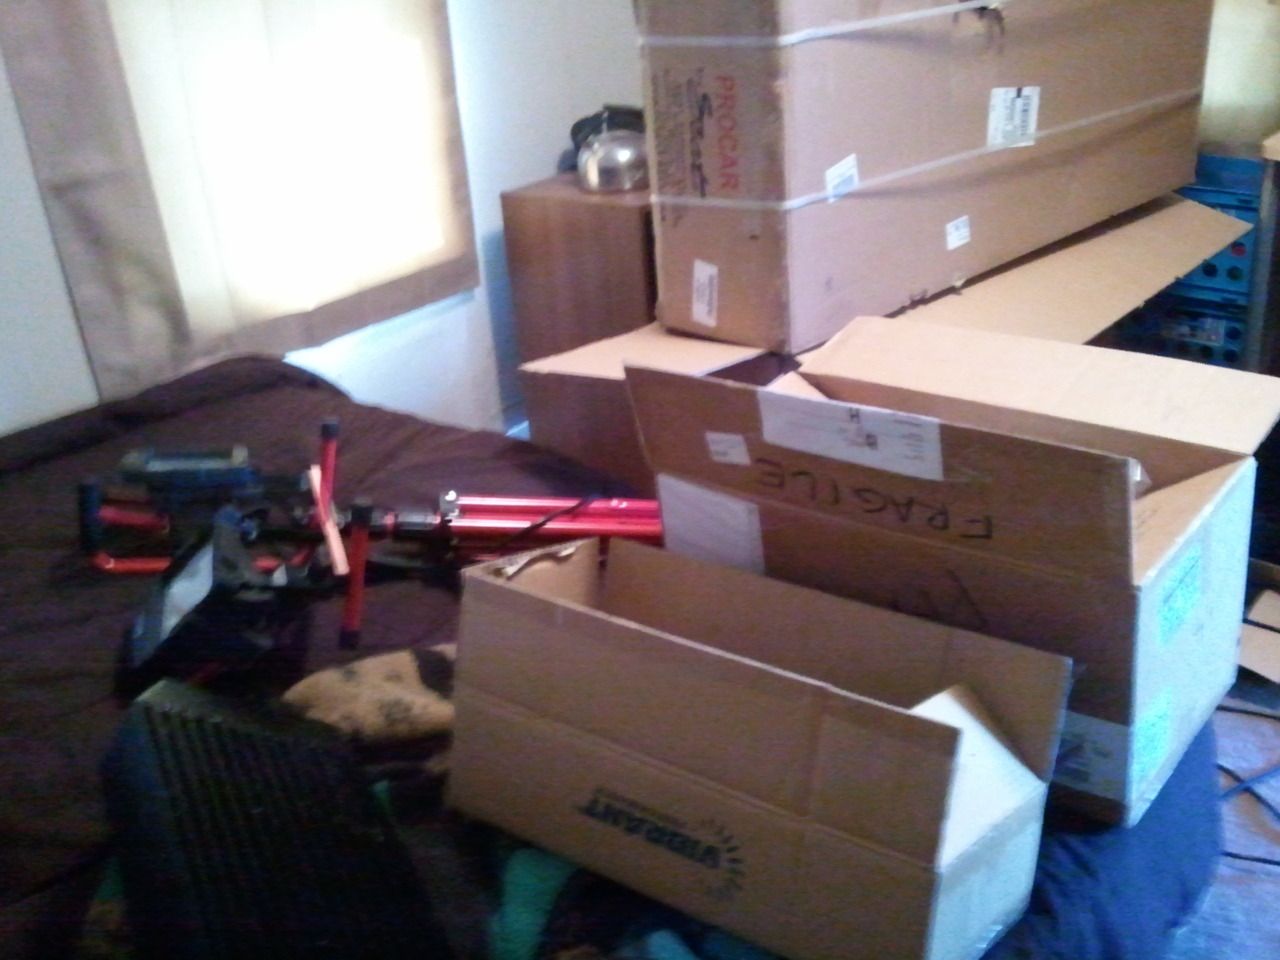
Lastly a few teaser pics of the spare bedroom.
tumblr_mk56qu9Jle1s9qjhso4_1280.jpg

tumblr_mk56qu9Jle1s9qjhso5_1280.jpg

More updates coming soon!:rocks:
 
Last edited:
Well despite all the feedback and replys I was able to get some work done one the car and it is now time for a BIG update! Ok so we've been short handed at work and super slammed so haven't had time to update but here it is and what an update!!:hellyeah:
Stuff has been pouring in the mail. Just knowing that it's sitting at home in the box all alone is grueling. All I could think about at work was the car and the parts I had opened up; unfortunately only to set them aside in the spare room for the time.:barf: I've haven't made a lot of progress in installation thus far, but here's what I was able to get done.
Also Want to apologize, my phone is my only camera for now.

The rails were picked up from the machine shop. Got them welded on to the existing frame that was already on the car. A little grinding on my part and they were welded together(quite nicely I might add).
2013-03-25120519.jpg


While I was waiting on that and the ECU back from DSM link I decided it was as good as any to change fluids, replace senors, and give it a good tune up.
2013-03-24162957.jpg


Wednesday (3/27)was a fantastic day. DSMlink came in the mail and the shop called saying the seats were done. Picked those up after work and went to work bolting them in. The car is now on a base tune. Messed with it some to get a feel for everything but no real sense in messing with it to much with a new turbo set up on the way.
2013-03-24162949.jpg

2013-03-26175835.jpg

2013-03-26175840.jpg


Thursday(3/28) turns out to be a great follow up to Wednesday. Air and fuel both arrived. FIC 1250cc injectors, Aeromotive 340 pump, and STM 4" intake.
2013-03-25120704.jpg

2013-03-26152059.jpg

2013-03-26152129.jpg


Friday was the big finale. The big daddy got in the mail and today had to be one of the longest days of work ever... I could just hear it calling me.
2013-03-28231302.jpg

It just dwarfs the 12oz can..
2013-03-28231321.jpg

No words....
2013-03-29160436.jpg
 
Last edited:
Thanks brother. After the first post and not a single post I was beginning to think you guys didn't like me haha. That's more on my end. I never really introduced my self to the forums I just kinda started a build journal out of the blue.
 
Will do! I'm aiming to get the new turbo and fuel setup on tomorrow. If all goes well I hope to have it together and running on at least a base tune tomorrow night:thumb:. I should have all the gaskets tomorrow, except maybe the one for the external wastegate. I'll have to see if I can't dig one up or something if the auto parts stores don't carry it.
We shall see how it goes, I'll keep everyone updated!
 
Well this weekend was kind of a bust. This is a driveway gig and this was what it looked like outside as I got home. :(
2013-03-30145112.jpg

I test fitted the manifold to the new turbo and old wastegate. This is what it looked like.
2013-03-30145647.jpg


I ended up running in to several things I should have been prepared for, but well I got a little excited and jumped the gun. So note to self next time new shiny things come in, calm down and do all your research and don't rush into like I did.

Since I had down time after further examination, I decided to toss the wastegate. It seemed well rough, and no brand name anywhere or any marking for that matter. I decided I would rather be safe than sorry, and not leave the well being of my new turbo up to a questionable vital component. So I ordered a Tial MV-R44 wastegate to replace. It came in yesterday and here is what it looks like with the V band flange welded in and test fit.
2013-04-03164145.jpg

2013-04-02193156.jpg

2013-04-03165734.jpg

2013-04-03165615.jpg


I got the 16g turbo out had to do some modification to make the water pipe work. Going to have to replace the O-rings now but small price to pay. A few small odds and ends like oil fittings and the new turbo would be ready to put back on.
Here's a side by side of the two turbos.:rocks:
2013-03-30201307.jpg


The Engine bay looks pretty lonely now ...
Also with all the purple the P.O.'s put on I have no idea what persuaded them to paint the block lime green..:hmm:
2013-03-30223826.jpg

If some extra cash roles in between now and re-assembly I may pull it out as well and paint it black just strip the paint off, not sure yet. But I wouldn't mind so it would give me a chance to put a heavier duty clutch and a fidanza flywheel on.:D

With the turbo install at a halt while I locate the miscellaneous oil accessories and other parts needed to get it on. I'm going to leave you with this teaser of what's coming off next. A little secret I was debating on doing and with tax return in and down time already I decided what the hell.
This is what I was able to get done after messing around for about an hour after work before the damn rain started...again...
But nothing I can do now except congratulate mother nature on another victory.

2013-04-02193129.jpg


Also side note, I'm going to sell my 16g turbo. There was absolutely nothing wrong with it. I may put it up on here where it will sell best but I think I have to be a member on here a little while longer first.
 
Last edited:
Update time!
Unfortunately not much to update on. Mother nature kind of took the week from me. But I decided I would not loose more time due to weather so I went out and picked this little thing up.
2013-04-05163300.jpg


Not as cheap as I would have liked but it seems sturdier than the normal temporary pop-up gazebos that are for like a nice picnic or something. But as luck would have it the day after it is assembled, clear skies and beautiful 60-70 degree weather.:ohdamn:

I rolled her up inside. fits pretty well. The thing is 12x20' so I would hope so.
There was a random 12'x10' slab of concrete in the backyard, not sure what was there but it will be suitable for jacking the car up and what not. After I make a ramp. Wouldn't clear so that's why she's hanging out the door, which I still have to put on both ends. I got a little frustrated and just left it with the walls and roof.
2013-04-05164251.jpg


A bit of bad luck I was looking around in the engine bay yesterday, gathering up a list of gaskets and odds and ends to pick up soon. And I noticed, my fan had broke. It was just hanging in the engine bay.
2013-04-05164432.jpg

I'm assuming someone decided to test fit the turbo when I wasn't looking and smashed it. After inspecting though. these wires look awful. Good thing it's going the way of old yellar' anyways.
Will try and be more productive and get this moving faster.
 
a lot of people do the block in a bright color in order to make it easier to spot leaks.
 
There has been so much going on here laterly, so there hasn't been any updates as of lately. Pulled the cylinder head and found oil on cylinders 1 & 3 So now it's gone over budget. Hadn't really planned on having to mess the block but now that I am....
What my plans are now:
Pull block, new rings, new pistons( I'm going to bump the compression ratio, from 8:3:1 to 8:5:1 or maybe 8:8:1 to make some more low end to compensate for the lag of the newer turbo. I may need to go further into the block though other than a small amount a smoke It seemed to be running fine.
Obviously I'll need a clutch and probably a flywheel. So I'm thinking Clutch Masters stage 3 and a Fidanza flywheel but I was already starting to run low on funds so I'll have to build more funds. So I will be updating but they will be much slower than previous updates but this beast is far from down and out, so keep an eye out I will have this thing up and running soon.
 
There has been so much going on here laterly, so there hasn't been any updates as of lately. Pulled the cylinder head and found oil on cylinders 1 & 3 So now it's gone over budget. Hadn't really planned on having to mess the block but now that I am....
What my plans are now:
Pull block, new rings, new pistons( I'm going to bump the compression ratio, from 8:3:1 to 8:5:1 or maybe 8:8:1 to make some more low end to compensate for the lag of the newer turbo. I may need to go further into the block though other than a small amount a smoke It seemed to be running fine.
Obviously I'll need a clutch and probably a flywheel. So I'm thinking Clutch Masters stage 3 and a Fidanza flywheel but I was already starting to run low on funds so I'll have to build more funds. So I will be updating but they will be much slower than previous updates but this beast is far from down and out, so keep an eye out I will have this thing up and running soon.

sorry to hear about your problem, seems you have the same kind of luck i got.

id stick to either of those compression ratios as well and im not sure what you had planned for the head but im sure you got something planned for that. were you going to go with the lightened flywheel? good luck with gathering the funds, i know thats the most difficult part if your lucks like mine. problem right after problem :rolleyes:
do continue to do this build journal as its the only 2g i have gained interest in seeing :thumb:
 
Like a Phoenix from the ashes this project has sprung back in to life! I had a lot of personal shit going on, ended up losing my last job over some BS but after persevering I'm finally getting this car back on track. It's been a LOOONG time since I've updated so this is going to be a pretty BIG update. I got a job at a parts store and that has made things soooo much easier finding and affording parts.( Gotta love the team member discount:hellyeah:)

Anyways...
I know its almost Thanksgiving but it looks like Christmas time around here!

First off here's the cylinder head pulled from the car waiting to be shipped off. Stubborn thing did not want to come off.
2013-09-08_20-35-20_444.jpg
[/URL][/IMG]
Have a good trip Mr. Cylinder head, can't wait to see you when you get back!
IMG_20131120_150524.jpg
[/URL][/IMG]
First set of goodies that came in mostly from my store.
IMG_20131120_150313.jpg
[/URL][/IMG]
Oil pan and gasket, pretty good pan for $50 .OEM quality and has the flange for drain tube.
IMG_20131120_150421.jpg
[/URL][/IMG]
Wiseco replacement rings from STM
IMG_20131120_150338.jpg
[/URL][/IMG]
Bunch more parts, tested my battery and alt. at work both dead..That red top optima will make a nice boat anchor now I suppose. More gaskets, couple tools and of course bathroom reading materials the Chilton manual. Also decided to go ahead and replace my water pump. Pulling the block so I saw no reason not to. Oh yeah, and work lights. My two German Shepherds decided the cords on my other ones were a good snack....
IMG_20131123_132036.jpg
[/URL][/IMG]
This thing taunts me every time I go into my room. just sitting there... waiting...
IMG_20131120_150555.jpg
[/URL][/IMG]
I decided to do a complete fluid flush since the car has been sitting for a while plus with the all the mods, I wanted to make sure everything is tip top. Plus a new fuel filter. Will probably upgrade later (any suggestion would be nice) but for a few bucks a WIX replacement will do for now.
IMG_20131125_122214.jpg
[/URL][/IMG]
Went through Mitsu. to get transmission fluid, apparently that is something we don't carry so had to go straight to the source.
IMG_20131125_122226.jpg
[/URL][/IMG]
While I was there ordered a new water pipe ($60 straight from Mitsu) and O-rings. Word of advise, anyone upgrading to a larger frame turbo, DO NOT beat on it or dent it to make it fit. I read here and other places people suggesting that as a "cheap and easy fix." Regardless of whether you planned to pull it or not, because congratulations, you just ruined your O-rings and now you have to. Get a spacer like I did.
Here is the new(probably reconditioned/ rebuilt but still) water pipe from Mitsu.
IMG_20131126_135350.jpg
[/URL][/IMG]
YAY more gaskets...
IMG_20131126_135903.jpg
[/URL][/IMG]
While I was out rolling around under the car last week, managed to loose my pocket knife. So I picked this little guy up. I thought the box it came in was pretty nifty. Looks like an AK-47 clip.
IMG_20131124_220556.jpg
[/URL][/IMG]
IMG_20131126_161948.jpg
[/URL][/IMG]
Ok so now that all the minuscule parts our out of the way, time to get to the good stuff.:D
These all came in just today I've been as giddy as a school girl LOL.
Mishimoto fan shroud kit w/ dual fans from STM
IMG_20131125_123436.jpg
[/URL][/IMG]
IMG_20131125_123708.jpg
[/URL][/IMG]
Also from STM I got my HKS Type 1 turbo timer w/ harness and a HKS oil filter curious to see if it's worth it. Went ahead and got a Greddy magnetic oil drain plug too.
IMG_20131126_135332.jpg
[/URL][/IMG]
ACT 2600 Xtreme clutch kit
IMG_20131126_135848.jpg
[/URL][/IMG]
Hatch was leaking, found that out the hard way... Got an OEM weatherstip for it. Also got in my replacement Odyssey battery in.
IMG_20131126_154714.jpg
[/URL][/IMG]
I knew it was small but I was not expecting that small...(that's what she said)


Well that's about it for now.. More parts still on the way. Will being seeing more of this car soon. Hopefully the finished product just in time for X-mas present for myself.
 
Few more parts came in the mail over the past few days. Thought I'd share

Sr90 70mm Throttle body
IMG_20131203_164805.jpg


Checking fitment on the intake manifold. Looks like I will have to do a little port matching the the manifold. It's around a 68mm so not much smaller but for optimized air flow I'm going to bore it out just a bit.
IMG_20131203_164832-1.jpg


Also Fidanza flywheel came in. Talk about lightweight. I found it a bit humorous that it shipped through Fedex, opened the box and they used an UPS bubble wrap/envelope for packing.
IMG_20131204_182146.jpg
 
I was hoping to avoid it if possible but couldn't find one to rent or used on the old craigslist so I just used my discount and bought a 2 ton hoist.
IMG_20131207_142042.jpg


And just for shiggles here's the new project car. I have dubbed it project "Ikea Talon" as there is a LOT of assembly required. And in true Ikea fashion there are even parts and bolts missing.
IMG_20131207_142101.jpg

It's a 90 Talon TSI AWD factory 6 bolt. Nothing big planned, just standard bolt-ons and a 16g turbo so far.
IMG_20131207_142119.jpg


Should have pics of the block out soon enough!
 
Small update. New fuel rail came in. RCI black fuel rail. Was kinda wanting the purple to match everything else, but no one seems to carry one. Even though that is what lead me to the RCI to begin with but He hasn't made anymore so black it is. There is enough purp under the hood anyways. Well that's all for now should have an update on pulling the engine by the end of the week. It's normally dark by the time I get around to doing anything so I haven't really posted any of my actual progress on the car so I'll try and fix that as well.

IMG_20131210_235340.jpg
 
So in a previous post you may have seen my intake manifold with the new 70mm throttle body on it. Well it was looking pretty rough, so I decided to clean it up. My first attempt was bead blasting. A shop around here was gracious enough to let me borrow there booth free of charge. Unfortunately there compressor was not quiet up to par. I got as much as I could but after two hours I had enough. Brought it home and got the Dremel out. Went through countless wheels to get it finished. I'm glad I'm not trying to keep it polished because I didn't do such a great job, and you can see all sorts of lines in it. I'm going to take it to get powder coated haven't settled on a color yet but I'll be sure to post it when she's done.

IMG_20131222_223936.jpg
 
Add Value - Be Respectful - No Trolling - No Misinformation - Participate Often!
Support Vendors who Support the DSM Community

Latest posts

Build Thread Updates

Latest Classifieds

Back
Top