No matter what car you drive or how hard you apply the brakes you will, at some point in your life, experience a shimmy and pulsation feeling. Alot of people think it's suspension related or maybe just tires but the fact of the matter is that if it happens when you press the brake pedal then its either drums or rotors that are warped.
Most people can say they know what warped rotors are but not many people understand the term nor know what steps can be taken to fix the problem without having to replace any parts. Hopefully, I will be able to explain that all in this long-a$$ article about what I do at work for customers with pulsating brakes. The test subject for this article though is not an unsuspecting victim. It's my own car that has warped drums and rotors and so I took a few extra steps here to gather up enough pictures for your enjoyment.
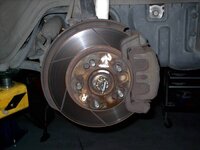
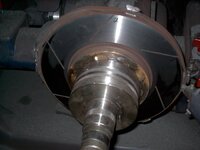
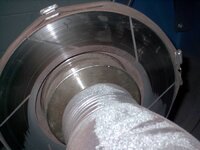
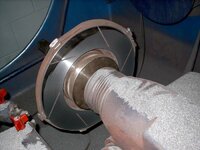
I'll start off with the fronts since everyone has at least one set of rotors on their car. Mine happen to be GSX front rotors (I upgraded the RS) made by Powerslot. They've got slots cut in them that help cool the rotor and vent gas build-up between the pad and rotor surface. First you see the rotor on the car in picture 1. I've marked the rotor with an "R" so that I know which side it goes back on. The rotors have to go back on a certain way in order for them to cool and vent gases. If the slots are going the wrong way then the gases and heat are directed towards the center of the rotor. When properly installed all of that is directed out towards the wheel where there is more air and the gases can escape. I've also marked the rotor to the hub so that it goes back on in the same spot it came off at. There's two reasons I do this only one of which is REALLY necessary. The first reason is that I'm just that anal and want to make sure that IF moving it clockwise or counterclockwise by one or two lug holes made a difference then I wouldn't have to worry about it. I don't think it makes a difference in this case but I try to put everything back the way I found it.
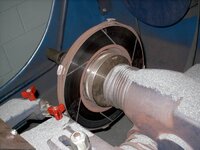
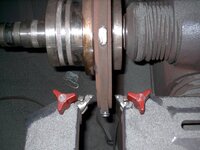
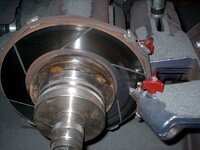
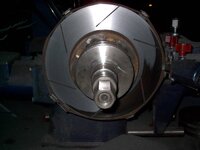
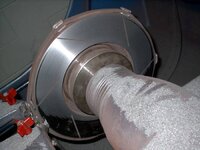
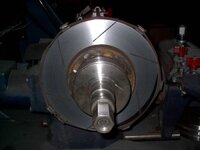
The second reason (important) is because there are two types of brake lathes out there. One cuts a rotor while it's removed from the car. The other type of brake lathe cuts the rotor while it's still attached to the hub. What this does is matches up the rotor and the hub as a perfect fit. It's kinda like balancing a tire on the car. It's just more precise to do things on the car in their own environment. The important part here is that once a rotor is cut on the car it CANNOT be removed and put back on where ever you want. All the lug nut holes must line up with the lug nut studs they were cut next to. If you remove them and put them back on in a different way then clicking, vibrations, knocking or other sorts of noises will occur when braking. In some cases the variances are so great that the noise will show up even without hitting the brakes.


