This article is intended to show the basics of the 2gb foglight. I bought a single driver side one off ebay for like $5. I needed the cover glass because the passenger side broke. I took it apart and found out that all the parts are interchangeable and that the only difference between the two is the position of the bracket and screw.
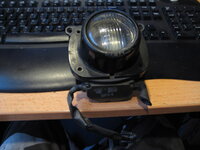
Picture #1 shows the near complete assembly. I took the hardware off then realized it would make a good article.
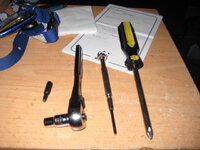
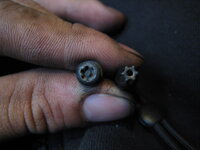
Tools needed: standard Phillips head screwdriver, interchangeable tip screwdriver or 1/4" drive socket wrench with 1/4" socket, small Phillips screwdriver (not sure on size, #1?), and T20 Tamper Proof Torx bit (very important for disassembly! I got one from Sear's) See Picture #2 and #3.
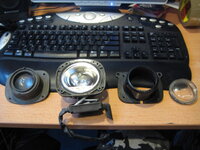
Start by removing the top screw with the spring. This adjusts the foglight. Then take the T20 torx bit along with whatever you're using for it and undo the 4 corner torx screws. Remove cover glass cover. The cover glass will be held on by only a thin o-ring. Be ready to grab it. Remove the next piece which is the lens. The lens is also replaceable or salvageable. Two regular screws hold the metal bracket and shield in place. I did not need the lens so I left that in place. I now have 4 complete pieces. Cover glass, cover glass cover, lens + lens holder with metal bracket and shield, and finally the foglight housing. See pic #4.
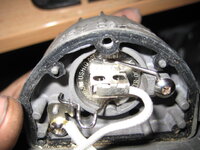
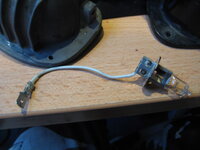
If you are looking to replace the bulb, The bottom of the foglight housing is held together by 3 small screws. Take the small Phillips and loosen them. Underneath contains the wiring and the bottom of the bulb which is held in place by a metal clip secured by 1 small screw. Press down and out on clip. Remove and unplug the bulb from the wiring. It is underneath the white transparent rubber wrap. Reassembly is reverse of disassembly. See picture #5 and #6 for reference. You should not have to remove the cover glass or anything else prior to change the bulb.


